DNS Management CyberPanel
In CyberPanel to configure the DNS, follow these steps:
- Create Nameservers.
- Create DNS Zone.
- Delete Zone.
- Add/Delete Records.
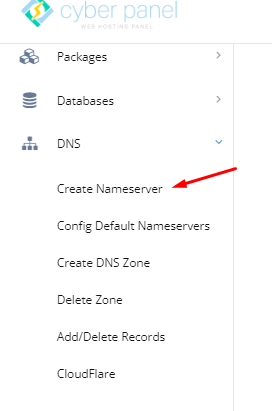
Create Nameservers
If you want to create a nameserver for your site, Click on DNS-> Create Nameserver
After clicking on Create nameserver, go to this page. Enter the information and click on Create Nameserver. There is a dedicated page that lets you create Name Servers. If you use this page to create name servers then a DNS Zone for this domain will also be created.

After adding these records to your domain registrar, you can use the following name servers with all your domains whose DNS is managed by your server.
ns1.CyberPanel.net
ns2CyberPanel.net
Create DNS Zone
To get started with the DNS server, the initial step is to create a DNS zone. Once this is done, you’ll be able to use the “ADD/MODIFY DNS Records” page.
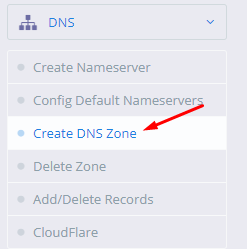
After clicking on the Create Zone, Go to this page

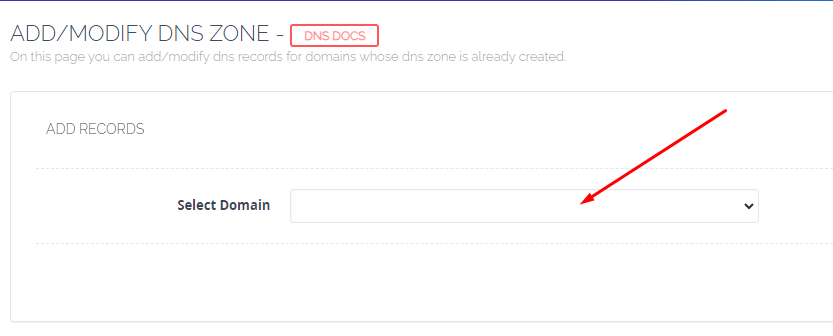
Just enter the domain for which you want to control DNS records on this server.
Select the domain and Click on Create DNS Zone
Add/Delete Records
Once the DNS zone is created, you can add or delete records using this page.
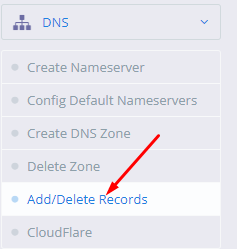
After Clicking ADD/Delete Records. Go to this page and select the domain for which you want to add/delete the records
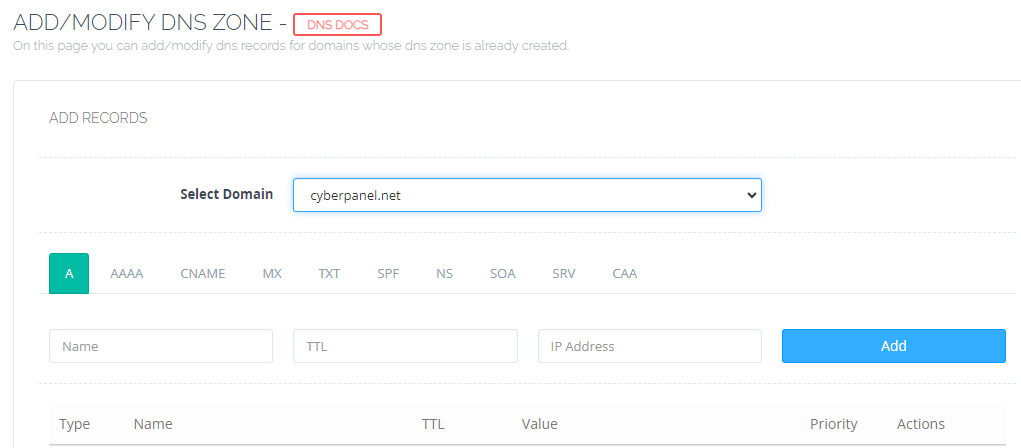
Currently Supported Records:
- A
- AAAA
- MX
- CNAME
- TXT
- SPF
- NS
How to add A record
Let’s see the configurations for adding A record for cyberpanel.net
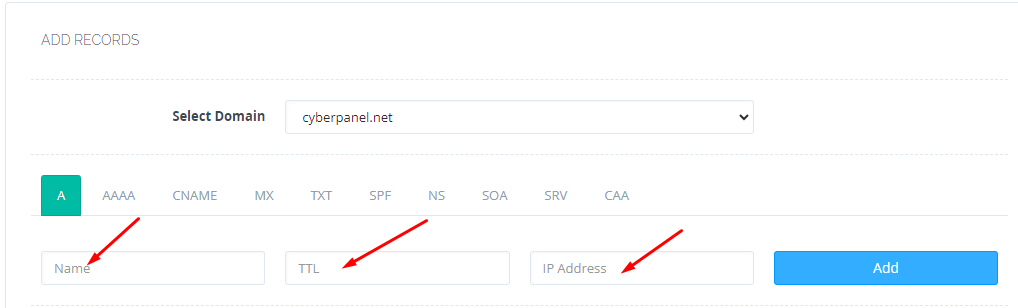
- From drop down select A.
- In the name box, you can either enter @ or cyberpanel.net, which means the same.
- Finally, enter the IP to which these records should point.
How to add MX Record
There are two steps for adding an MX record, for example, your mail server is at mail.cyberpanel.net, first, you need to create an A record for this domain as defined above.
Once the A record is added, you can add MX record