On this page
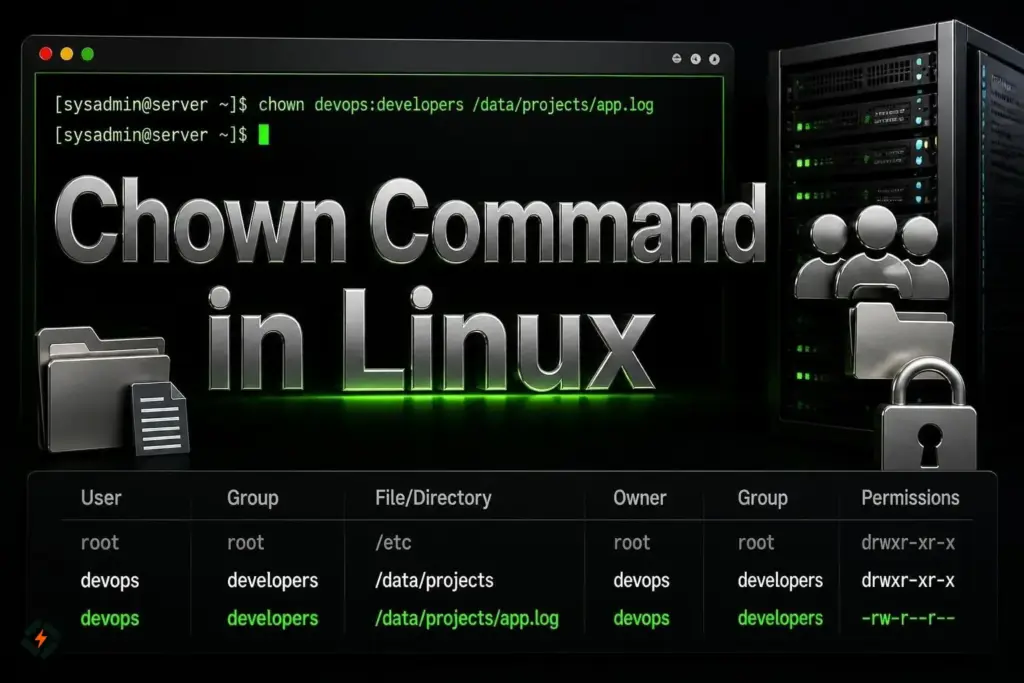
The chown command in Linux changes the owner and group assigned to a file or directory. It is one of the most useful Linux commands for managing file ownership, especially when files are created by the wrong user, moved between accounts, or need to be accessed by a particular service.
The command is simple, but using it incorrectly can cause permission problems or even break an application. This guide explains how chown works, shows practical examples, and explains when you should use it carefully.
What Is the Chown Command in Linux?
The chown command stands for change owner. It changes the user ownership of a file or directory and can also change its group ownership.
Linux assigns an owner and a group to every file and directory. These ownership settings work alongside file permissions to determine who can access or modify the resource. GNU Coreutils documents chown as the command used to change file owner and group.
You can see the current ownership of a file with:
ls -l example.txtYou might see:
-rw-r--r-- 1 alice developers 2048 Oct 8 12:30 example.txtHere:
aliceis the file owner.developersis the group.rw-r--r--represents the file permissions.
Changing ownership does not mean changing permissions. Those are separate parts of Linux’s access control system.
What Is the Linux Chown Command Used For?
The Linux chown command is useful whenever a file or directory belongs to the wrong user or group.
Common situations include:
- Moving files between users
- Deploying an application
- Correcting website file ownership
- Managing shared project directories
- Fixing ownership after copying files as root
- Preparing files for a service account
- Managing files on a Linux hosting server
- Correcting ownership after a manual deployment
For example, suppose you copied a website file while logged in as root, but the application should actually own that file. You can use chown to assign the appropriate user and group.
The important part is knowing which user should actually own the file. Do not change ownership simply because a command worked on another server.
What Is the Syntax of the Chown Command?
The basic syntax is:
chown [OPTION] [OWNER][:GROUP] FILEFor example:
sudo chown alice example.txtThis changes the owner of example.txt to alice.
To change both the owner and group:
sudo chown alice:developers example.txtThe colon separates the owner from the group. GNU’s documentation supports both names and numeric user or group IDs in this format.
You can also use chown with multiple files:
sudo chown alice file1.txt file2.txt file3.txtHow Do You Change a File Owner With Chown?
The simplest use of chown changes only the owner.
sudo chown alice example.txtCheck the result:
ls -l example.txtYou should now see alice listed as the owner.
The existing group is not changed when you specify only the owner.
For example, if the original ownership was:
root developers example.txtand you run:
sudo chown alice example.txtthe result becomes:
alice developers example.txtThe group remains developers.
How Do You Change Both Owner and Group?
If you need to change both values, specify them together:
sudo chown alice:developers example.txtThis assigns:
- Owner:
alice - Group:
developers
You can verify the change with:
ls -l example.txtThis is probably the most common form of chown when managing application or website files.
Can You Change Only the Group With Chown?
Yes.
Leave the owner empty and specify the group:
sudo chown :developers example.txtThis changes the group to developers while leaving the current owner unchanged.
For example:
Before:
alice oldgroup example.txt

Command:
sudo chown :developers example.txt

After:
alice developers example.txtIf you only need to change group ownership, chgrp is another appropriate Linux command.
How Do You Change Directory Ownership Recursively?
When you need to change ownership for a directory and everything inside it, use the -R option:
sudo chown -R alice:developers /home/alice/projectThe -R option tells chown to process the directory and its contents recursively.
This can be useful for application directories, project files, backups, and website files.
However, recursive ownership changes deserve extra caution.
Do not run:
sudo chown -R alice:developers /or apply -R to an important system directory unless you fully understand the consequences.
A wrong recursive command can change ownership of a large number of files and cause system services or applications to stop working correctly.
Always check the target first:
ls -ld /home/alice/projectThen inspect its contents before making a recursive change.
How Do You Change Ownership Using UID and GID?
Linux identifies users and groups internally with numeric IDs called UIDs and GIDs.
You can use these IDs with chown.
For example:
sudo chown 1001:1002 example.txtThis assigns UID 1001 as the owner and GID 1002 as the group.
To find a user’s UID and group information, use:
id aliceYou may get output similar to:
uid=1001(alice) gid=1002(developers) groups=1002(developers)Numeric ownership is particularly useful in environments where applications, containers, or multiple systems need matching user and group IDs.
How Do You Change Ownership of a Symbolic Link?
Symbolic links require a little more care.
By default, chown operates on the file referred to by a symbolic link rather than changing the link itself. GNU chown provides the -h option when you need to affect the symbolic link itself.
For example:
sudo chown -h alice example-linkBefore changing a symbolic link, check where it points:
readlink example-linkThis helps prevent accidental changes to the target file.
How Do You Verify a Chown Change?
Never assume a successful command means you changed the ownership you intended.
The simplest check is:
ls -l example.txtFor more detailed information, use:
stat example.txtThe stat command can show the file’s UID, GID, permissions, timestamps, and other attributes.
For a directory:
ls -ld /home/alice/projectThe -d option makes ls display information about the directory itself rather than listing its contents.
A good workflow is:
Check → Change → VerifyThat simple habit prevents many ownership mistakes.
Chown vs Chmod: What Is the Difference?
chown and chmod are often confused because both are used when dealing with Linux access.
They do different jobs.
| Command | Purpose |
|---|---|
chown | Changes file owner and/or group |
chmod | Changes file permissions |
chgrp | Changes group ownership |
ls -l | Displays ownership and permissions |
stat | Displays detailed file information |
For example:
sudo chown alice:developers example.txtchanges ownership.
While:
sudo chmod 640 example.txtchanges the permissions.
You might use both when correcting a file, but they should not be treated as interchangeable commands.
For a broader explanation of how ownership and permissions work together, see our guide to Linux file permissions.
How Does Chown Help With Website Files?
Website files need appropriate ownership so that the users and services responsible for managing them can access them correctly.
A common problem occurs when files are created or copied using root. The files may then belong to root even though the website is supposed to operate under another account.
You can inspect a website directory with:
ls -ld /home/siteuser/public_htmlThen inspect individual files:
ls -l /home/siteuser/public_html/If you find files owned by an unexpected user, investigate why they have that ownership before changing anything.
For example, CyberPanel’s current guidance on isolating website directories specifically warns that manual deployments or root-level file operations can leave application files owned by root, which can create both security and application problems.
How Does Chown Work With CyberPanel?
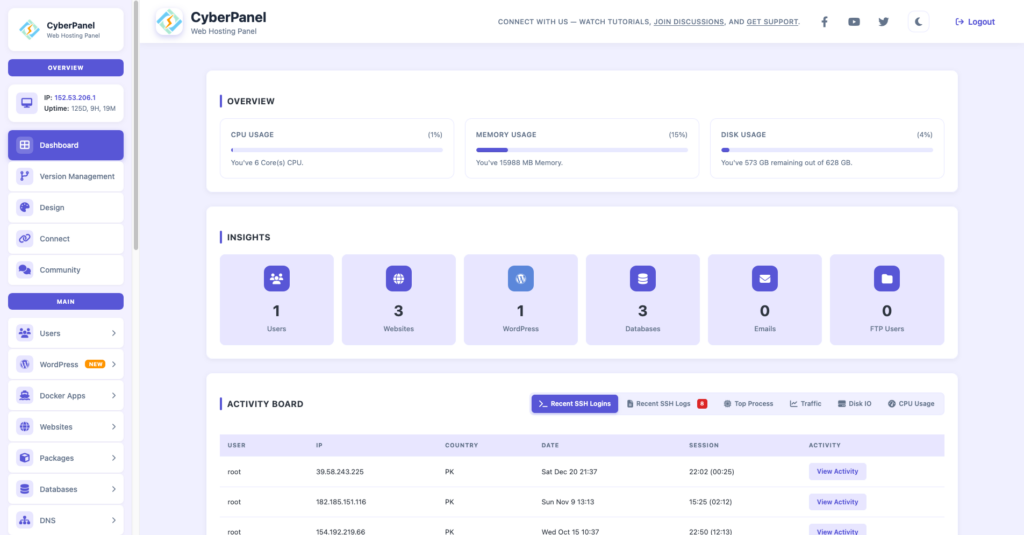
CyberPanel is a free and open-source web hosting control panel. It runs on Linux, so the standard Linux ownership model still applies to websites and applications managed through the panel.
If you administer a CyberPanel server, you may encounter ownership problems after:
- Uploading files manually
- Running deployment commands as root
- Restoring website files
- Moving application data
- Working with SSH or the terminal
- Changing website files outside the normal workflow
For example, CyberPanel’s own documentation explains that its File Manager provides tools for managing file permissions, while its newer website isolation guidance recommends checking ownership before making manual changes.
This is important because there is no universal chown command for every CyberPanel website.
The correct owner and group depend on the server configuration, website setup, application, PHP configuration, and other factors.
So instead of blindly copying a command such as:
sudo chown -R user:user /home/user/public_htmlfirst confirm who should own the directory.
Then make the smallest necessary change.
How Do You Fix Incorrect Website Ownership?
Suppose you have confirmed that a website directory should belong to siteuser:siteuser.
You could use:
sudo chown -R siteuser:siteuser /home/siteuser/public_htmlBut do not run this command simply because the example looks correct.
First check:
ls -ld /home/siteuser/public_htmlThen inspect the files:
find /home/siteuser/public_html -maxdepth 2 -lsIf you find unexpected ownership, determine what caused it.
For CyberPanel-managed websites, also consider using the panel’s permission management tools where appropriate instead of manually overriding the ownership model.
What Are the Most Useful Chown Options?
You do not need to memorize every chown option. A few are useful in everyday administration.
| Option | Purpose |
|---|---|
-R | Change ownership recursively |
-v | Show what chown is doing |
-c | Show only files whose ownership changed |
-h | Change the symbolic link itself |
--from | Change ownership only when the current owner or group matches |
For example, verbose output can help when changing several files:
sudo chown -v alice:developers project.txtThe --from option can be useful when you want an ownership change to happen only if the file currently has specific ownership. GNU documents this as a way to narrow the conditions under which an ownership change is performed.
What Are Common Chown Errors?
Operation not permitted
If you see:
Operation not permittedyou may not have enough privileges to change the ownership.
For an administrative operation, you may need:
sudo chown alice example.txtHowever, sudo is not a universal fix. Filesystems, security policies, immutable attributes, and other restrictions can also affect whether ownership can be changed.
Invalid user
If Linux reports that a user does not exist, check it:
id aliceIf the account is missing, determine the correct user before running chown.
No such file or directory
Check the path:
ls -laThen confirm the exact filename and directory.
Ownership changed but the application still fails
Changing ownership does not automatically fix every permission problem.
Check both ownership and permissions:
ls -l example.txtYou may also need to inspect parent directory permissions, ACLs, application configuration, or the service account running the application.
Should You Use Chown 777 to Fix Permissions?
No.
chown and chmod do different things, and 777 is a permission mode, not an ownership setting.
A command such as:
chmod -R 777 /path/to/sitegives read, write, and execute permissions broadly and can create serious security problems.
If an application cannot access a file, find out which user needs access and why. Then fix ownership and permissions according to that requirement.
Do not use overly broad permissions simply because they make an error disappear.
Chown Command Examples
Here are the most useful examples in one place:
| Task | Command |
|---|---|
| Change owner | sudo chown alice file.txt |
| Change owner and group | sudo chown alice:developers file.txt |
| Change group only | sudo chown :developers file.txt |
| Change directory owner | sudo chown alice directory/ |
| Change directory and contents | sudo chown -R alice:developers directory/ |
| Use UID and GID | sudo chown 1001:1002 file.txt |
| Change a symbolic link itself | sudo chown -h alice link |
| Show ownership details | stat file.txt |
| Check directory ownership | ls -ld directory/ |
Best Practices When Using Chown Linux Command
The command itself is simple. The important part is using it carefully.
Check before changing
Use ls -l or stat to understand the current owner and group.
Know the correct owner
Do not assume that every website, application, or service should use the same Linux user.
Be careful with -R
Recursive changes can affect thousands of files. Verify the path before running the command.
Avoid changing system directories unnecessarily
Changing ownership of system files can prevent Linux services from working correctly.
Verify after the change
Always run ls -l or stat after making an ownership change.
Do not confuse ownership with permissions
Use chown for ownership and chmod for access permissions.
Use the control panel when appropriate
If a hosting control panel provides a permission management function, understand what it changes before manually overriding ownership from the command line.
FAQs
What does the chown command do in Linux?
The chown command changes the user and/or group ownership of files and directories.
What is the difference between chown and chmod?
chown changes ownership, while chmod changes file permissions. They control different parts of Linux access management.
How do I change the owner and group of a file?
Use:sudo chown username:groupname filename
How do I change ownership of a directory and everything inside it?
Use the recursive option:sudo chown -R username:groupname directory
Use this carefully because it affects the directory’s contents as well
Can chown fix website permission problems?
It can fix problems caused by incorrect ownership, but not every permission problem is an ownership problem. Check the current owner, group, permissions, application user, and server configuration before changing anything.
Final Thoughts
The chown command Linux is straightforward once you understand the difference between ownership and permissions. You can change a file owner, assign a group, update an entire directory tree, or correct ownership after a deployment.
The important part is not memorizing commands. It is knowing who should own the file, which group should have access, and what could be affected by the change.
For Linux servers and CyberPanel hosting environments, that distinction matters even more. Check the existing ownership first, make the smallest required change, and verify the result afterward.
That approach keeps file management predictable without turning a simple ownership problem into a larger server problem.