One Click Backup CyberPanel
One-Click Backup is a special service provided by the CyberPanel team that allows you to create and restore backups from a single interface.
It is one of the most stable and user-friendly backup solutions offered by CyberPanel.
Steps to create One click backup:
- Log in to your CyberPanel on port 8090:
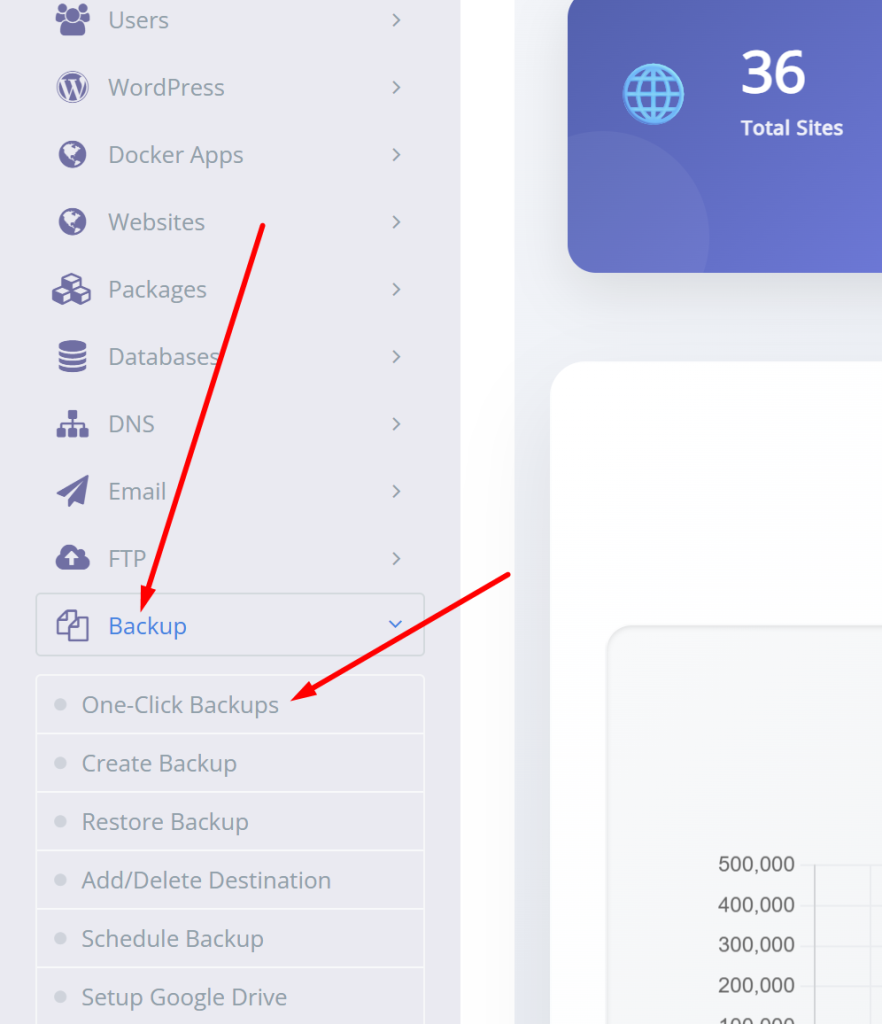
- Go to the Backup-> one-click backup from the left menu of Cyberpanel.
- On the One Click Backup page, you can see a variety of backup options. Select the one that best suits your needs and proceed to purchase.
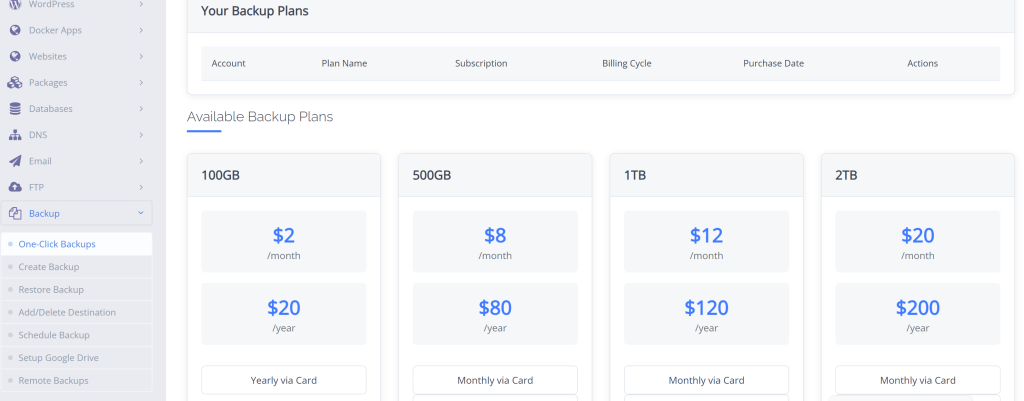
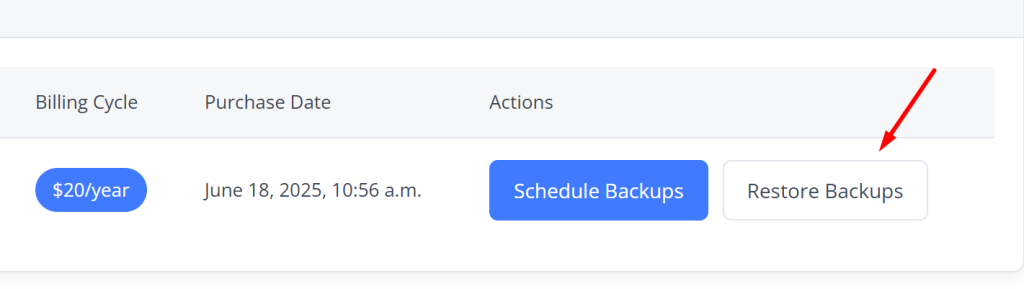
- Once you have bought the plan now you can now see the active subscription for backup

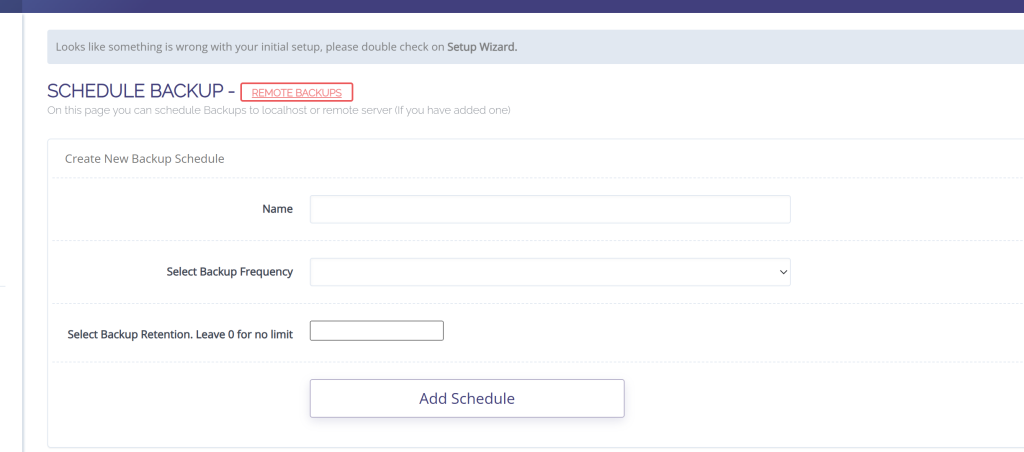
Time to set up the backup click on the schedule backup button, and provide all information
🔧 Create New Backup Schedule
You’ll find a simple form with the following fields:
- Name: Enter a unique name for your backup schedule (e.g., “WeeklyBackupSite1”).
- Select Backup Frequency: Choose how often the backup should run (daily, weekly, monthly, etc.).
- Select Backup Retention: Set how many backups should be retained. Leave it as
0if you don’t want a limit on the number of backups saved.
Once filled, just click the Add Schedule button to activate the backup job.
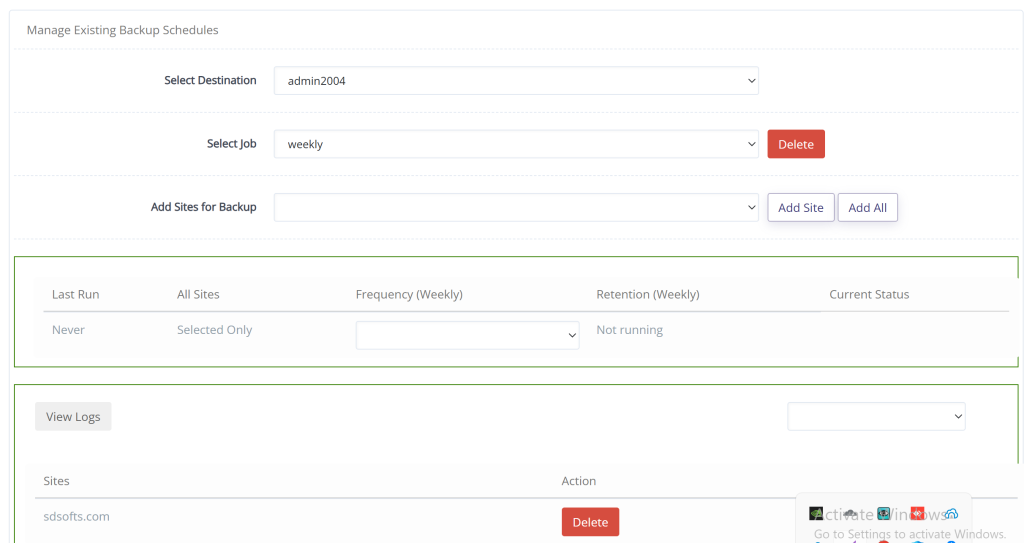
🛠️ Manage Existing Backup Schedules in CyberPanel
Once you’ve created a remote backup schedule, CyberPanel allows you to fully manage and modify it through the Manage Existing Backup Schedules interface. This section provides an overview and control panel for all backup jobs.
🔍 Overview of Key Options
- Select Destination: Choose the remote server or destination where backups will be stored. In this case,
admin2004is selected. - Select Job: Choose the job (e.g., “weekly”) you previously created to edit, monitor, or remove it.
- Add Sites for Backup: You can manually assign websites to this job using the input box. Use Add Site to include specific domains or Add All to apply the job to every site on the server.
📊 Schedule Status at a Glance
The table below displays essential information about the selected backup job:
| Column | Description |
|---|---|
| Last Run | Shows when the backup was last executed. (e.g., “Never”) |
| All Sites | Indicates whether all sites or selected sites are being backed up. |
| Frequency | Shows how often the backup runs (e.g., Weekly). |
| Retention | Indicates how many backups are retained. |
| Current Status | Displays whether the job is currently active or idle (e.g., “Not running”). |
🔎 View Logs & Manage Sites
- View Logs: Click this to check the output or error logs for the backup job.
- Sites List: You can view which domains are associated with the job. For example,
sdsofts.comis listed under the current schedule. - Action Button: The red Delete button allows you to remove any site from the backup schedule if no longer needed.
NOTE: Keep in mind that backup is scheduled and backup will only run mid-right of the server time, not instantly.
How to restore CyberPanel One Click Backup?
The process of restoring a site is very easy with cyberpanel. In one click backup, you dont have to move files are anything.
Just click on the restore backup button in front of the subscription page
Once you clcik you will see this page
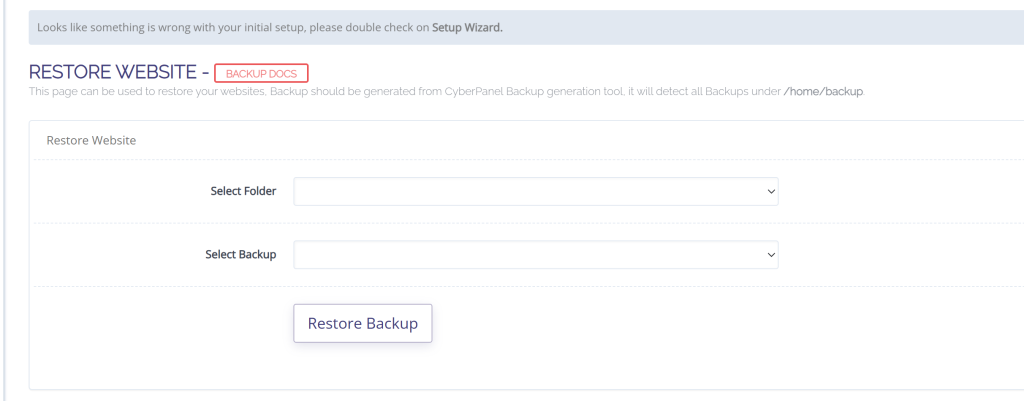
Restoring Your Website via CyberPanel
If you need to restore your website using CyberPanel, you can do so easily through the Restore Website interface. Please ensure that your backups were generated using the CyberPanel Backup generation tool. All detected backups will appear under the /home/backup directory.
Note: If you encounter issues during setup, a warning message may appear saying:
“Looks like something is wrong with your initial setup, please double check on Setup Wizard.”
Steps to Restore a Website:
- Navigate to the Restore Website section in CyberPanel.
- Click on the Select Folder dropdown to choose the folder where your website is located.
- Use the Select Backup dropdown to choose from the available backups listed under
/home/backup. - Once both options are selected, click the Restore Backup button to begin the restoration process.
For more guidance, refer to the [Backup Docs].