
How to Deploy WordPress in CyberPanel
CyberPanel can create the website, database, WordPress installation, and initial configuration in one workflow. This guide follows the current CyberPanel interface.
Step 1: Open Deploy WordPress
Sign in to CyberPanel and select Deploy WordPress on the Dashboard. The same installer is available from the WordPress section.
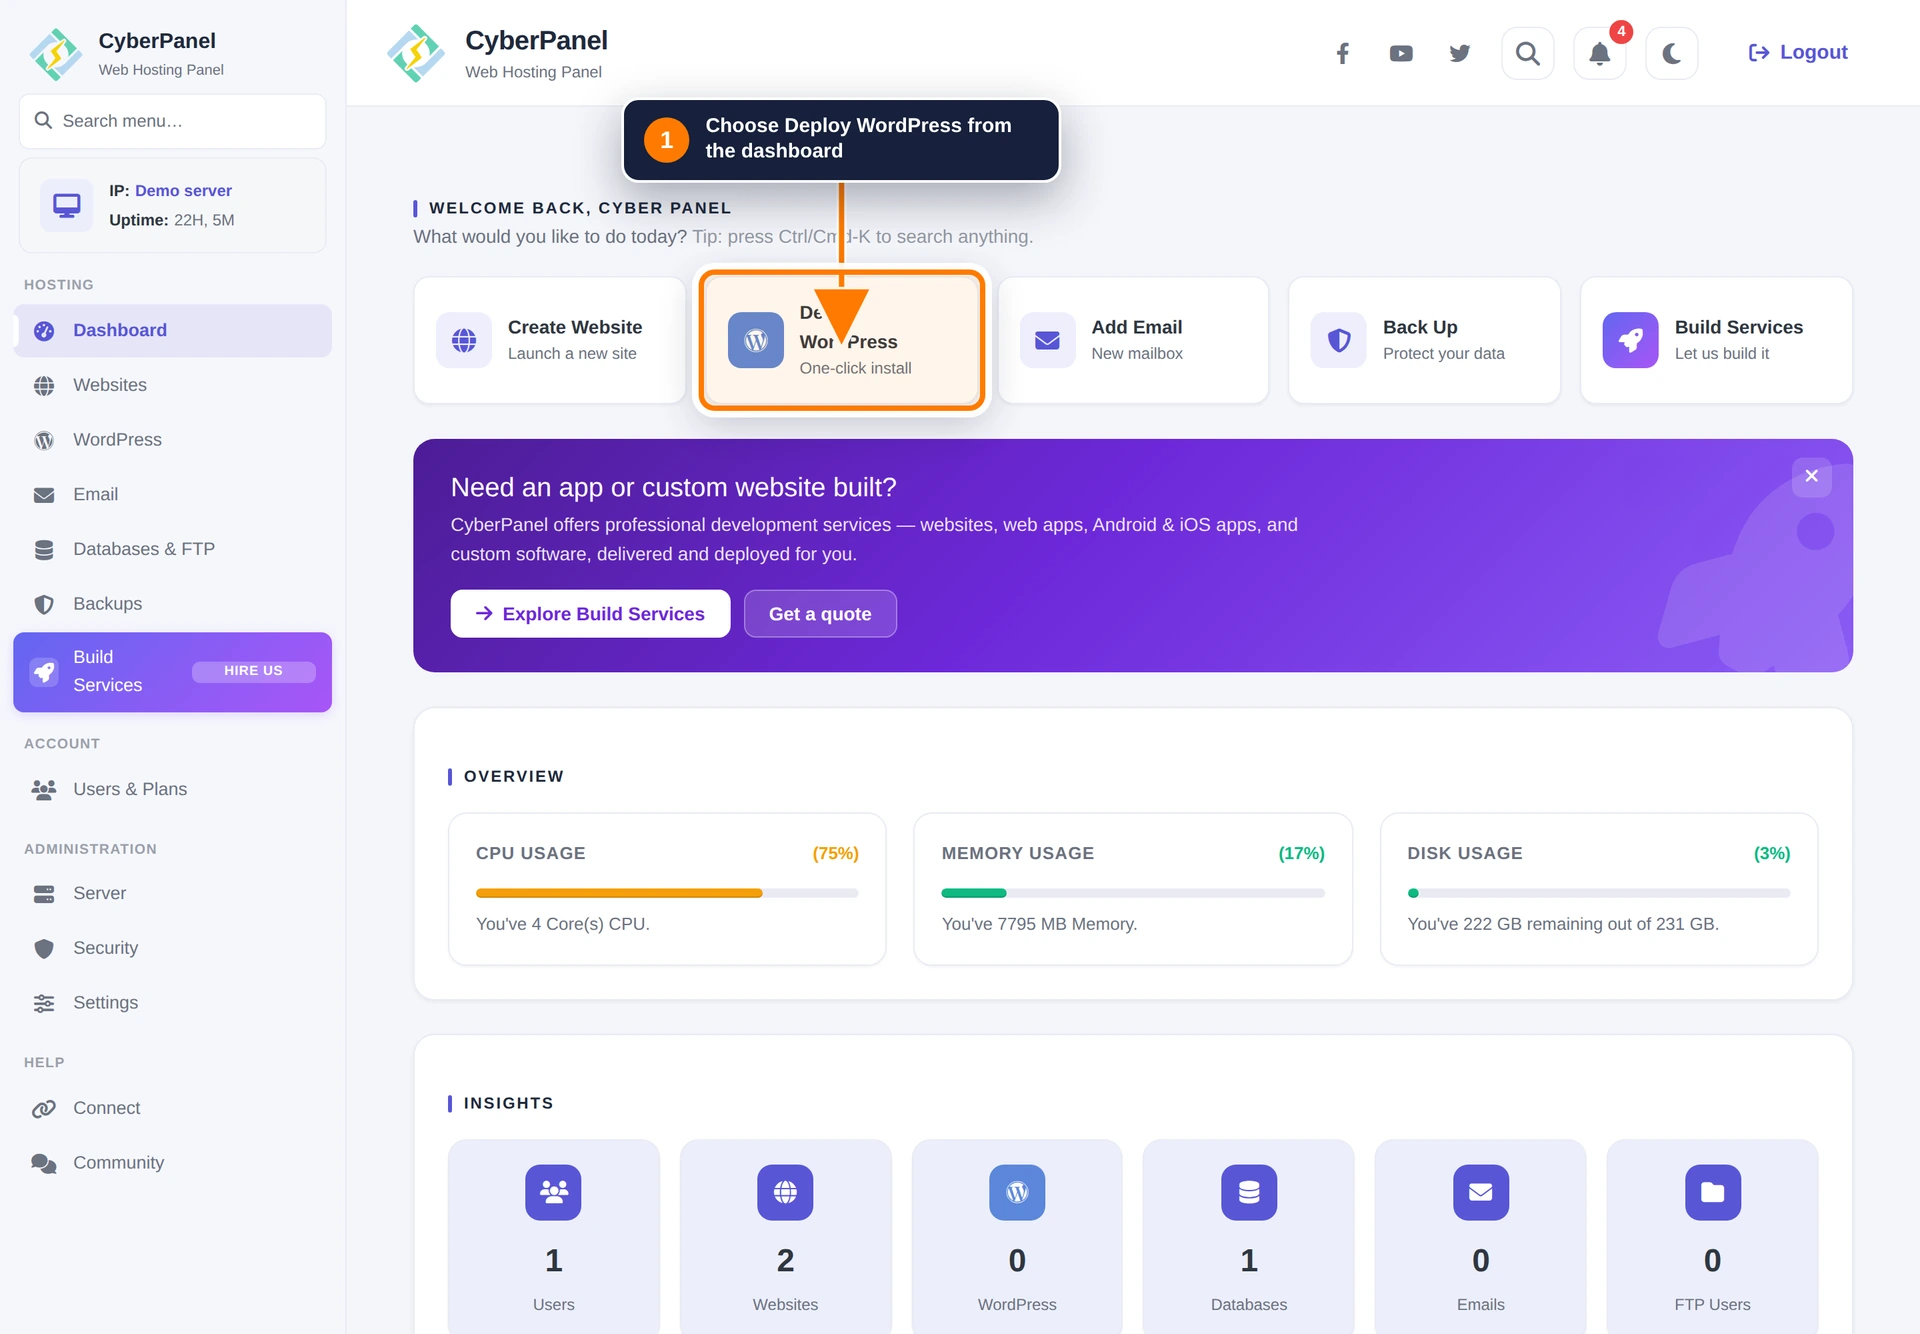
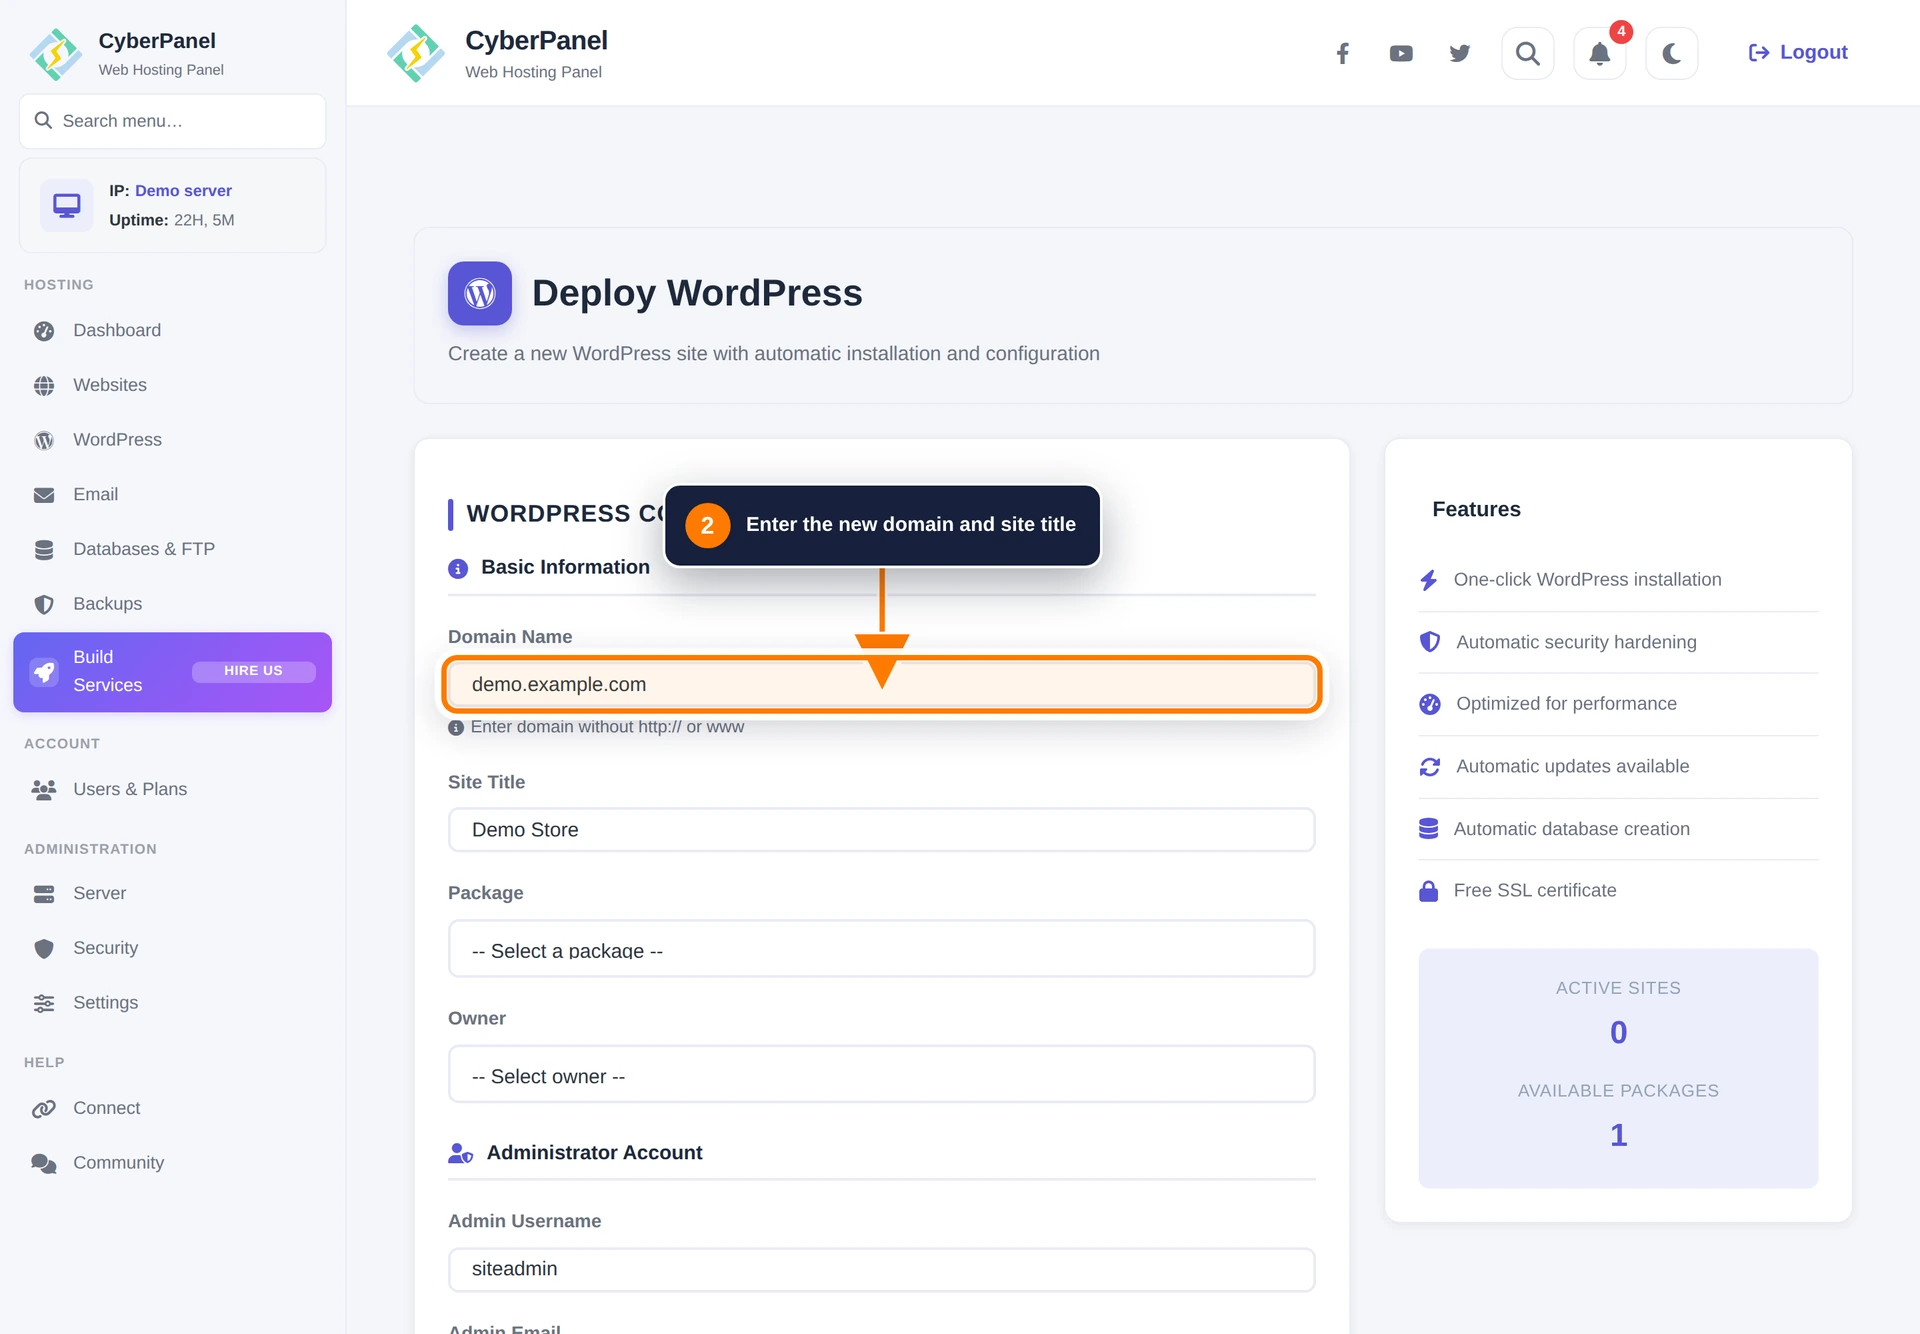
Step 2: Enter the domain and site title
Enter the domain without a protocol or path. Add the title that should appear as the initial WordPress site name.
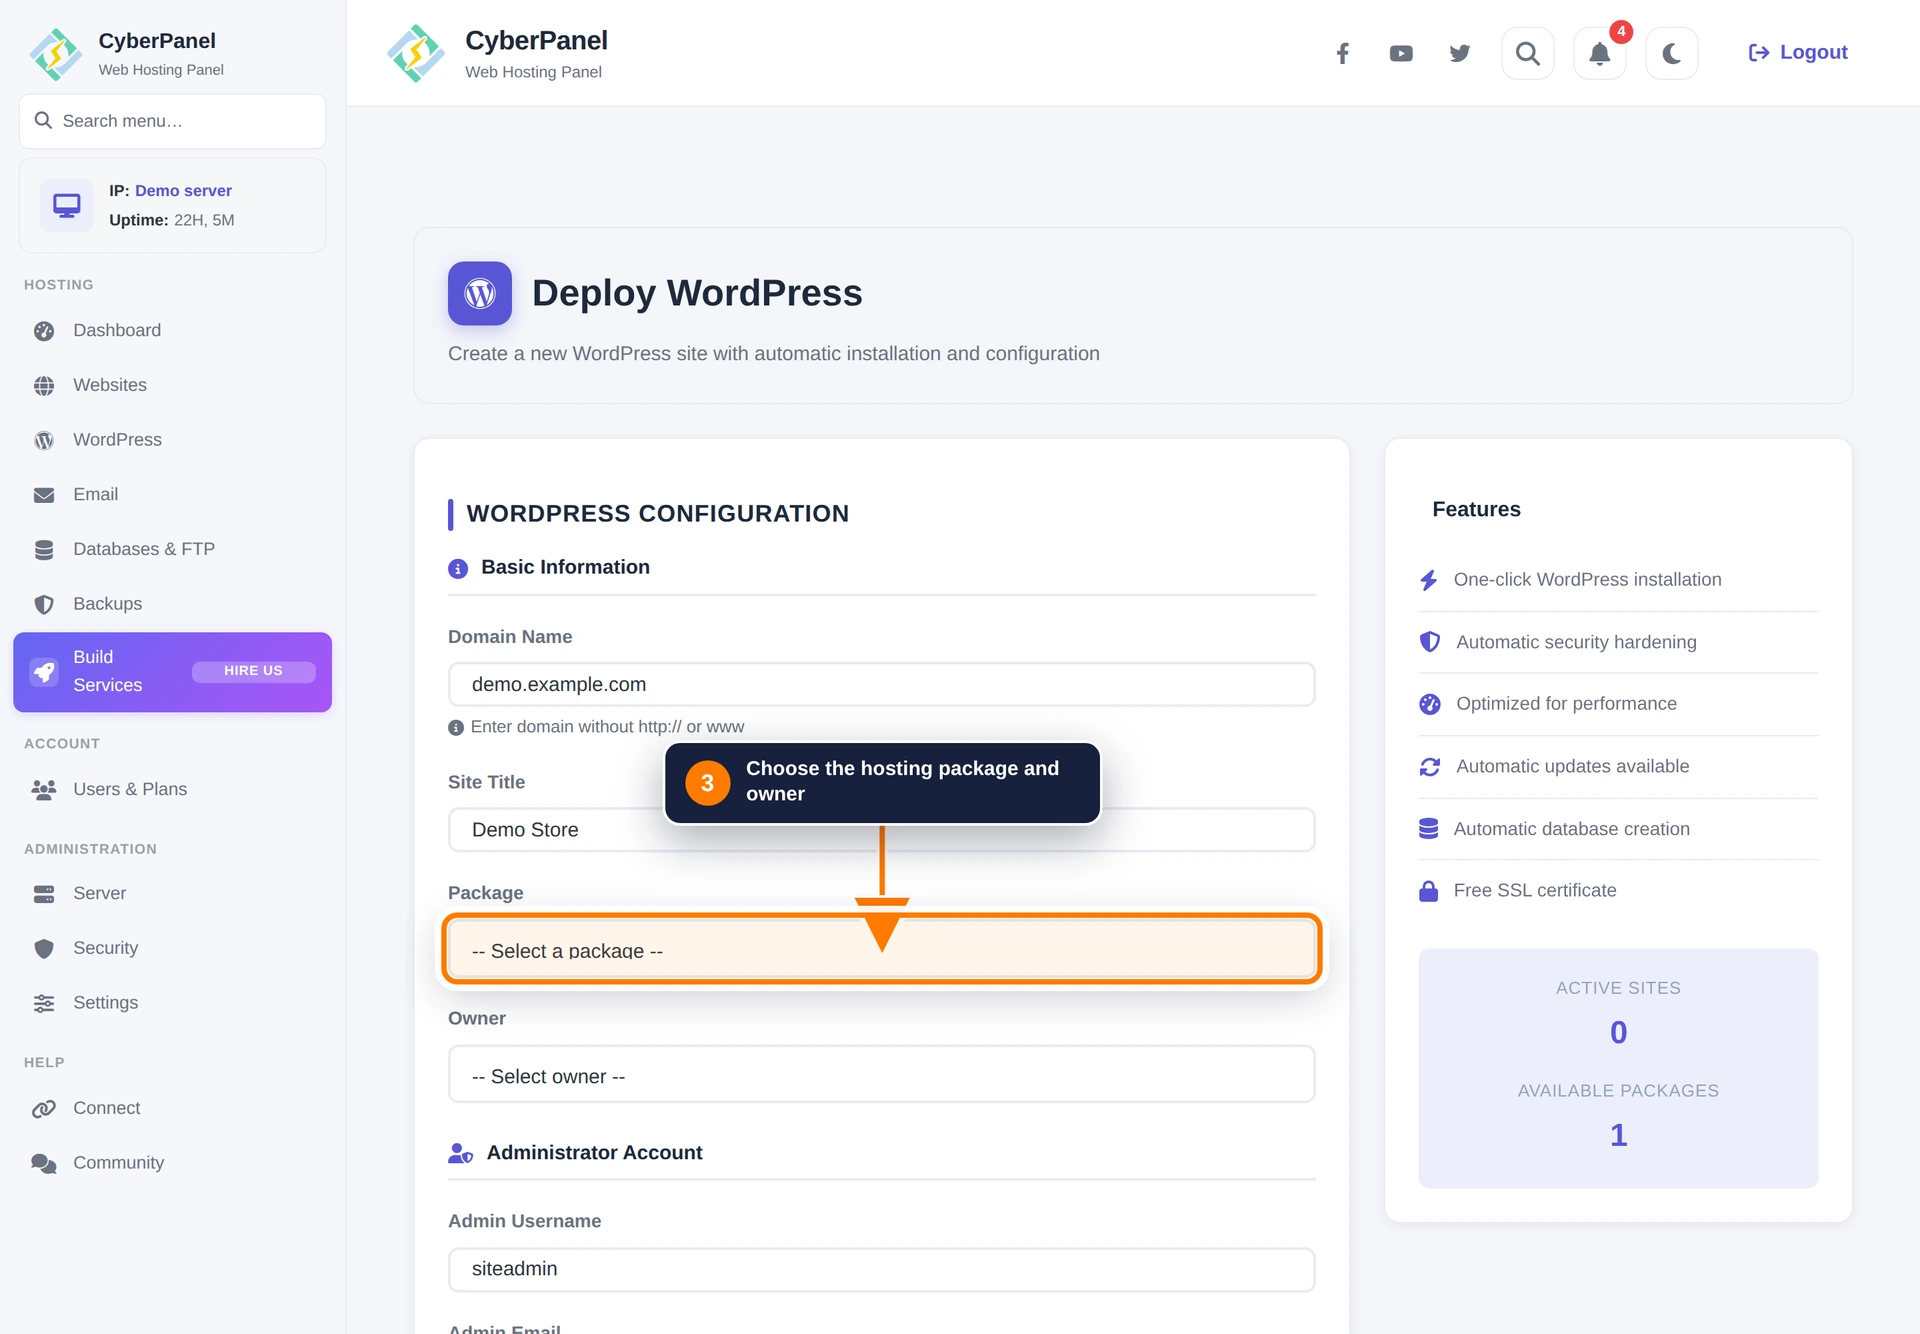
Step 3: Choose the package and owner
Select the hosting package and the CyberPanel user who should own the new website.
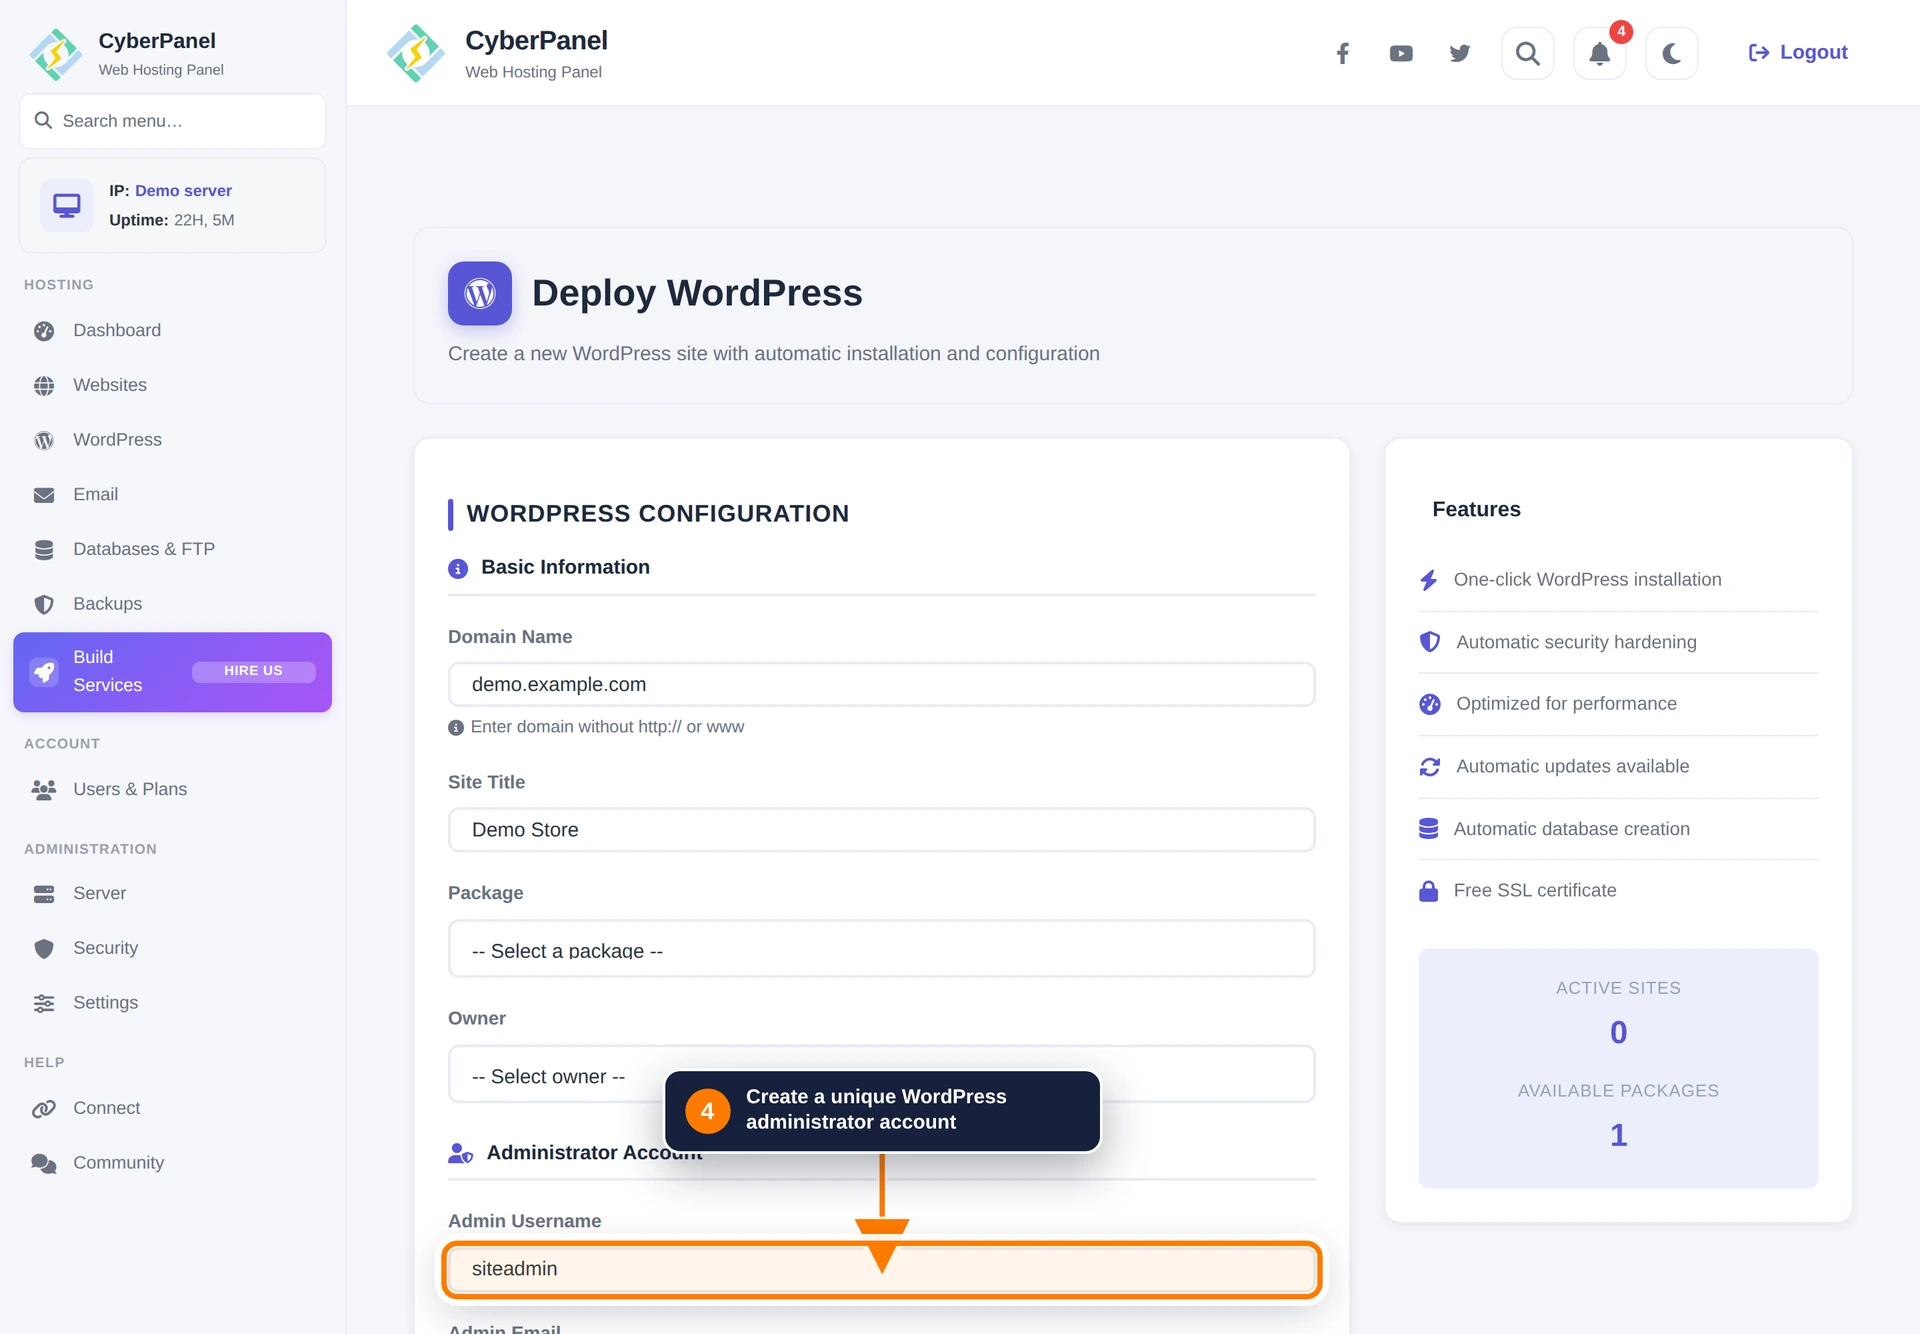
Step 4: Create the WordPress administrator
Enter an administrator username, email address, and strong password. Avoid usernames such as admin. Save these credentials in a password manager.
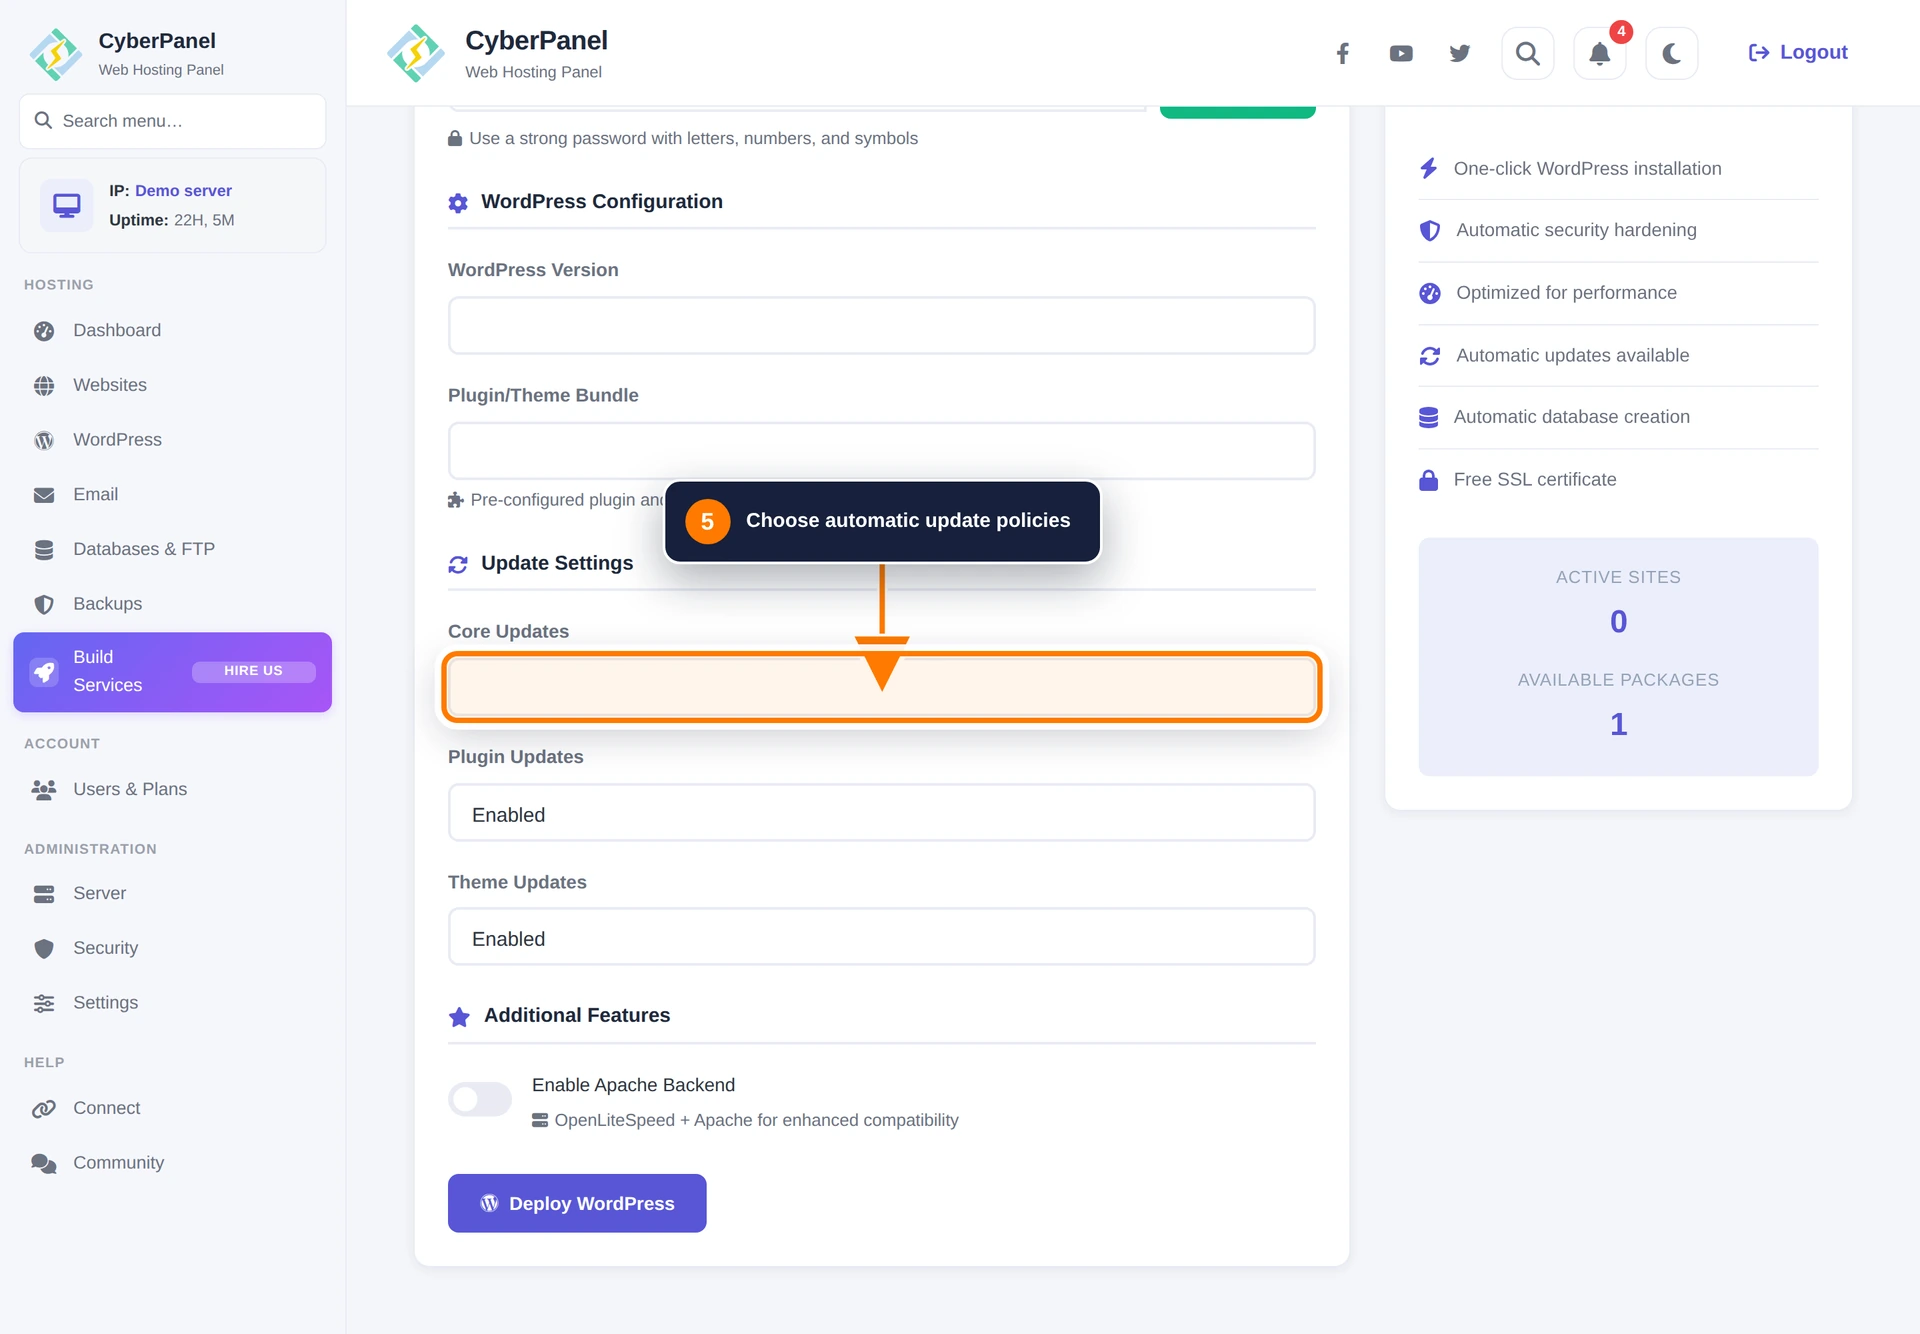
Step 5: Review WordPress and update settings
Review the WordPress version and optional plugin/theme bundle. Choose an update policy for WordPress core, plugins, and themes that matches your maintenance process. Automatic updates improve security, but production sites should also have tested backups.
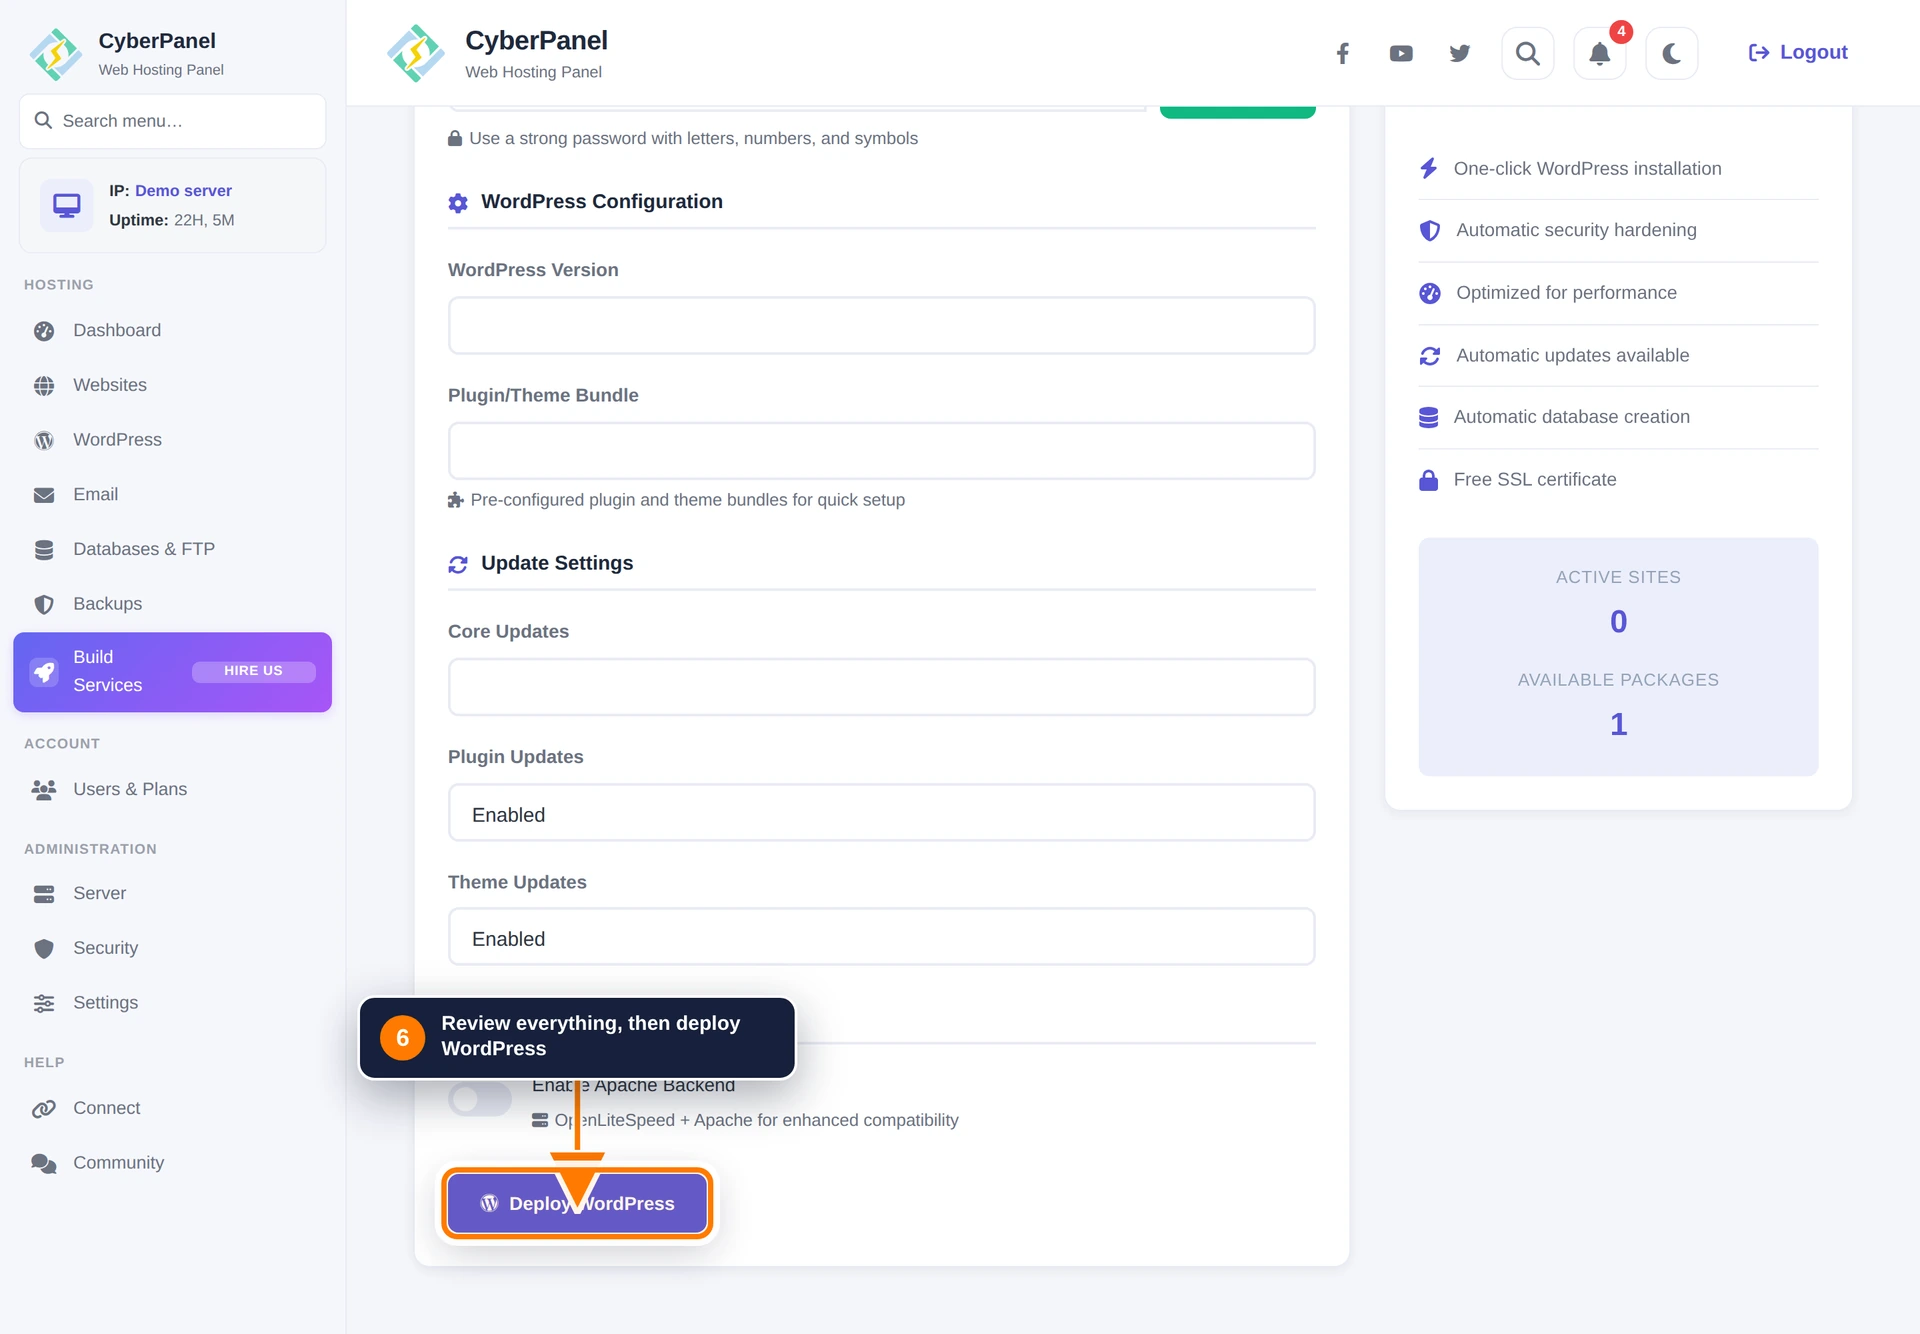
Step 6: Deploy WordPress
Review every field and select Deploy WordPress. CyberPanel will provision the website and database, install WordPress, and report progress on the page.
After deployment
Open WordPress from the sidebar to find the site. From there you can open the WordPress management page or visit the site. If the trusted certificate could not be issued during deployment, first confirm DNS resolution and then use Security → Manage SSL.
Next, follow How to Use WordPress Manager in CyberPanel for plugins, themes, staging, backups, database access, quick actions, and site settings. Domain-level tools are covered in Website Home.