
How to Issue SSL in CyberPanel
CyberPanel can request and install a Let’s Encrypt certificate for an existing website. This guide follows the current Security interface.
Step 1: Open Security
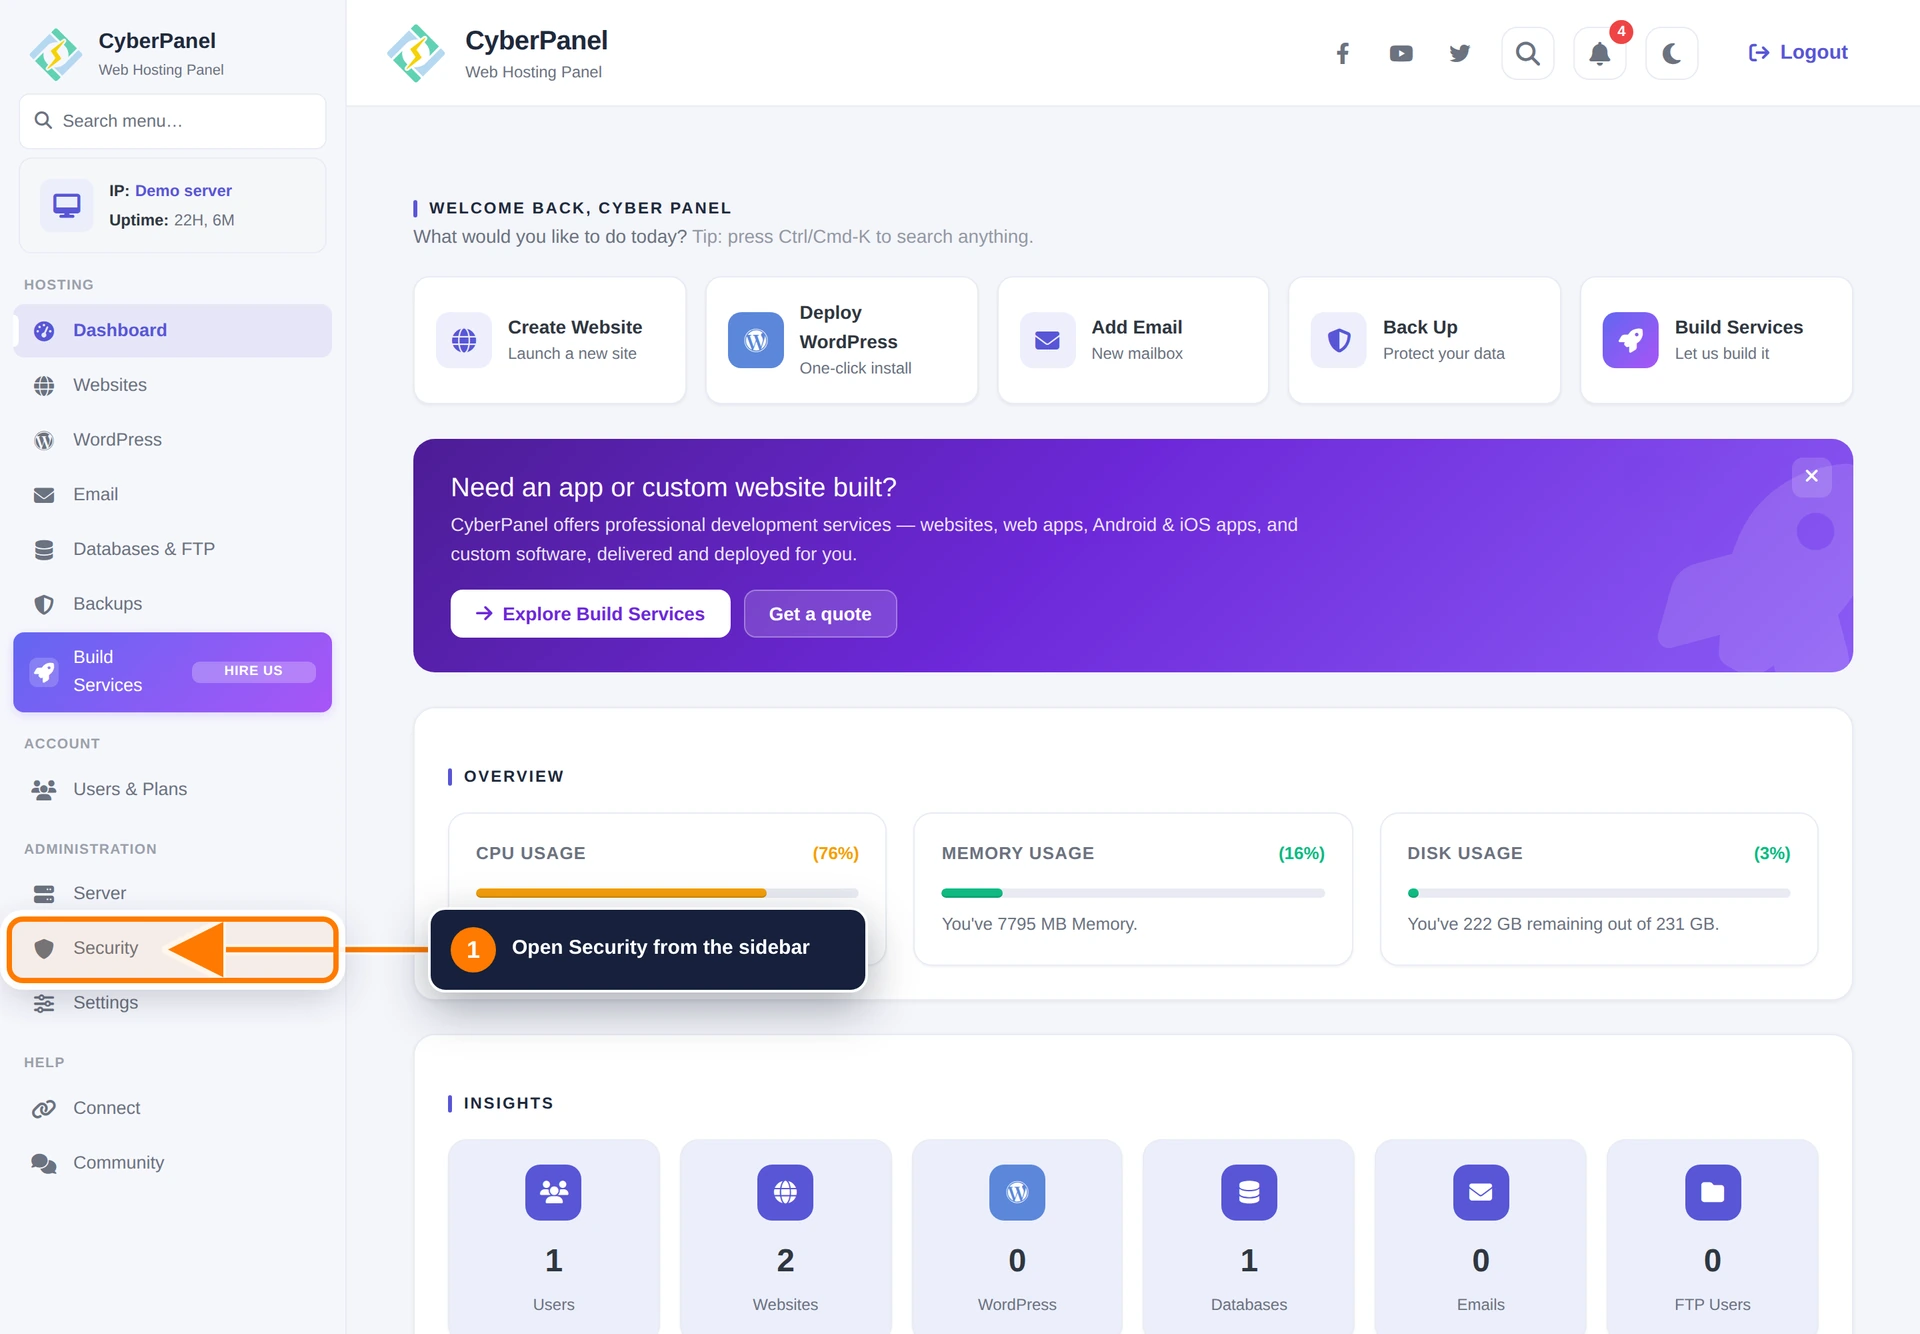
Sign in to CyberPanel and select Security in the left sidebar.
Step 2: Open Manage SSL
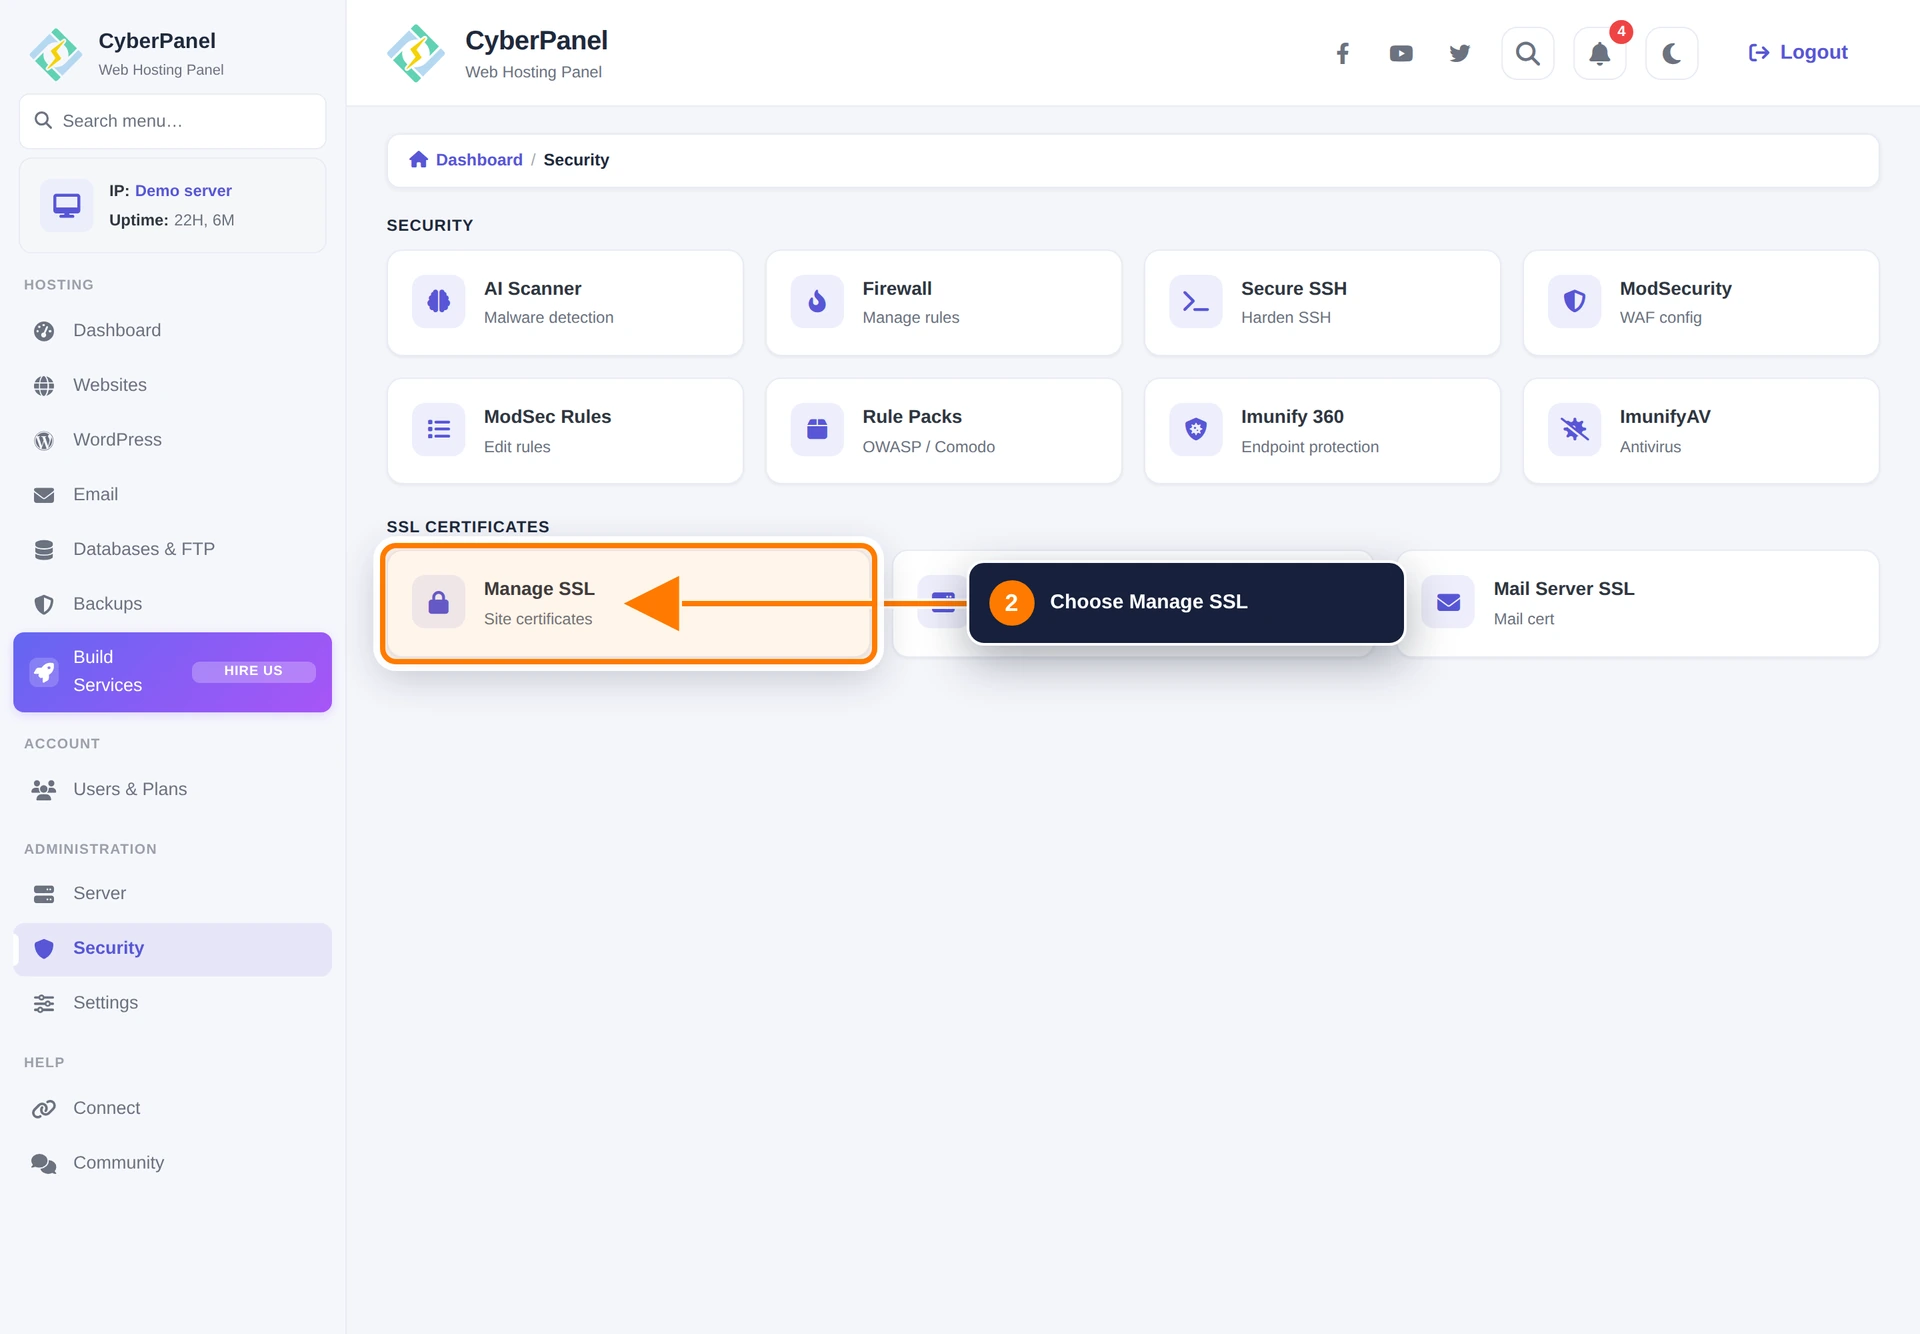
Select Manage SSL. Use the separate Hostname SSL and Mail Server SSL tools for the panel hostname and mail services.
Step 3: Select the website
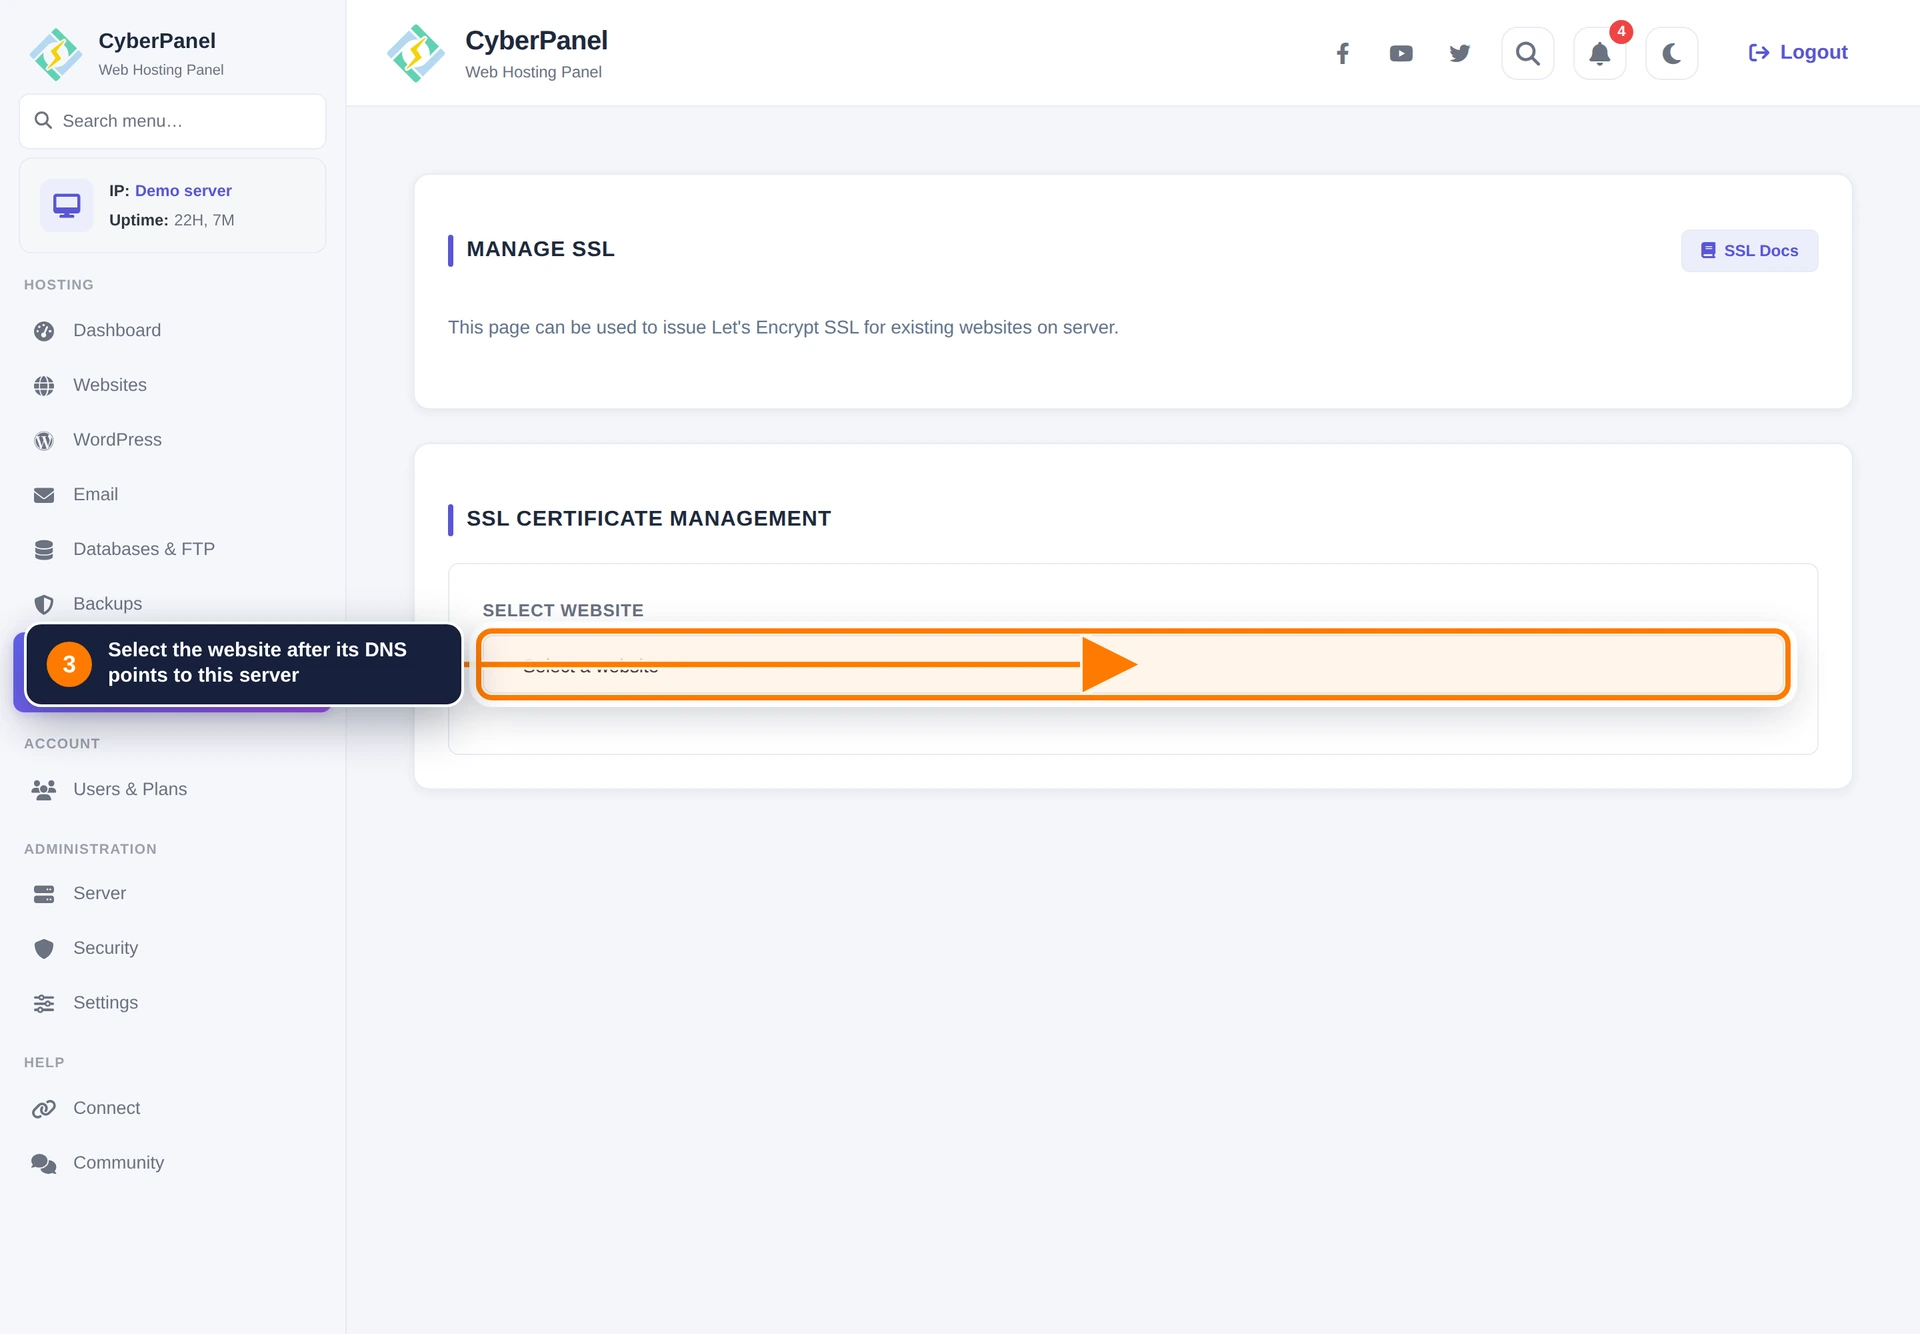
Choose the website that needs a certificate. Confirm that the domain shown is the one whose DNS points to this server.
Step 4: Issue the certificate
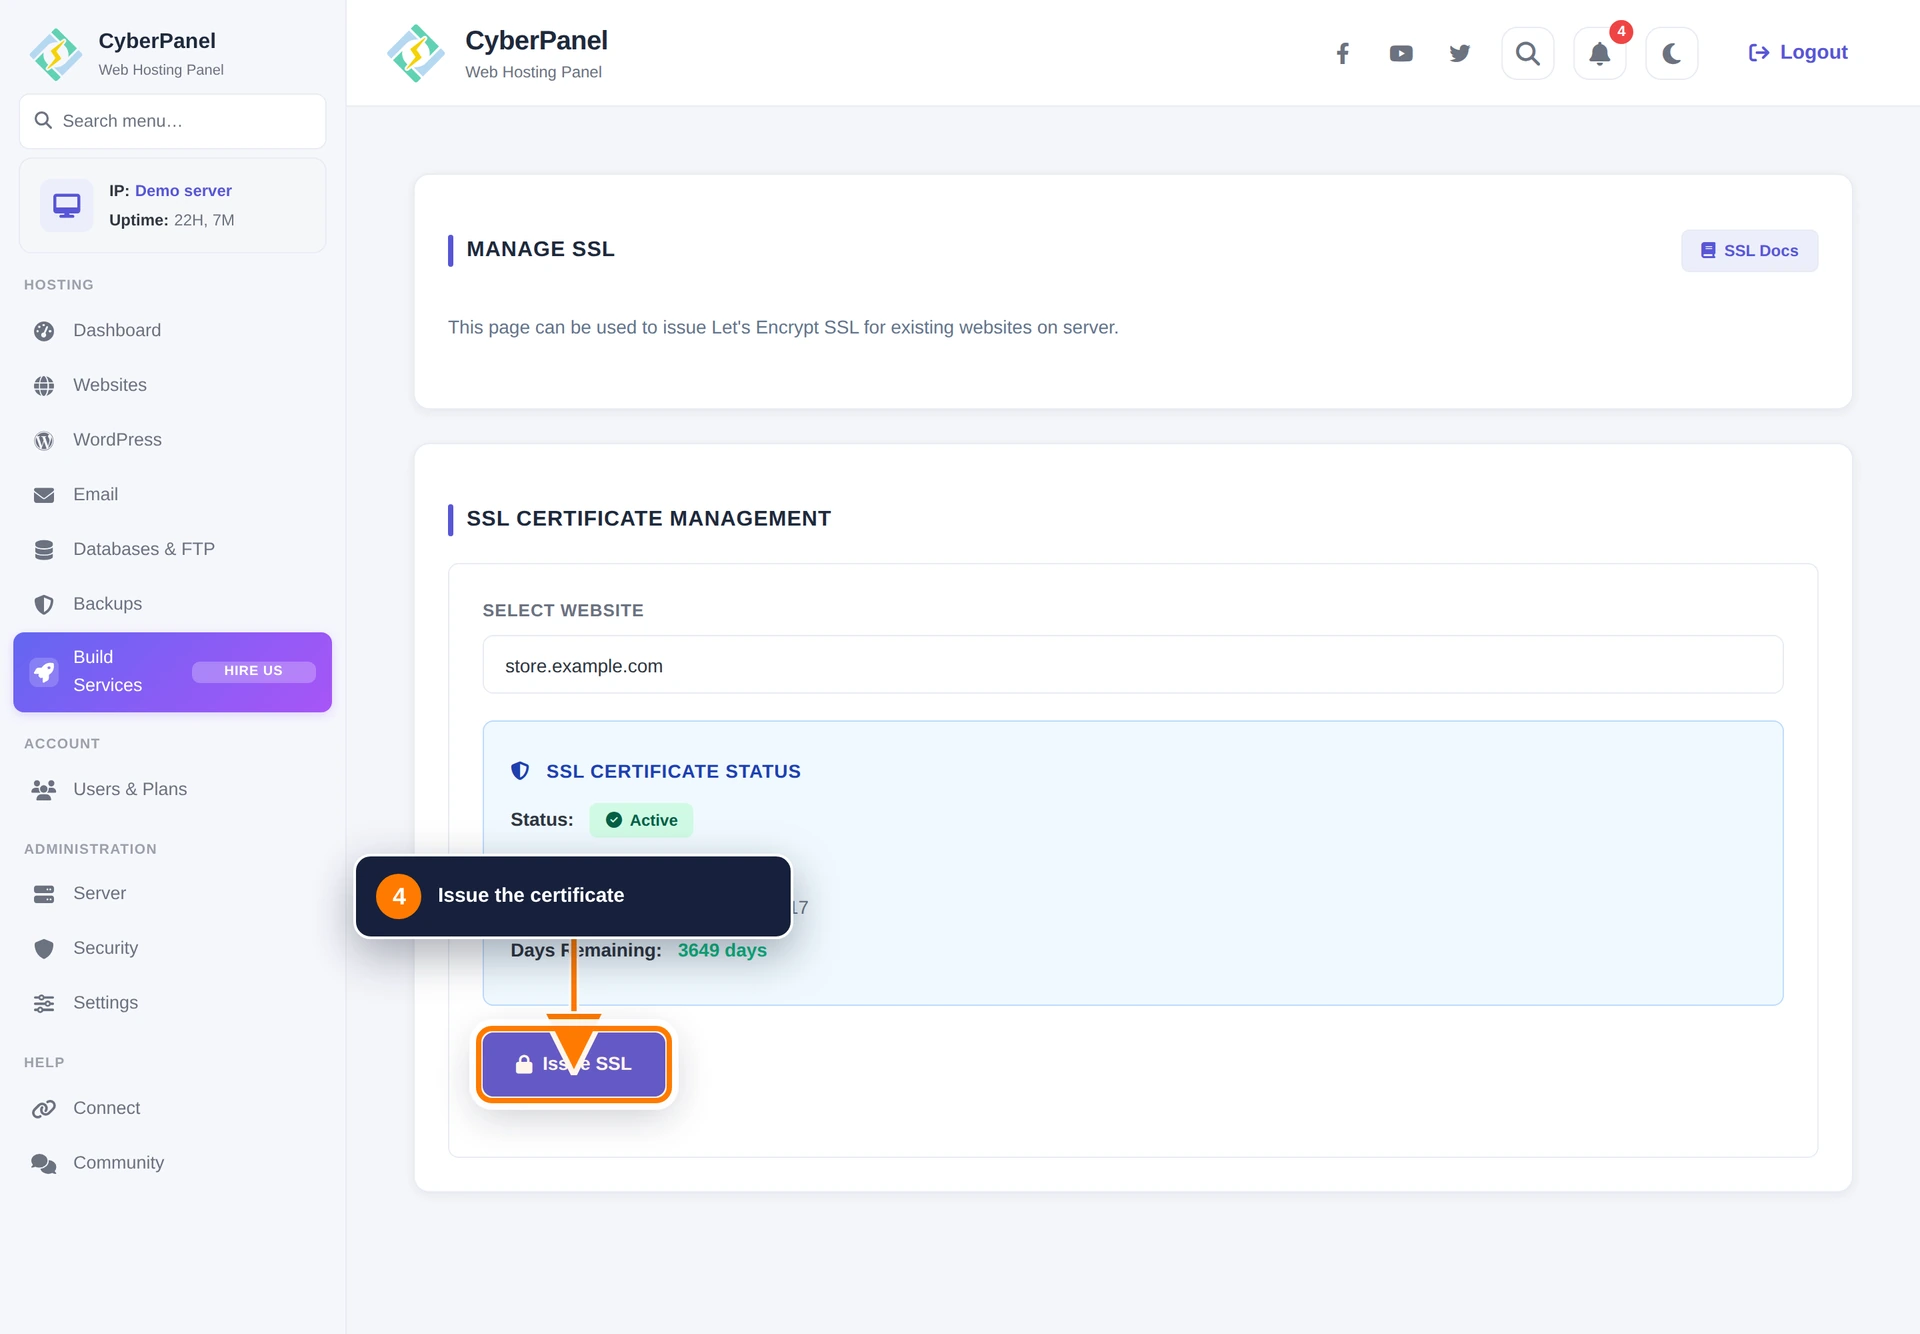
Select Issue SSL and wait for the result. Do not close the page while validation is running.
If certificate issuance fails
Check the domain’s A and AAAA records, remove any stale IPv6 record, confirm ports 80 and 443 reach this server, and make sure another proxy or web server is not answering the validation request. After fixing DNS, wait for propagation and issue SSL again.
Website certificates, aliases, subdomains, and addon domains are grouped under Website Home → SSL & Domains.