
Backup and Restore in CyberPanel
The Backups section includes one-click website backups, incremental backups, schedules, remote destinations, Google Drive, and restore tools. This guide covers a manual full backup and restore in the current interface.
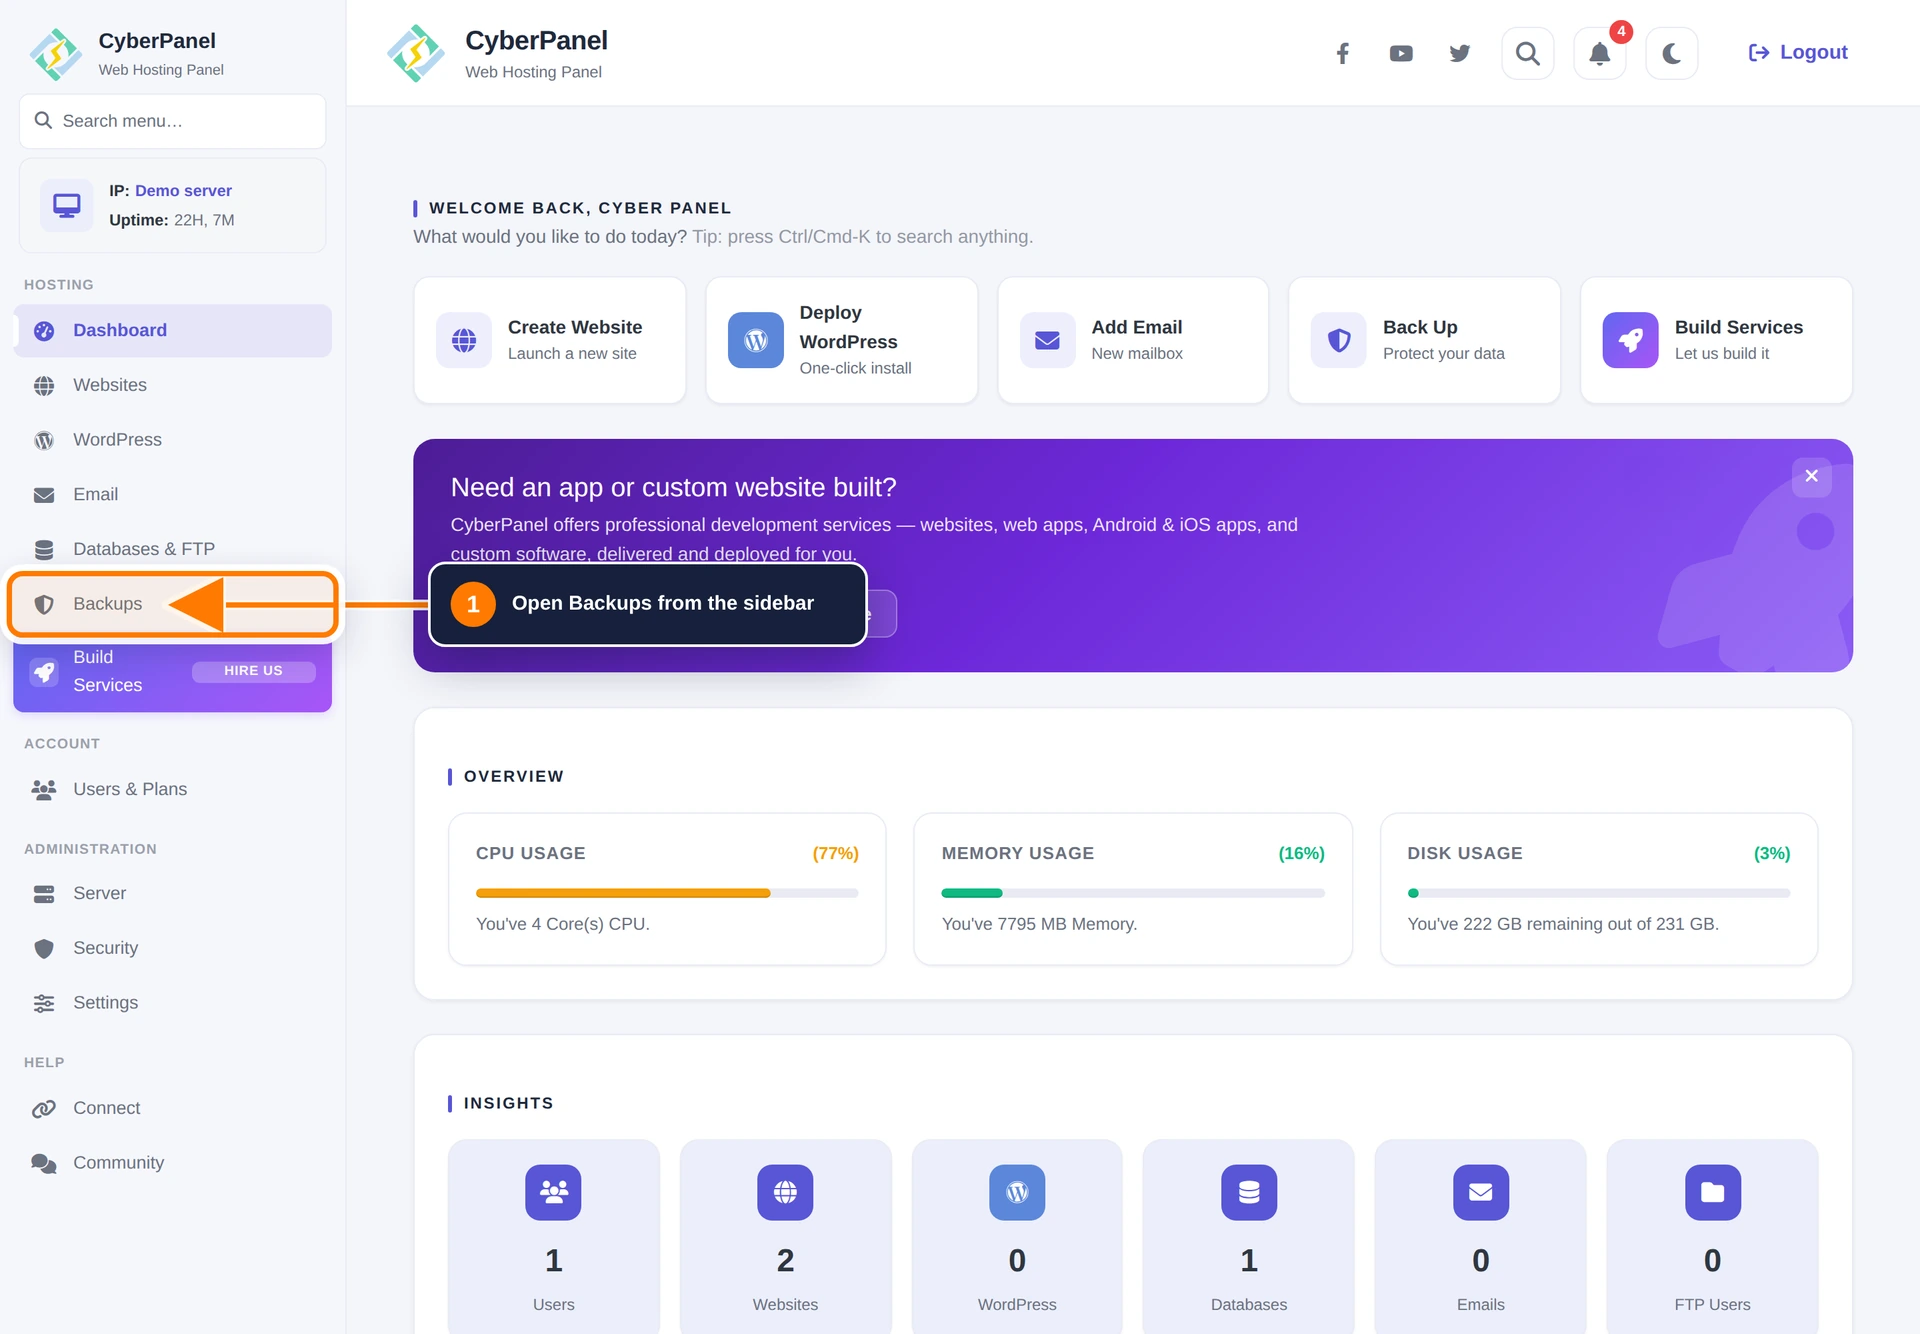
Step 1: Open Backups
Sign in to CyberPanel and select Backups in the left sidebar.
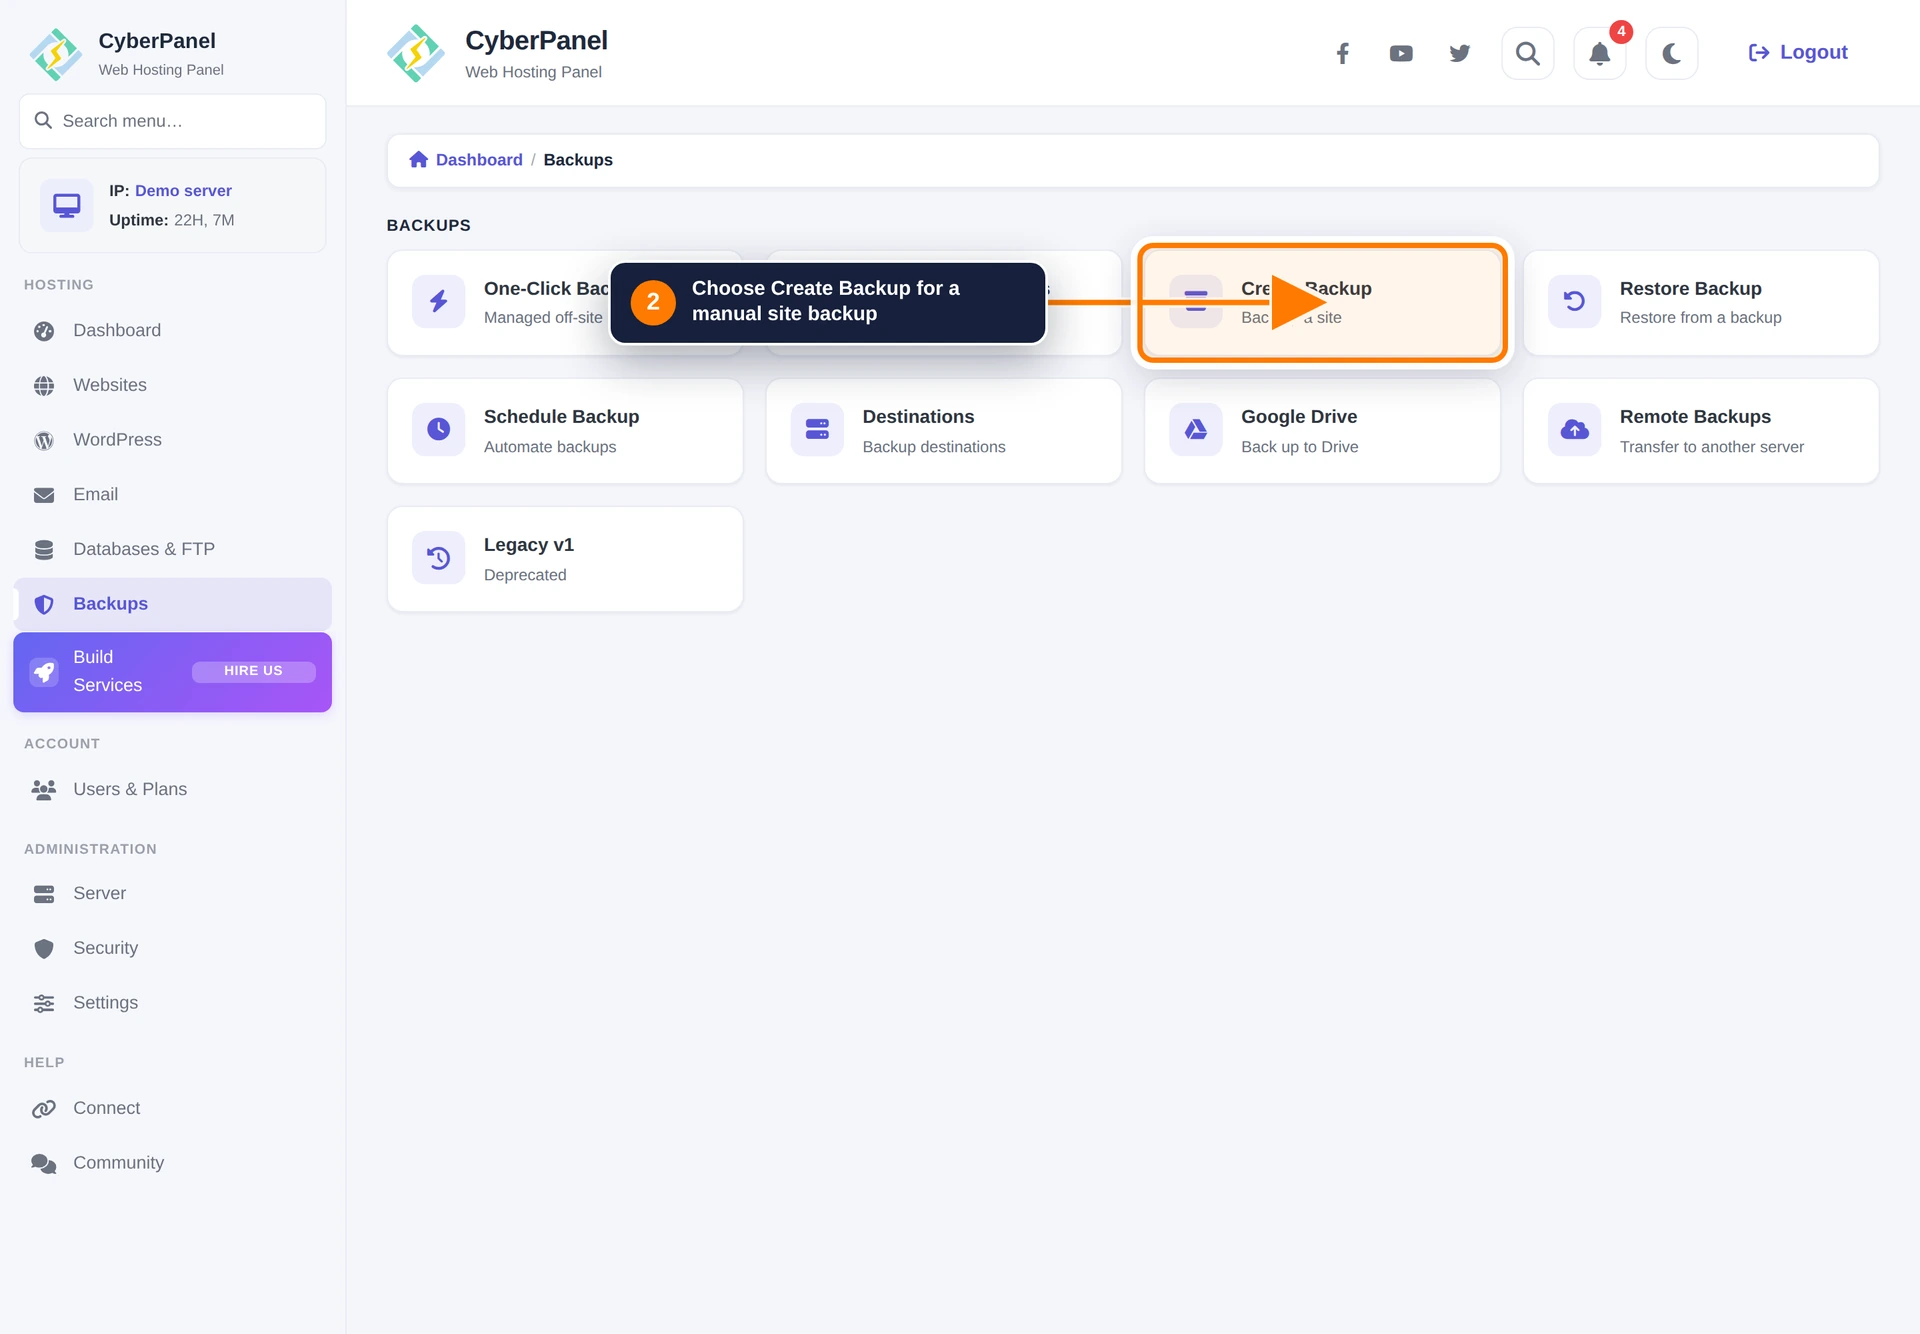
Step 2: Open Create Backup
Select Create Backup for a manual full website backup. Use Incremental Backups for Backup V2 jobs and Schedule Backup for recurring full backups.
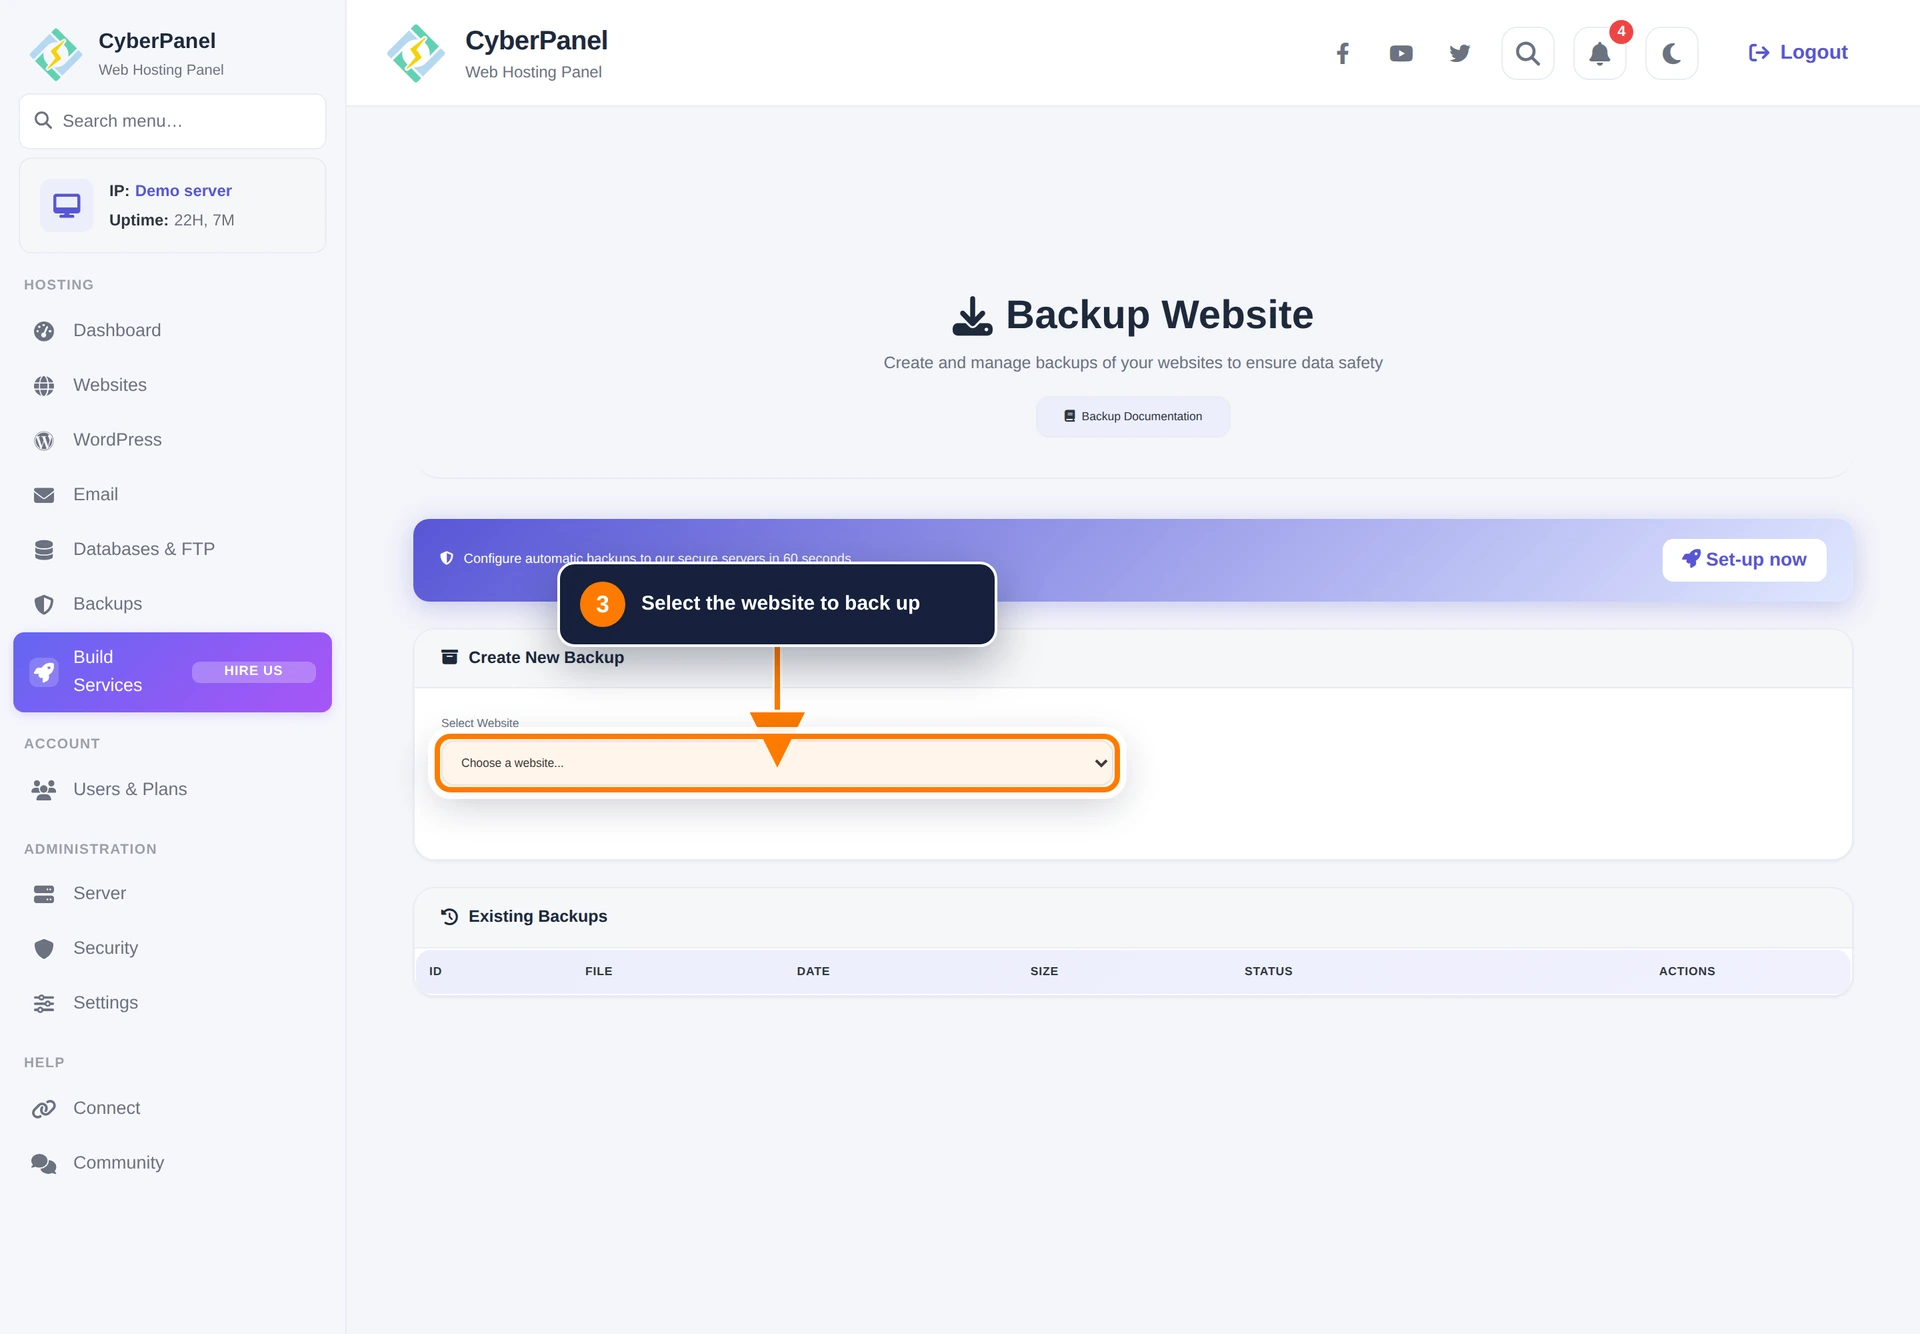
Step 3: Select the website
Choose the website to back up. A full website backup includes the site files and its associated data handled by CyberPanel’s backup tool.
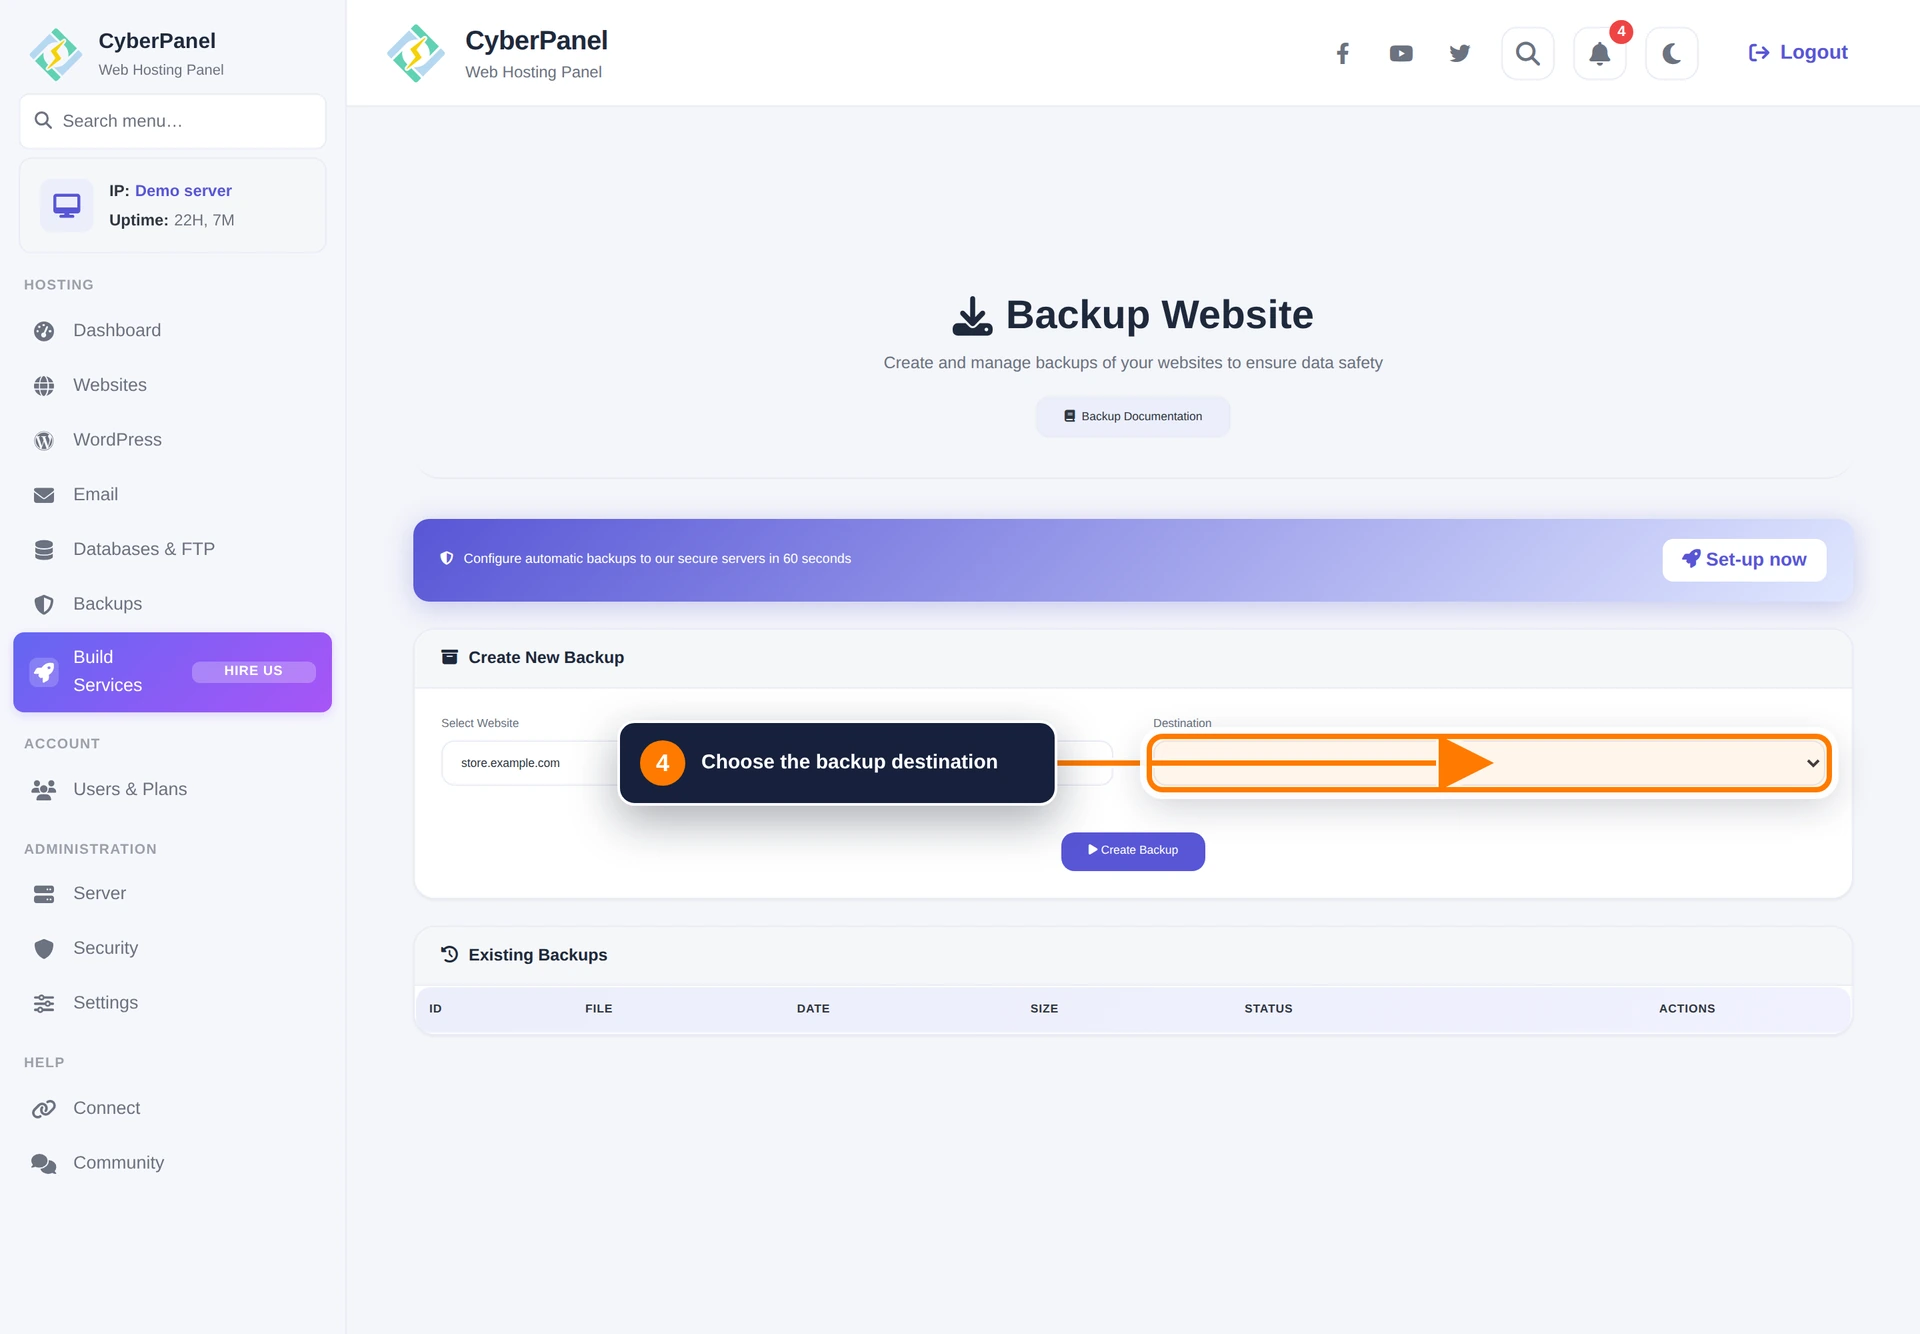
Step 4: Choose the destination
Select the backup destination. Home stores the archive on this server. Configure a remote destination from the Backups hub when you need an off-server copy.
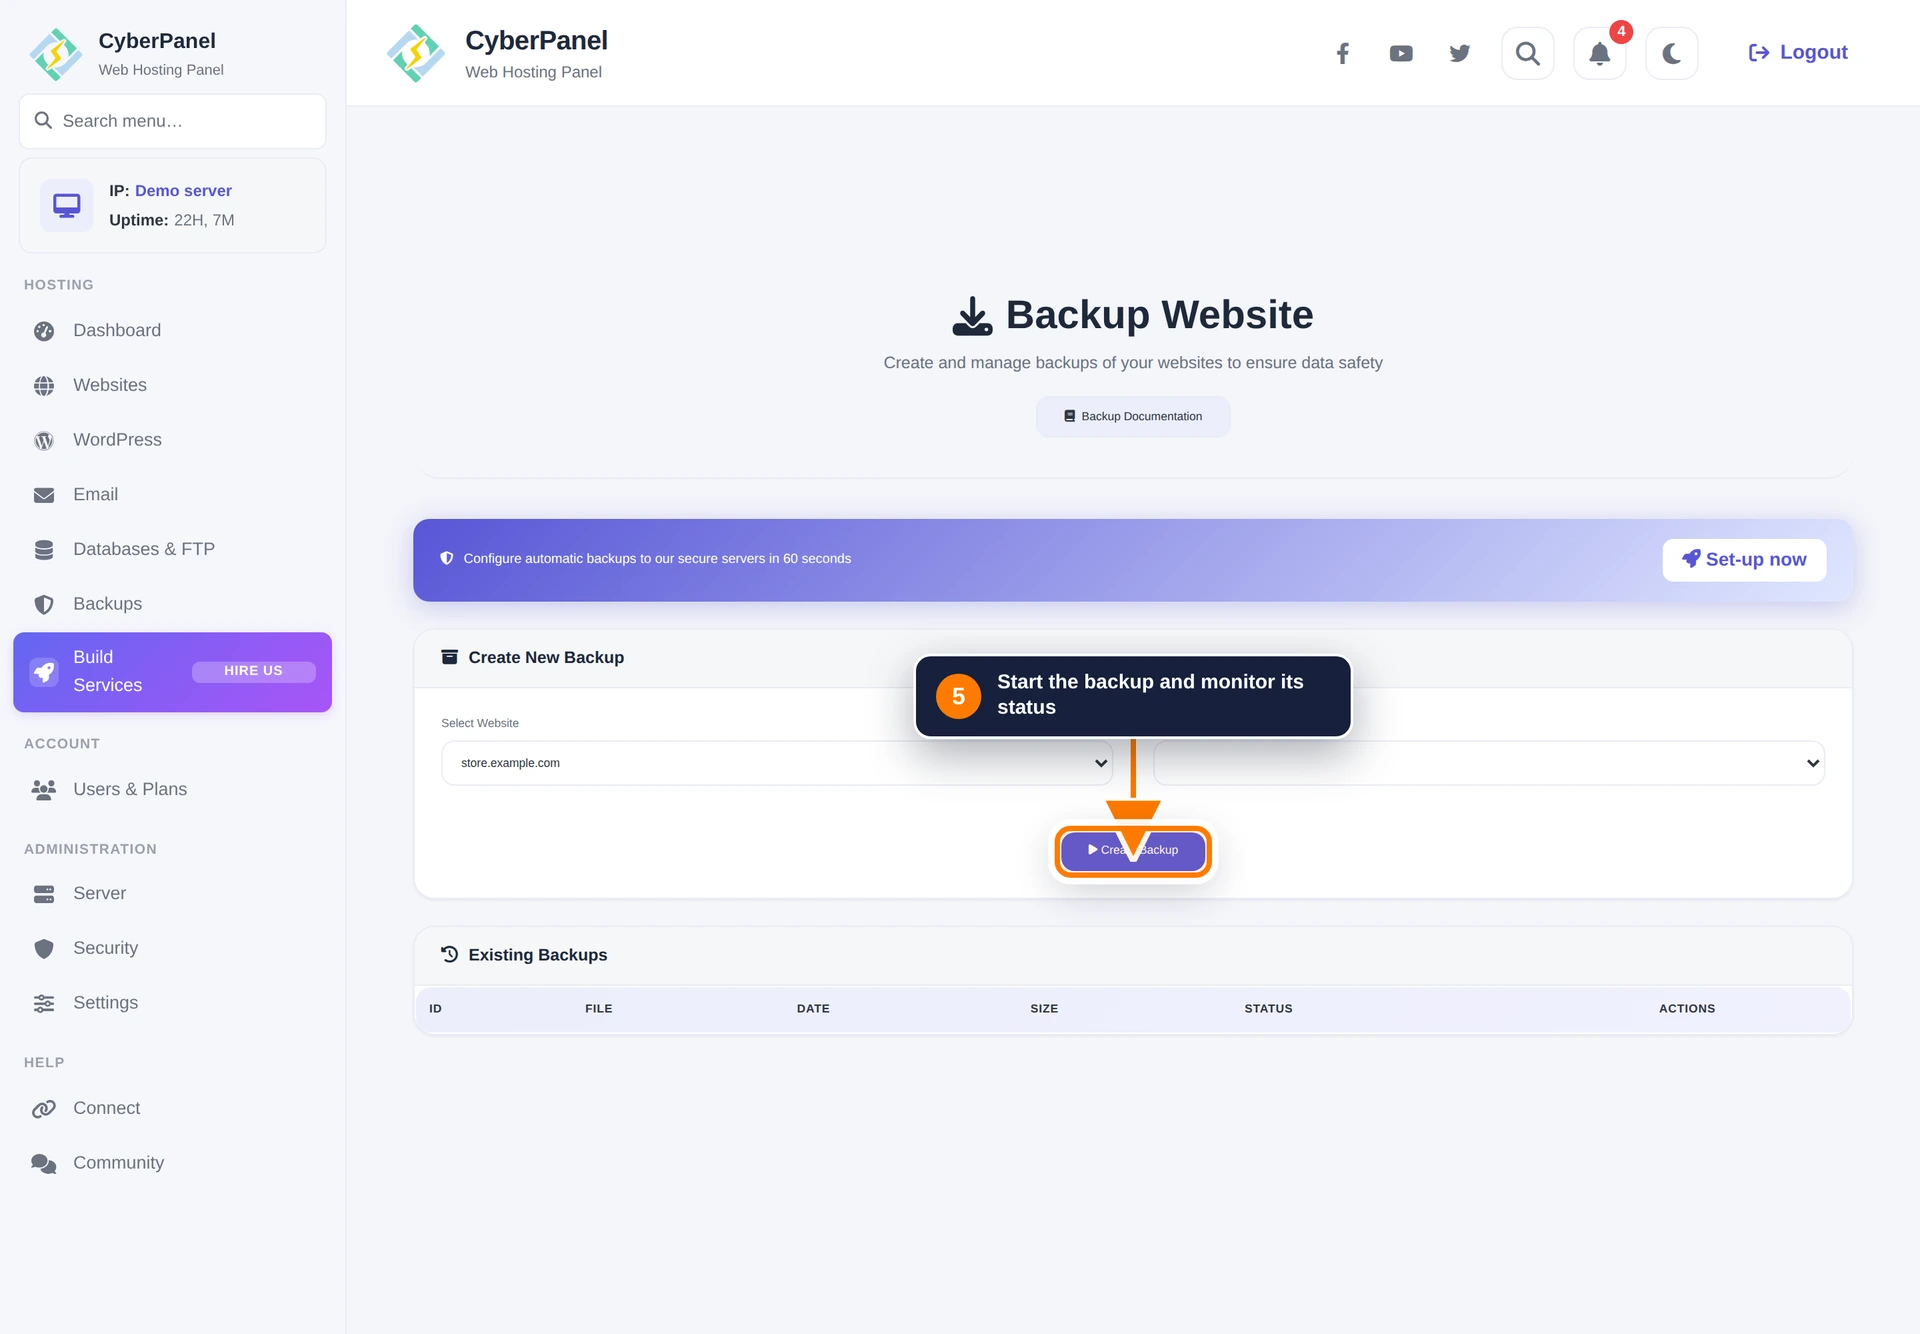
Step 5: Create the backup
Select Create Backup. Large sites can take several minutes. You can return to the page to check status, but do not delete or move the archive until the job reports completion.
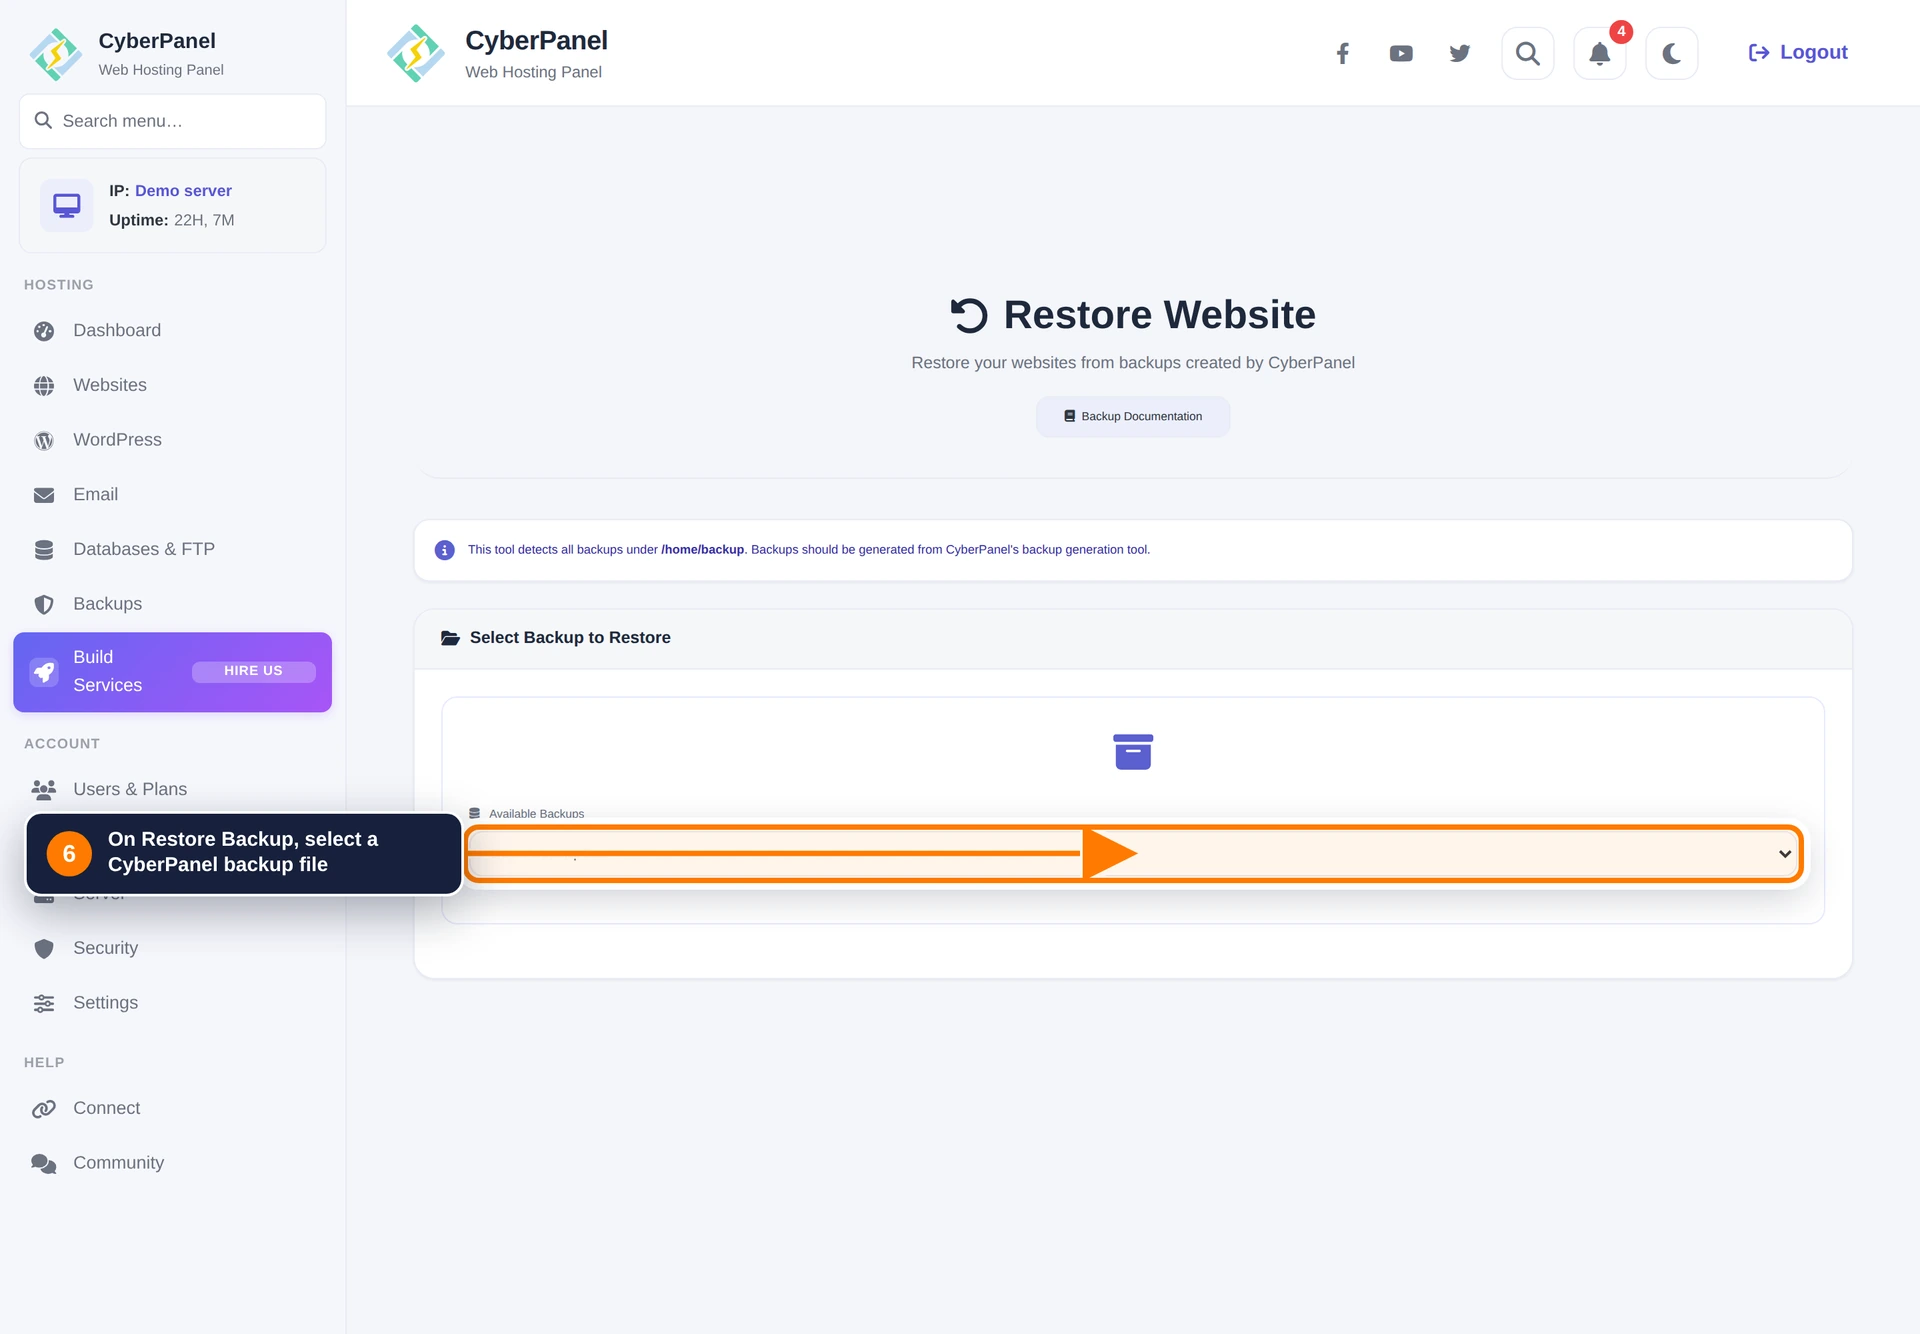
Step 6: Select a backup to restore
Open Backups → Restore Backup. The restore tool detects CyberPanel backup archives under /home/backup. Copy the completed archive to that directory on the destination server, then choose it from the list.
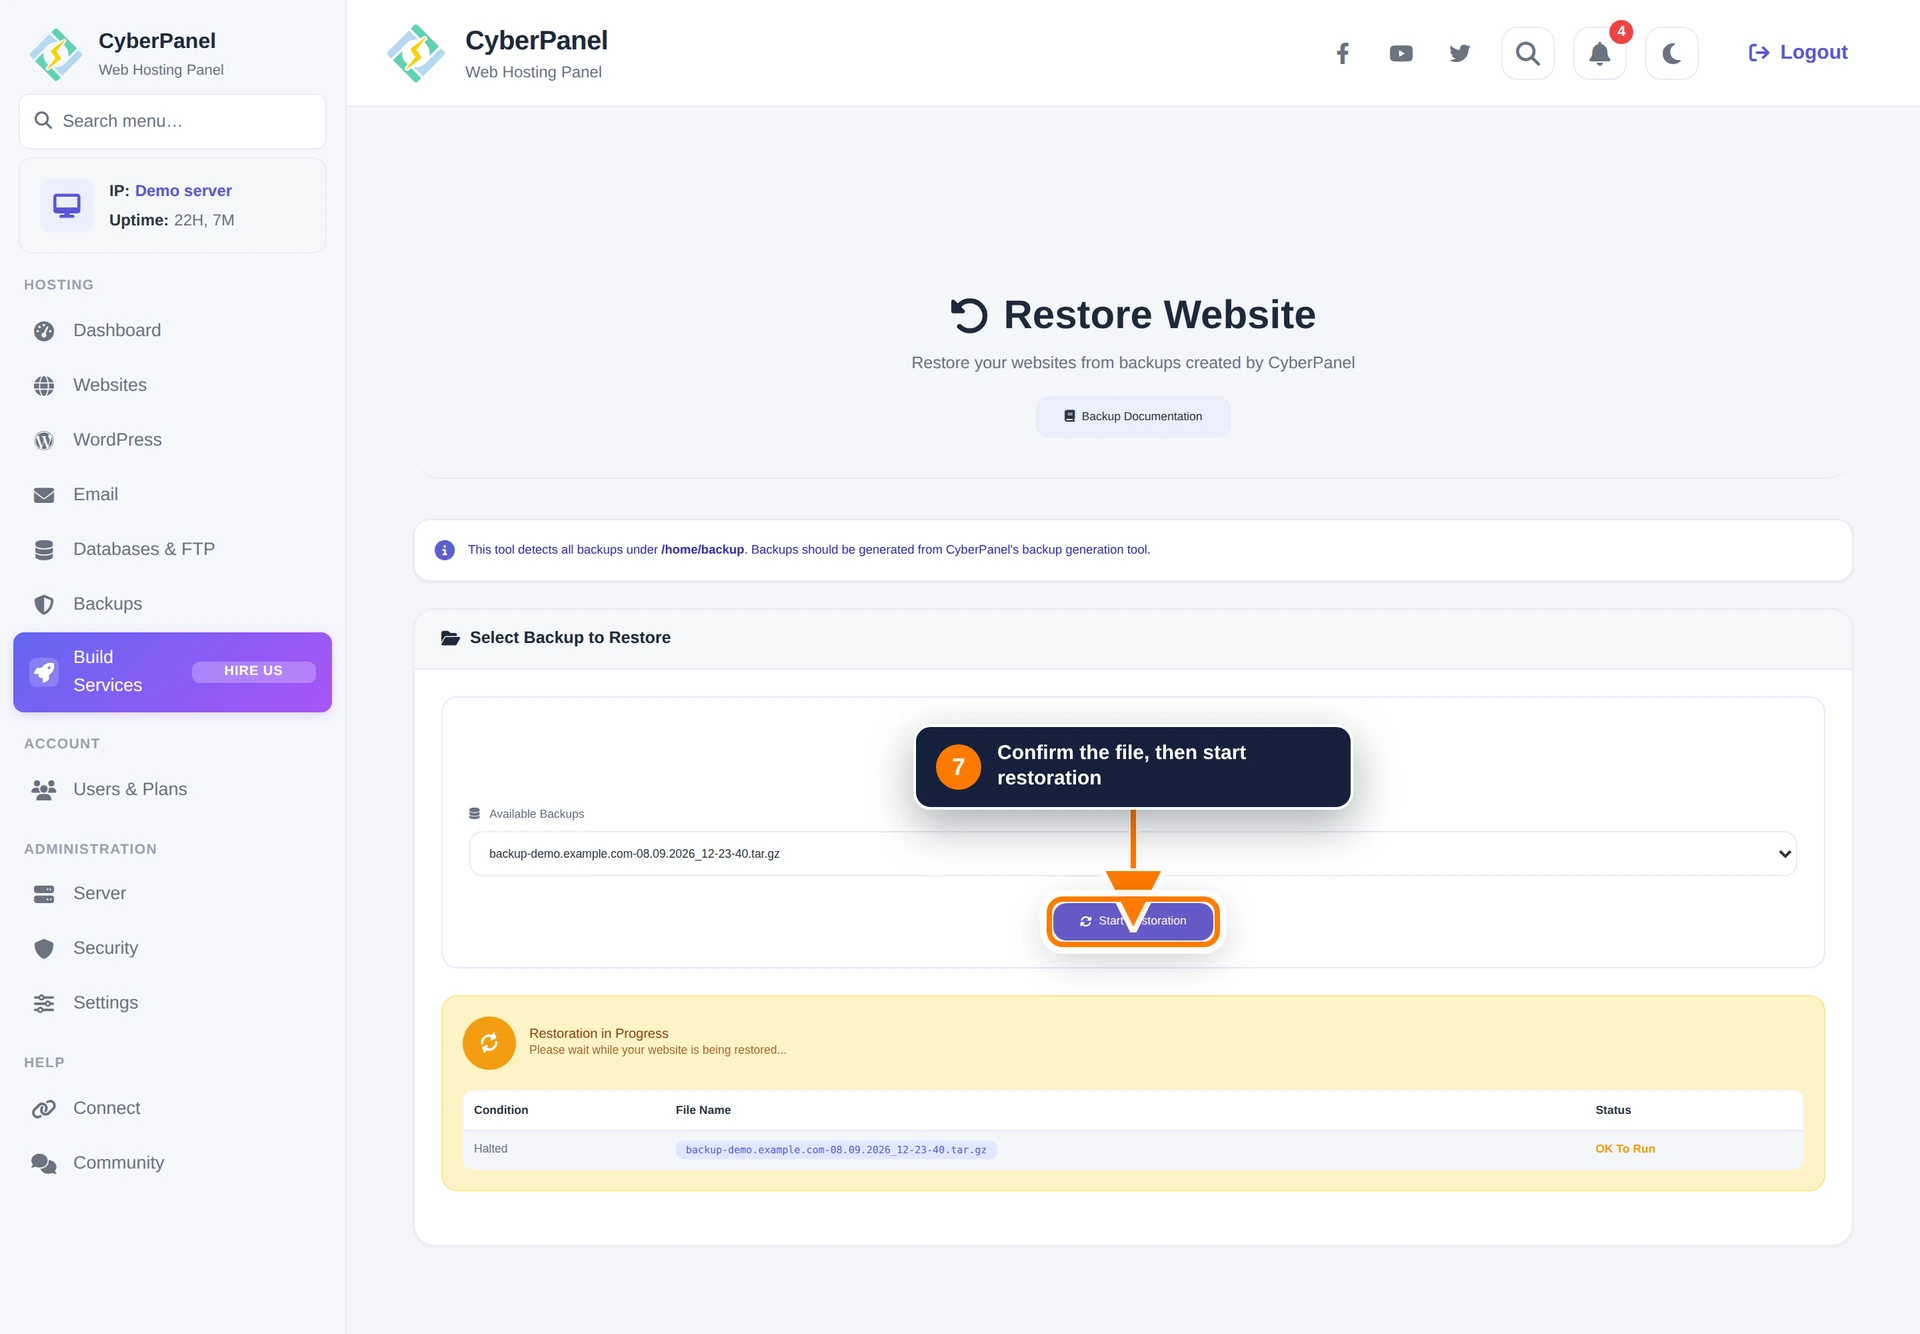
Step 7: Start restoration
Confirm the archive and target website, then select Start Restoration. Keep the original backup until you have checked the website files, database, DNS, SSL, and application login after restoration.
Which backup option should I use?
- One-Click Backups: a guided backup workflow.
- Incremental Backups: Backup V2 jobs that transfer changed data efficiently.
- Create Backup: an on-demand full website archive.
- Schedule Backup: recurring full backups.
- Destinations, Google Drive, and Remote Backups: off-server storage and transfers.
- Backup V1: the legacy workflow; use current backup tools for new configurations.
For a single site, open these tools from Website Home → Backups. WordPress-only file and database backups are available under WordPress Manager → Backups.