
Email Management in CyberPanel
The Email area in CyberPanel manages mailboxes, forwarding, catch-all addresses, delivery tools, DKIM, webmail, spam filtering, and the mail queue. This guide shows the current interface and the basic mailbox-creation workflow.
Step 1: Open Email
Sign in to CyberPanel and select Email in the left sidebar.
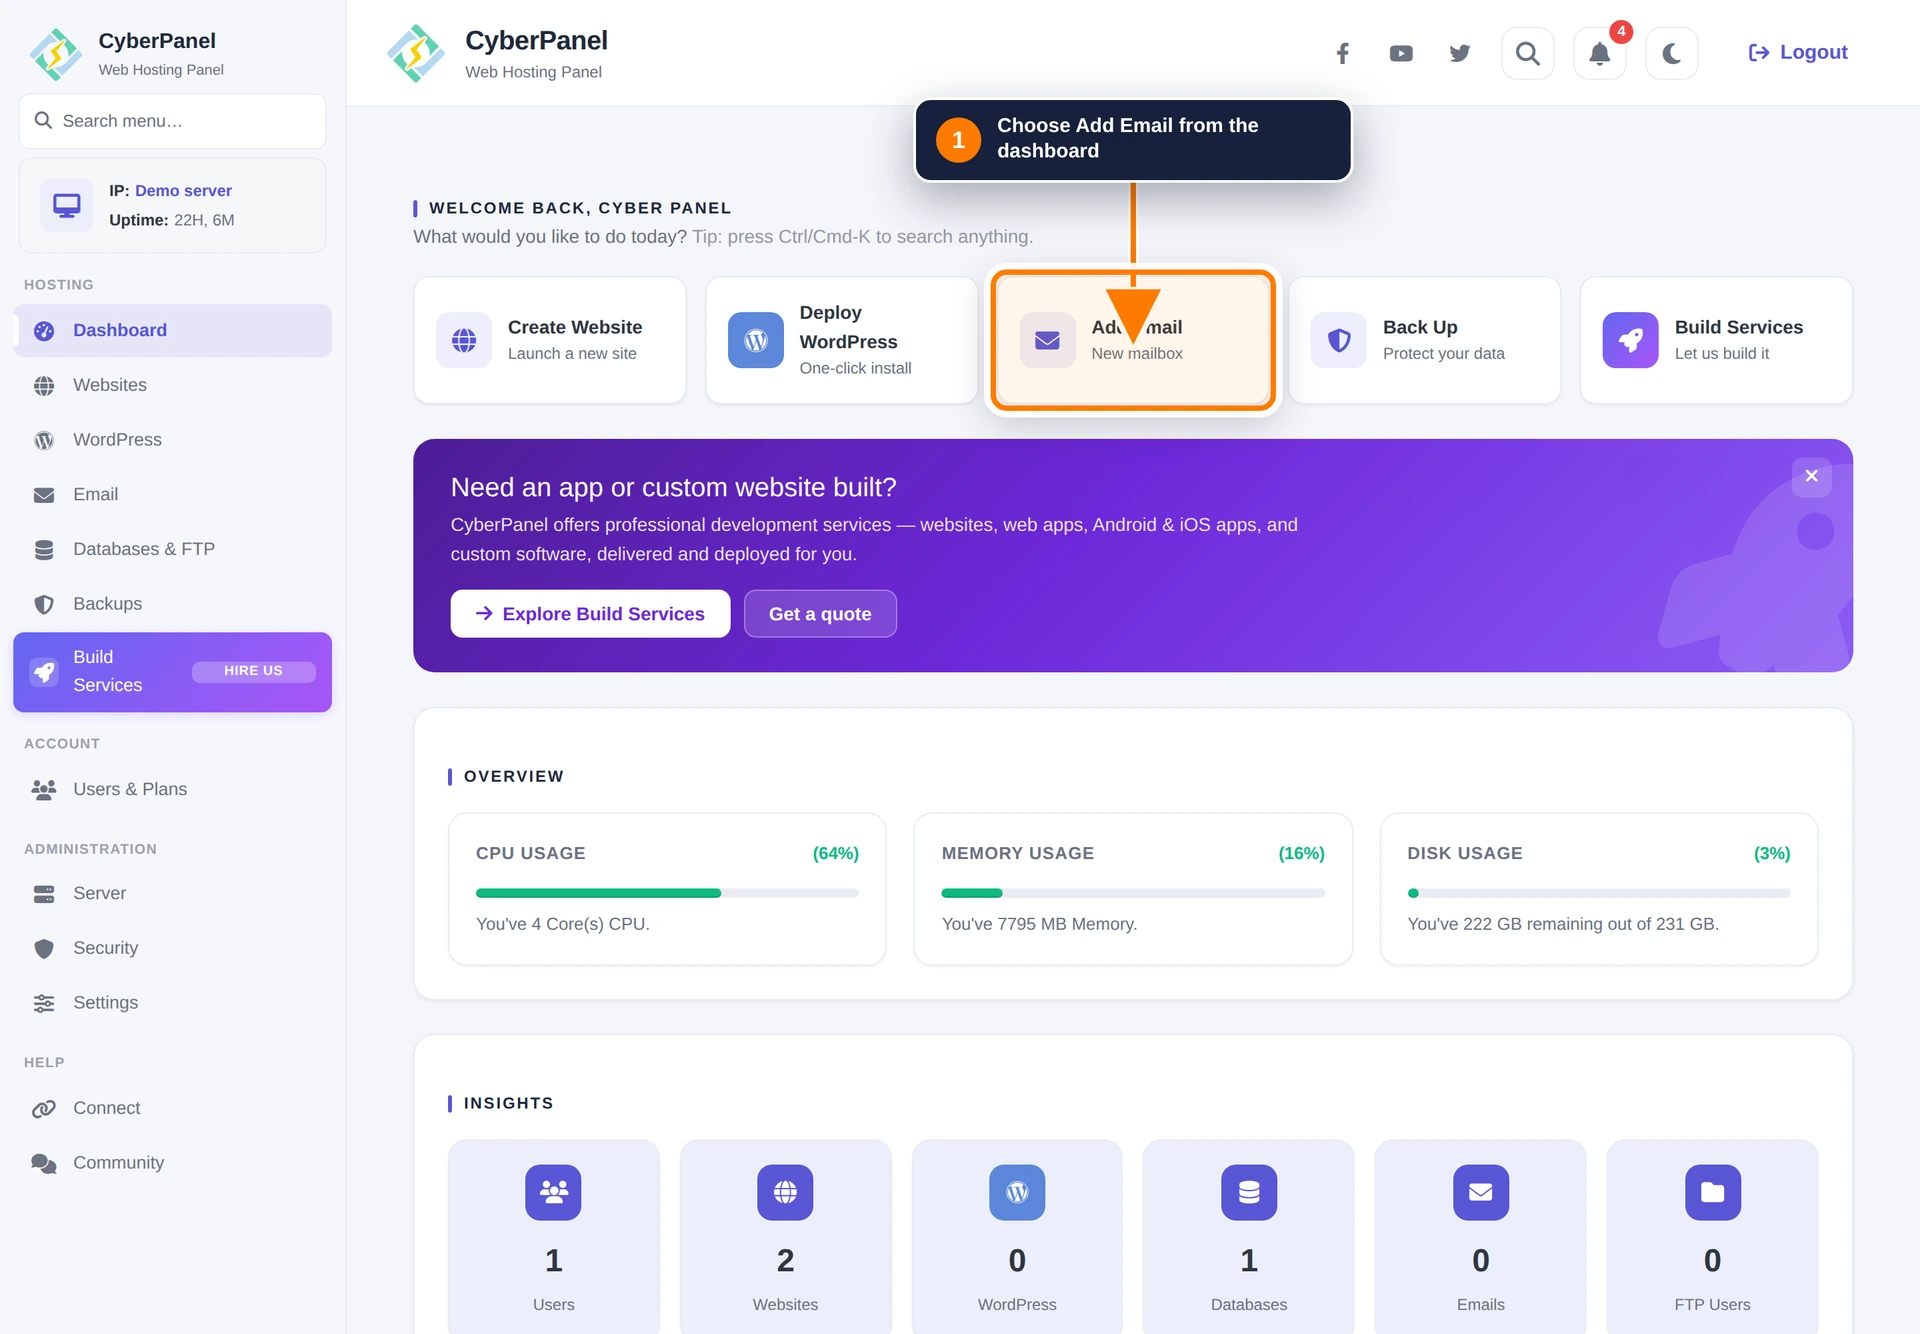
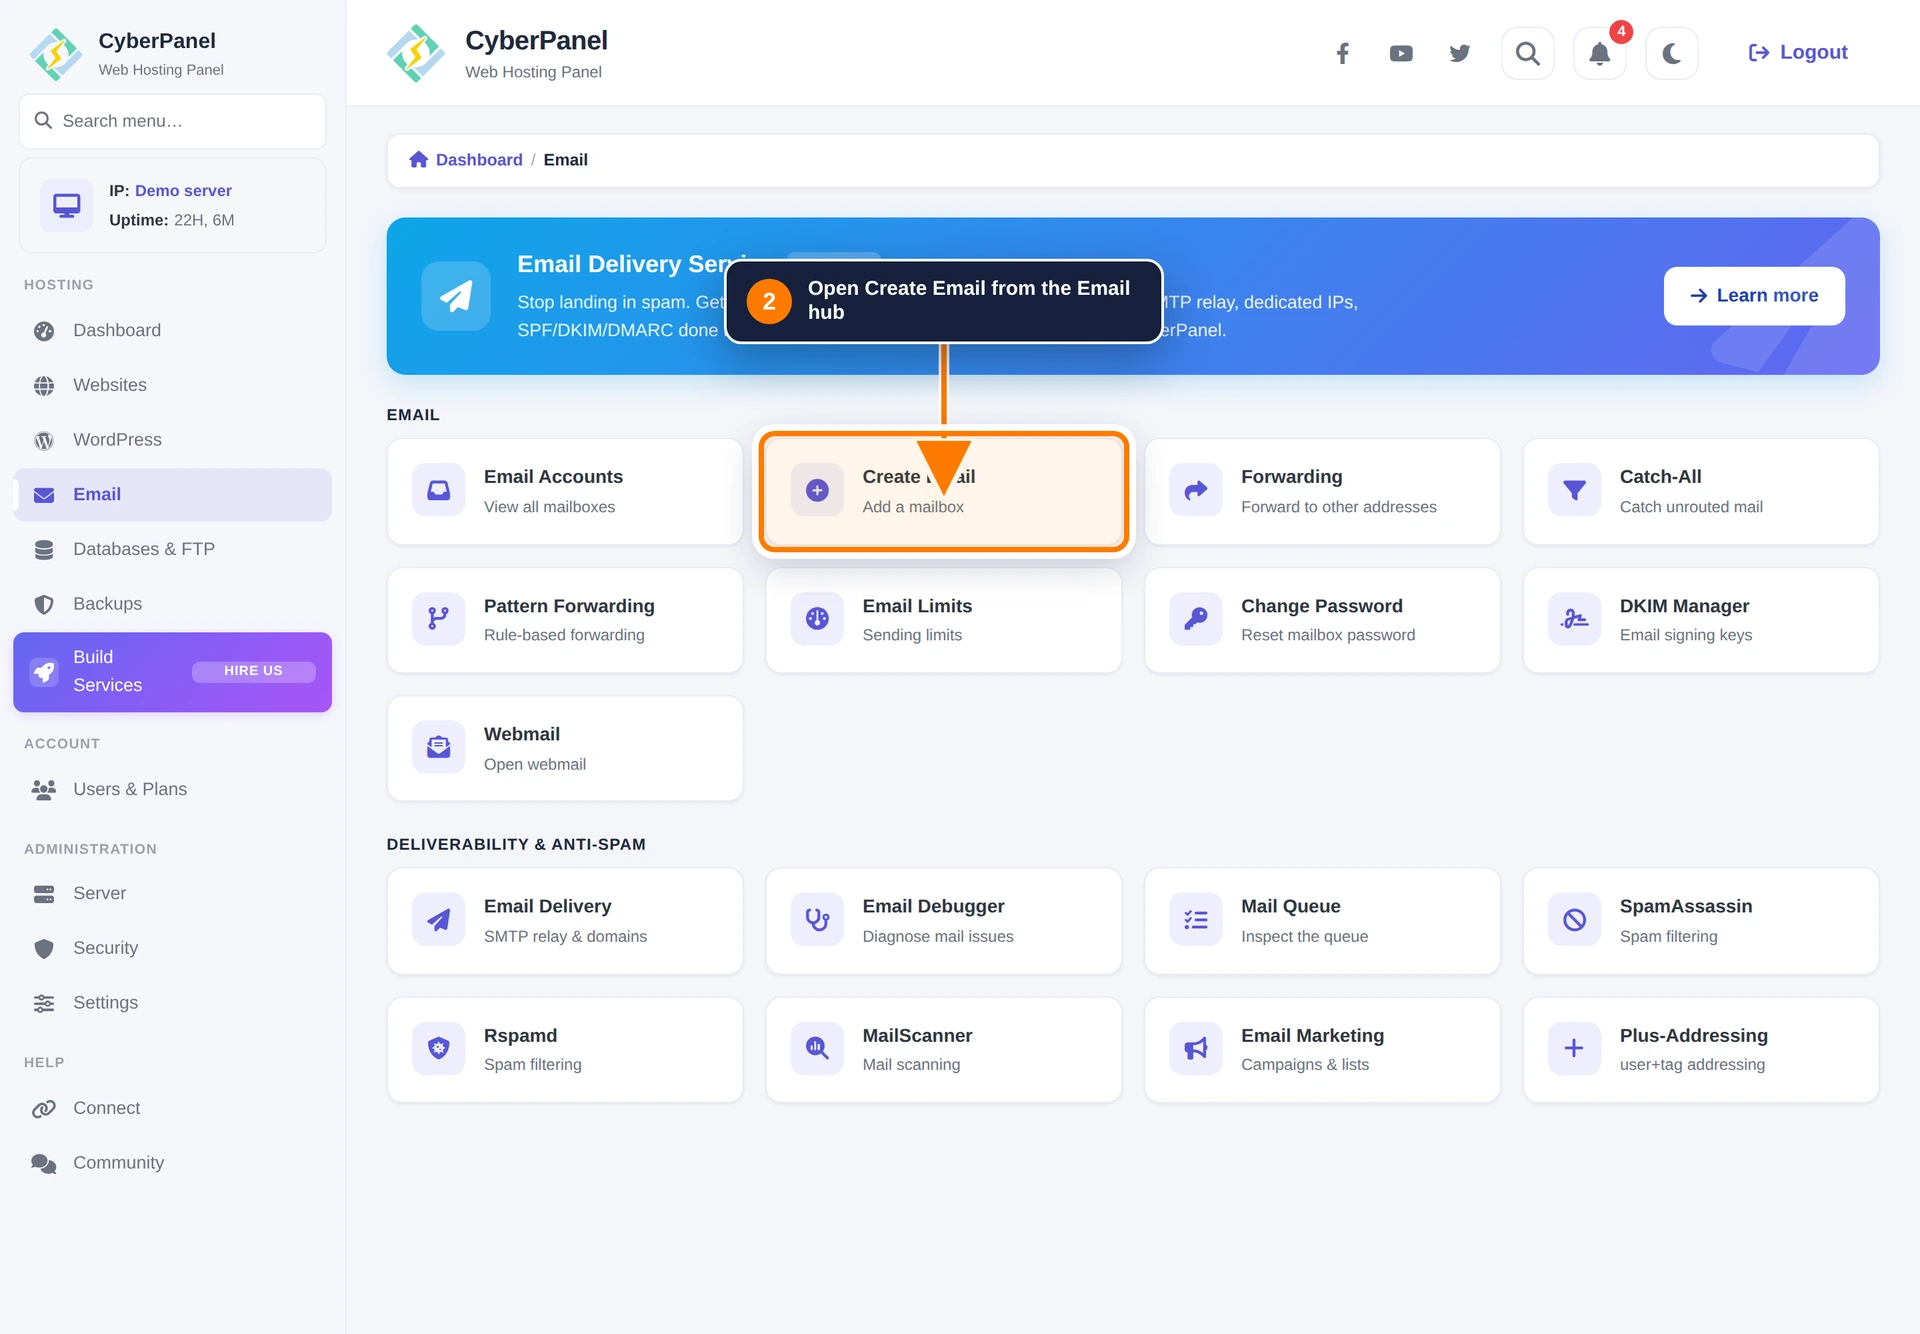
Step 2: Choose an email tool
The Email hub groups the available tools. Select Create Email to add a mailbox. Other cards provide access to existing accounts, forwarding, catch-all rules, email limits, DKIM Manager, Webmail, Email Debugger, the mail queue, and spam-filtering services.
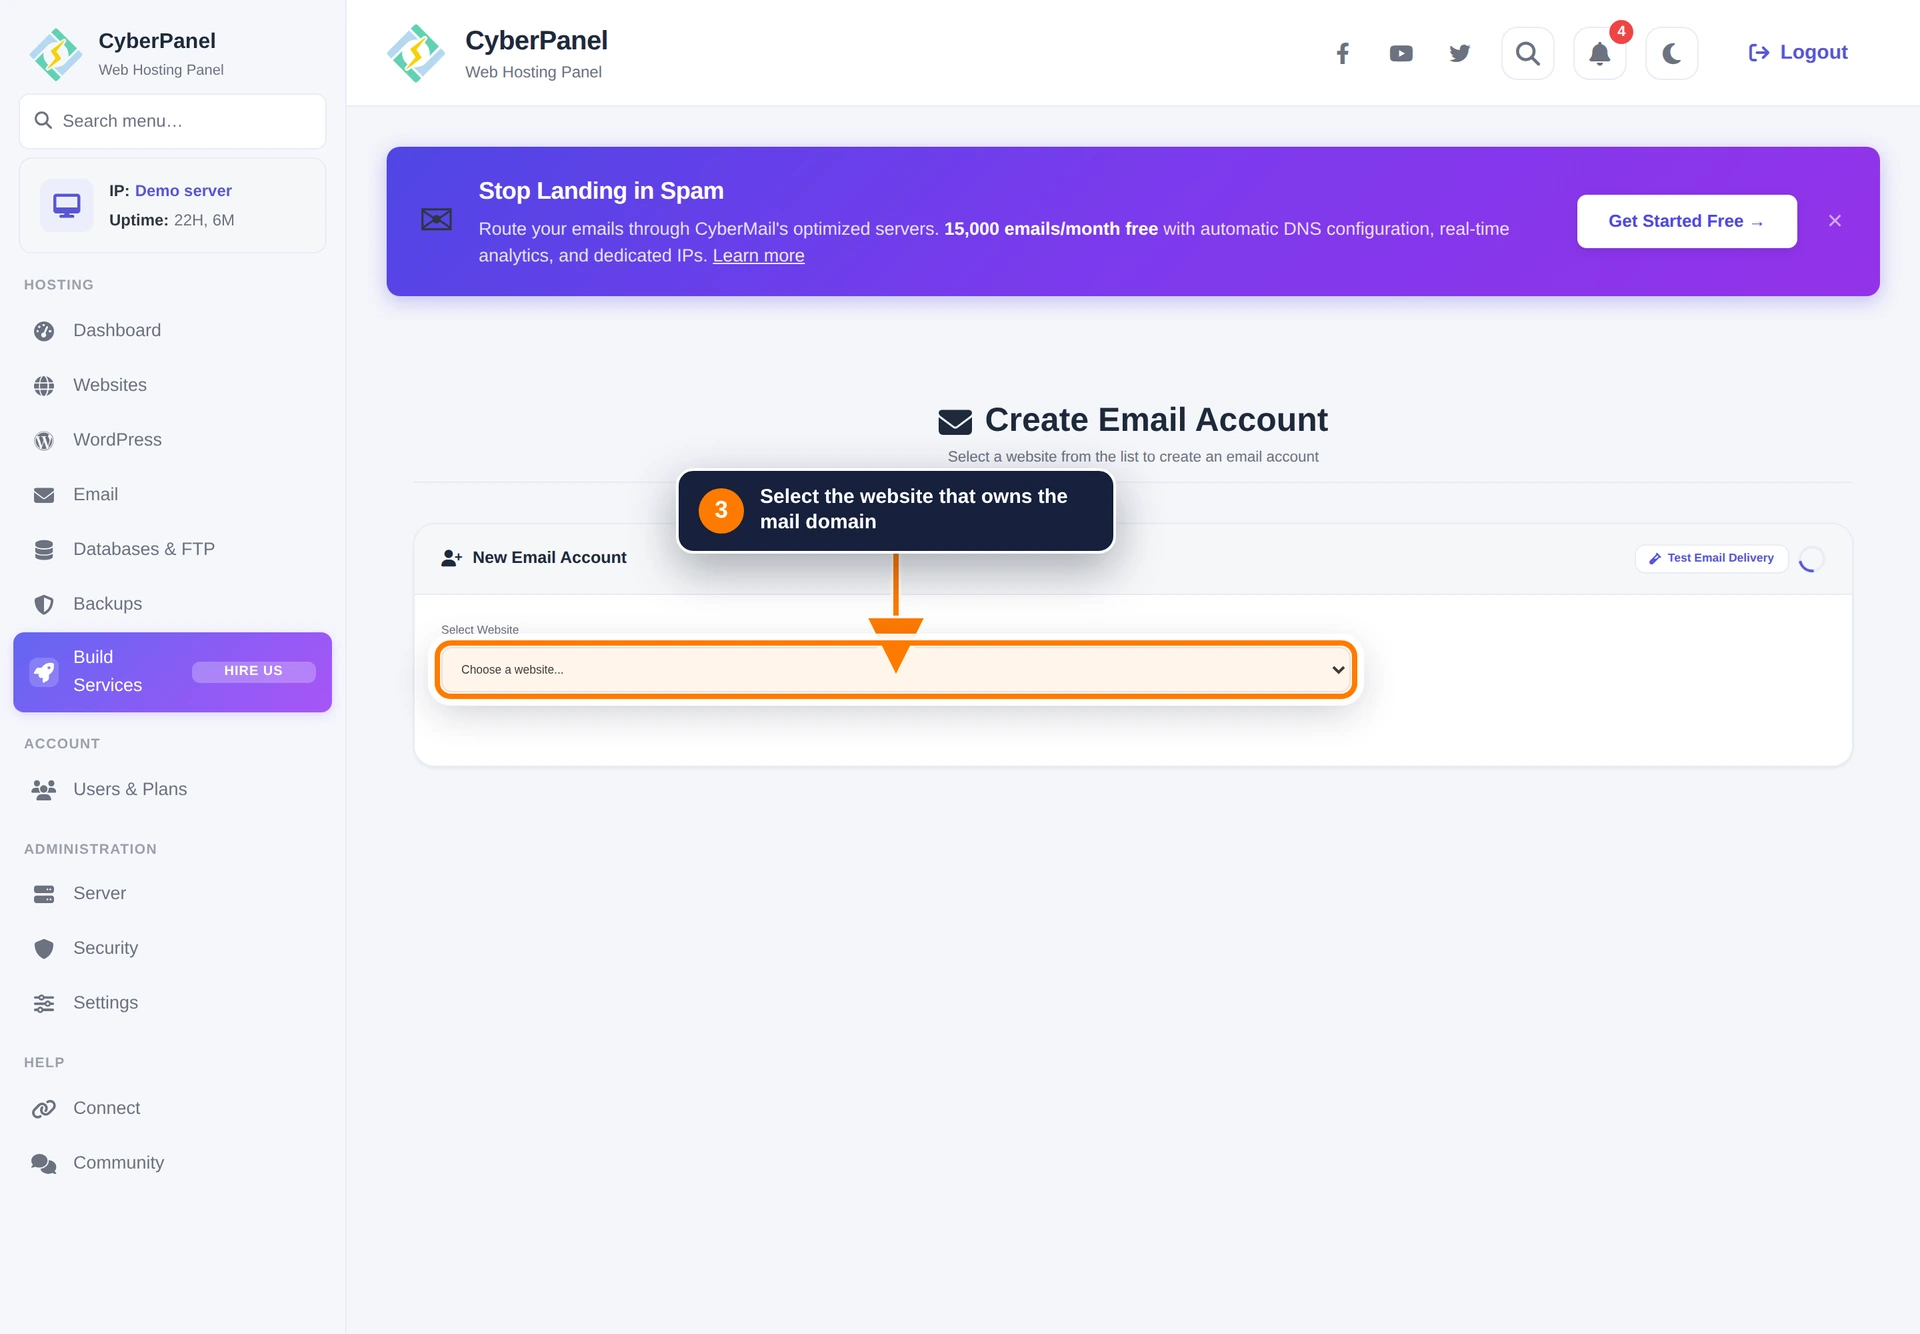
Step 3: Select the website
Choose the website whose domain will be used for the new mailbox.
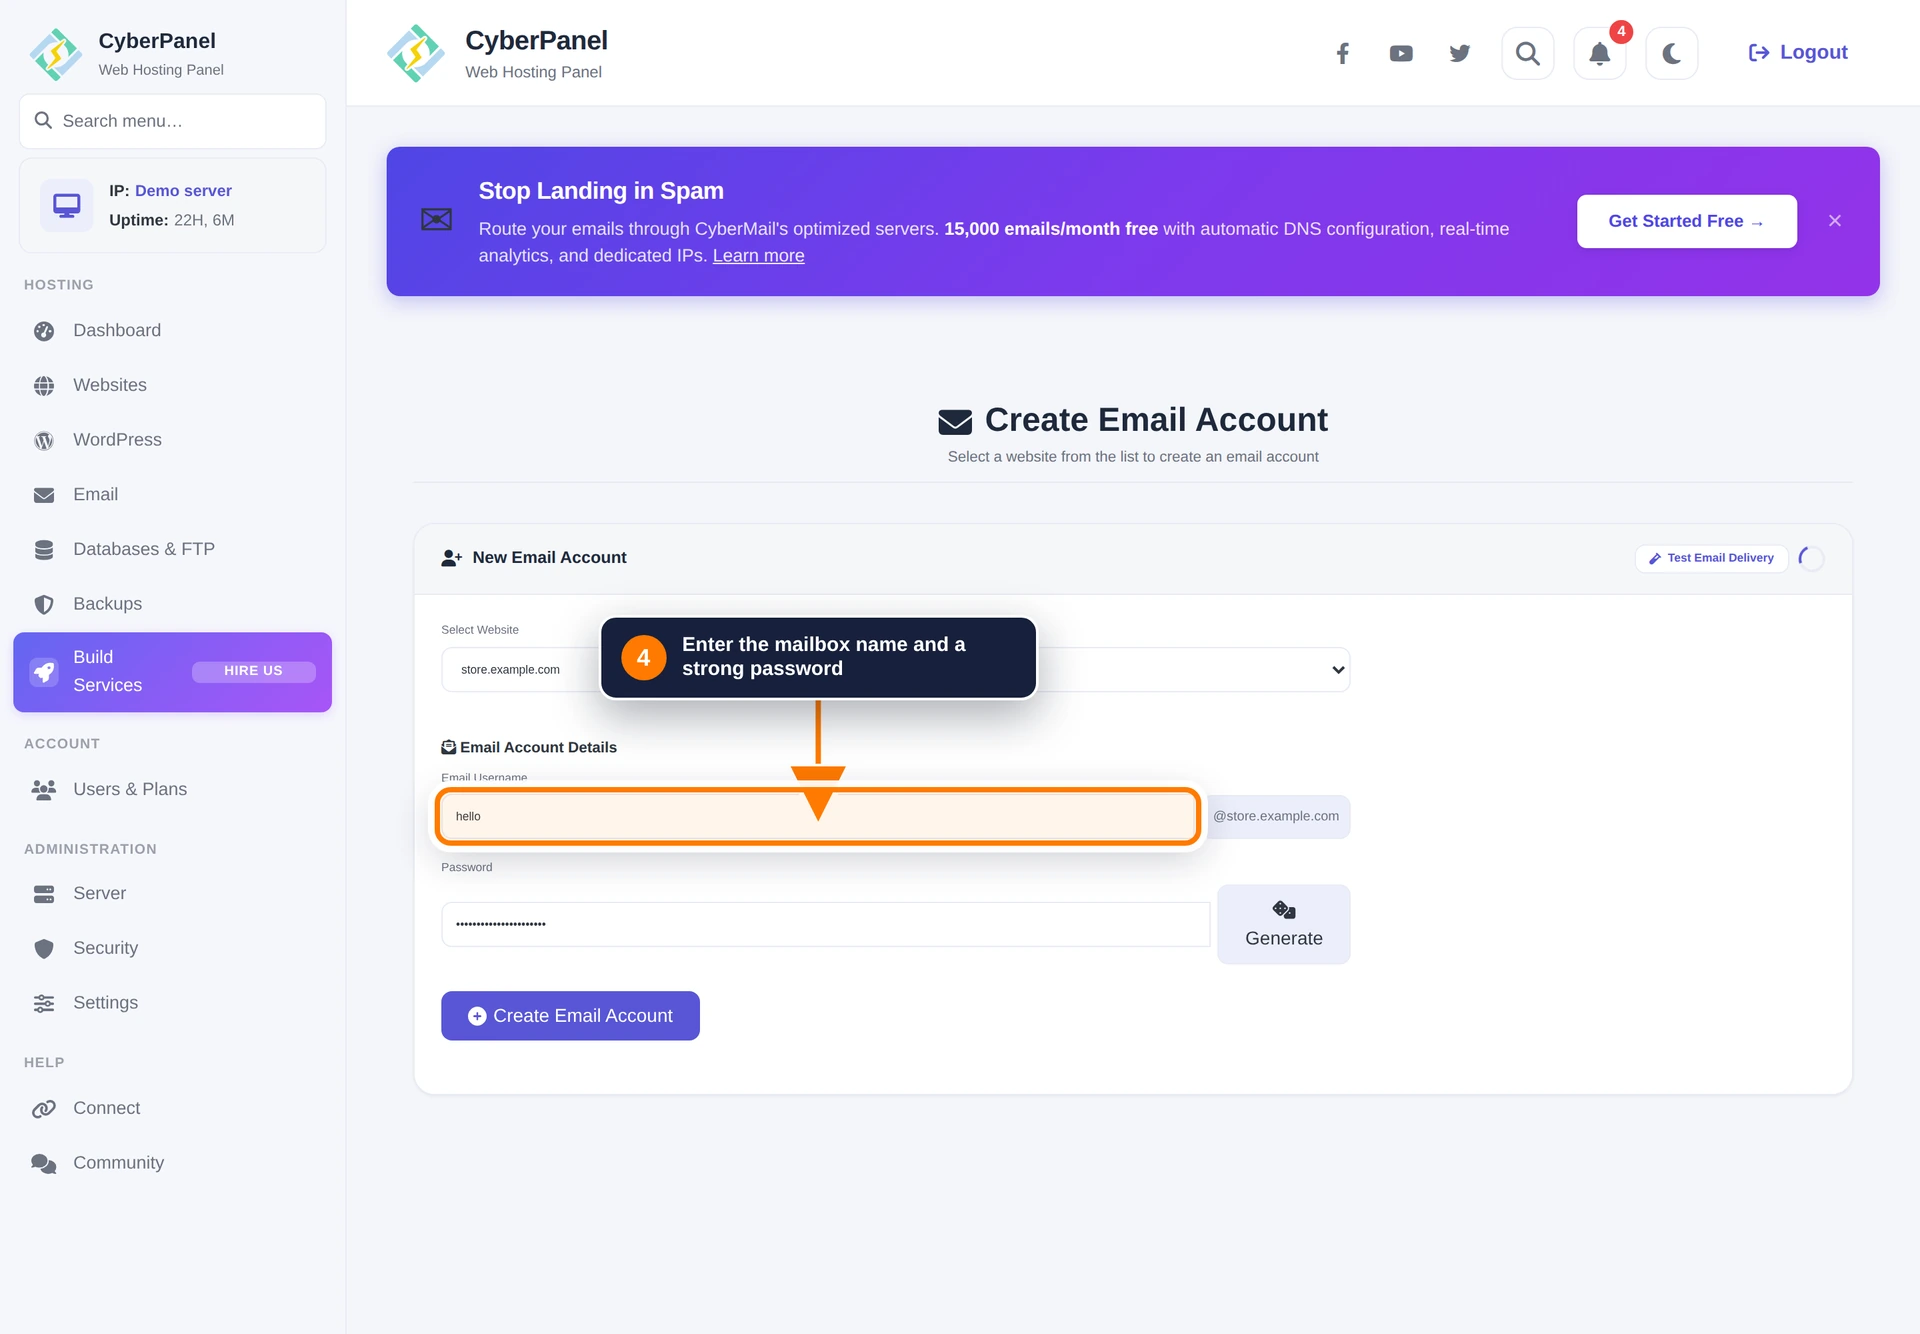
Step 4: Enter the mailbox details
Enter only the part before the @ sign in Email Username. Enter a strong, unique password or use Generate.
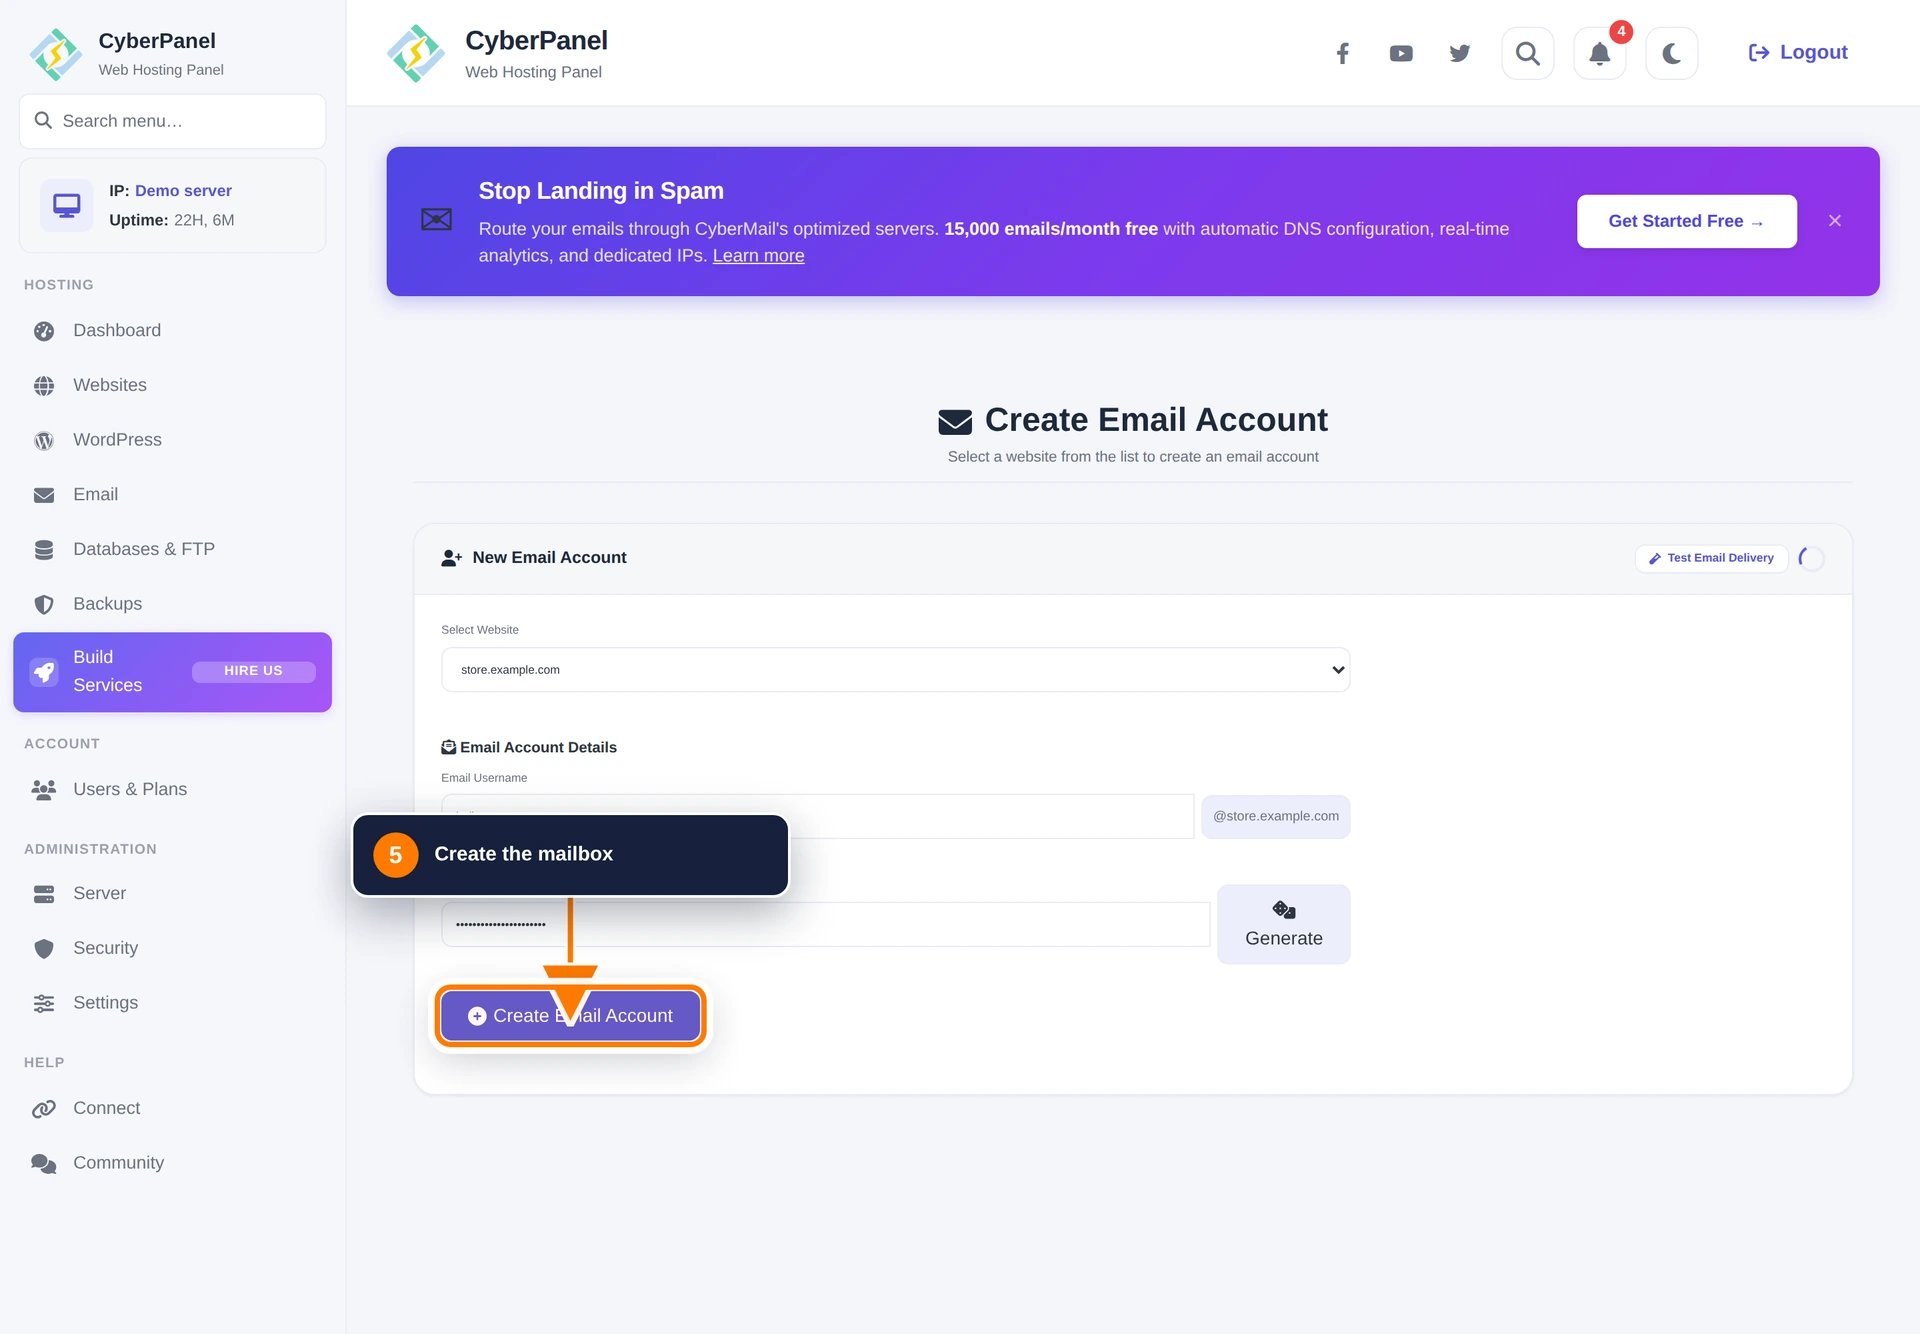
Step 5: Create the mailbox
Select Create Email Account and wait for the success message.
After creation
Return to the Email hub to open Email Accounts, change a mailbox password, or launch Webmail. Use DKIM Manager to obtain the domain’s DKIM record. If sending or receiving fails, check Email Debugger, Mail Queue, the public DNS records, and whether mail ports are allowed by the server and hosting provider.
You can also reach the website’s mailboxes, forwarding, and Webmail shortcuts from Website Home → Email.