
How to Create a Docker Container in CyberPanel
After pulling an image, use CyberPanel to create a container with an owner, memory limit, port mapping, environment variables, and optional persistent volumes.
The example below uses the official nginx:stable image, a 256 MB memory limit, and host port 18080 mapped to container port 80. Choose values appropriate for your application.
Before you create the container
- Pull the required image and tag by following Search, Pull, and Manage Docker Images.
- Choose a unique lowercase container name.
- Confirm each required host port is free and permitted by the firewall.
- Create and permission any host directory that will be used for persistent data.
- Keep credentials out of screenshots and shell history.
Step 1: Select an image tag
Open Server → Containers and select Create Container, or use the Create Container action on the Docker Images page. Choose the required tag from the local image card.
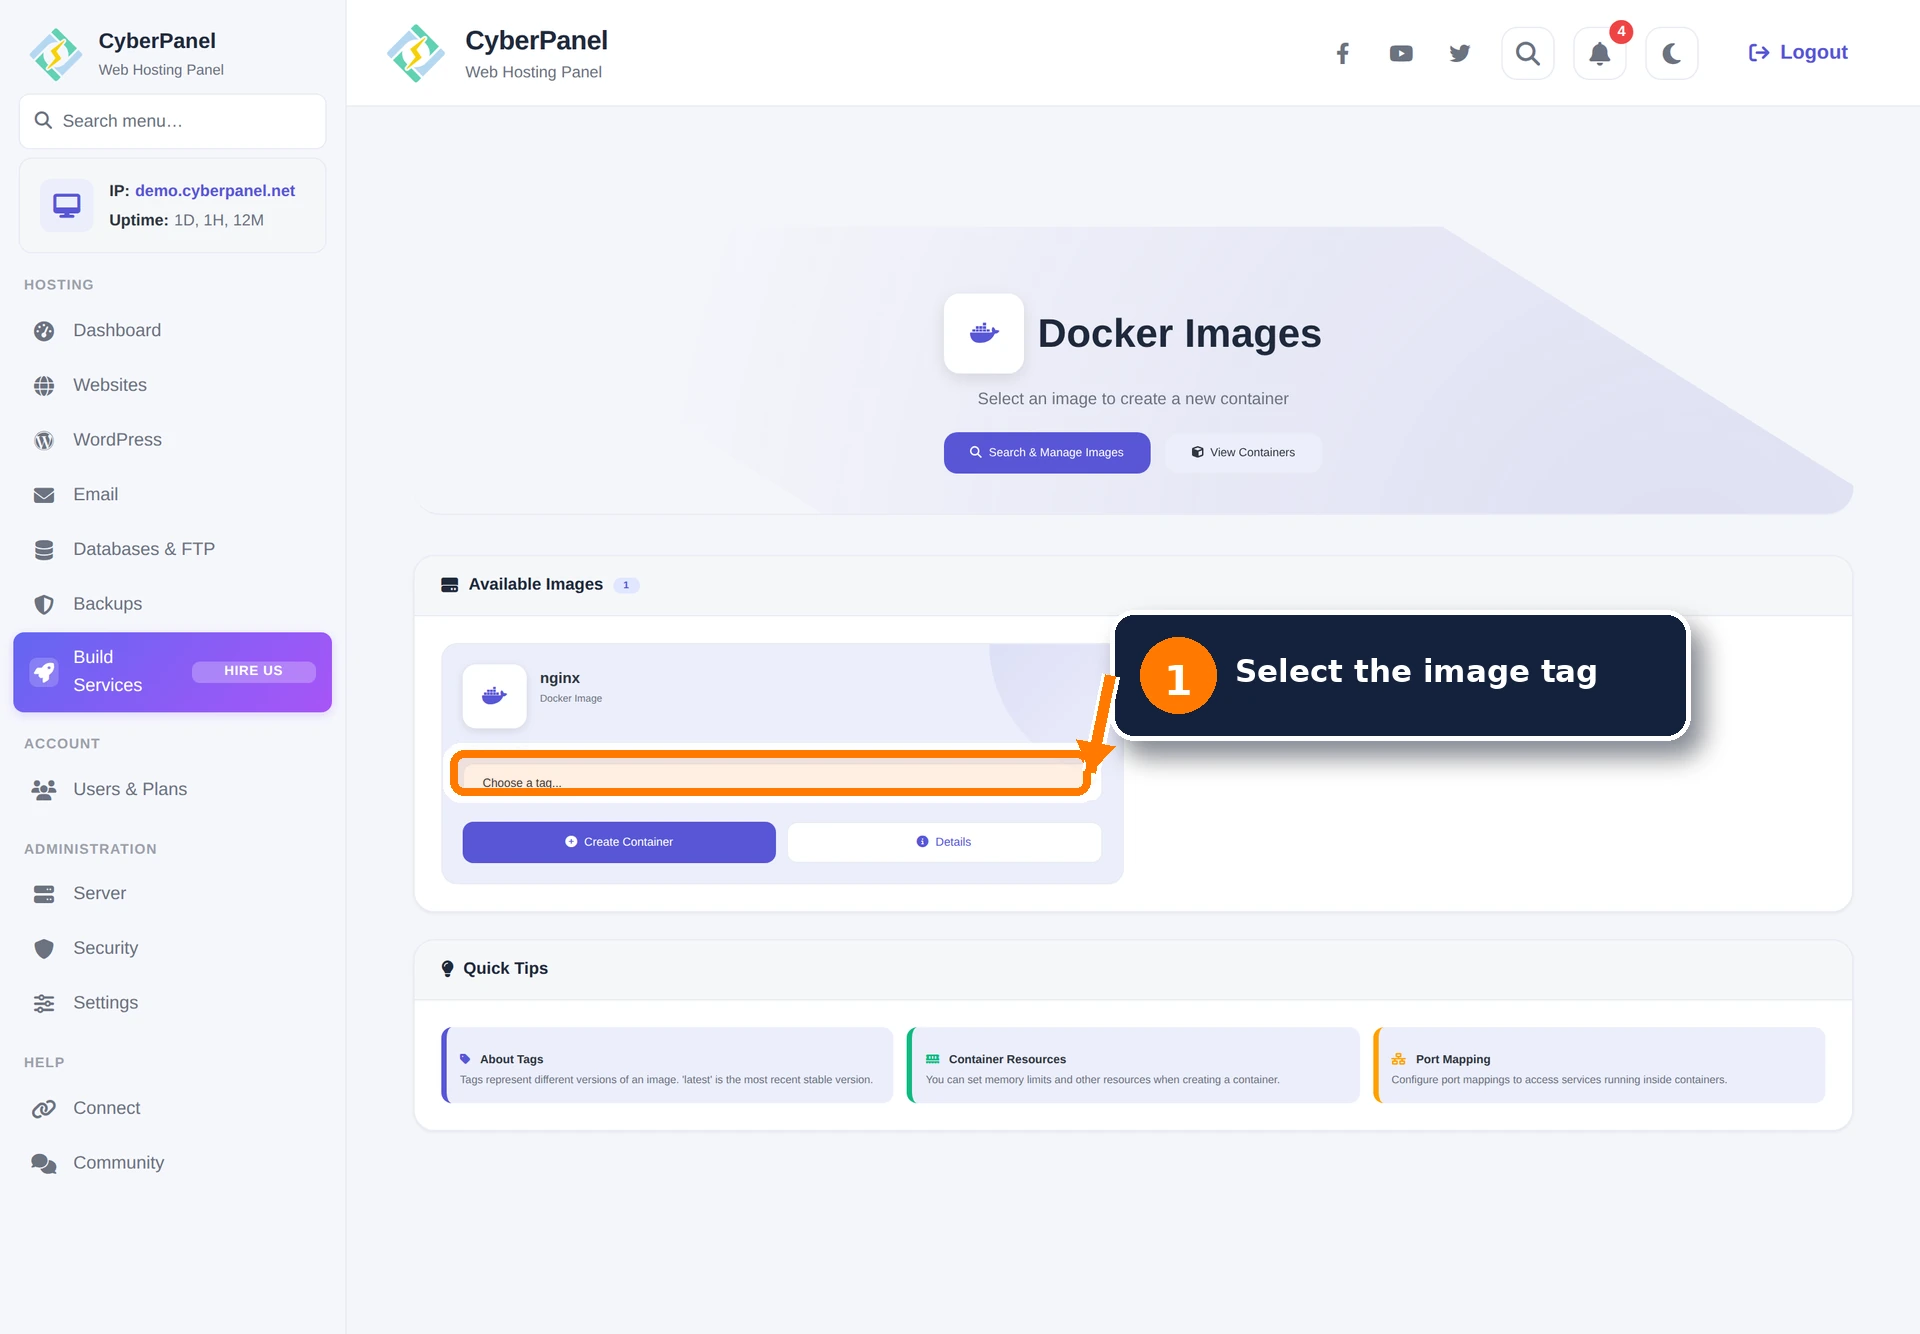
Step 2: Open the creation form
Select Create Container on the image card.
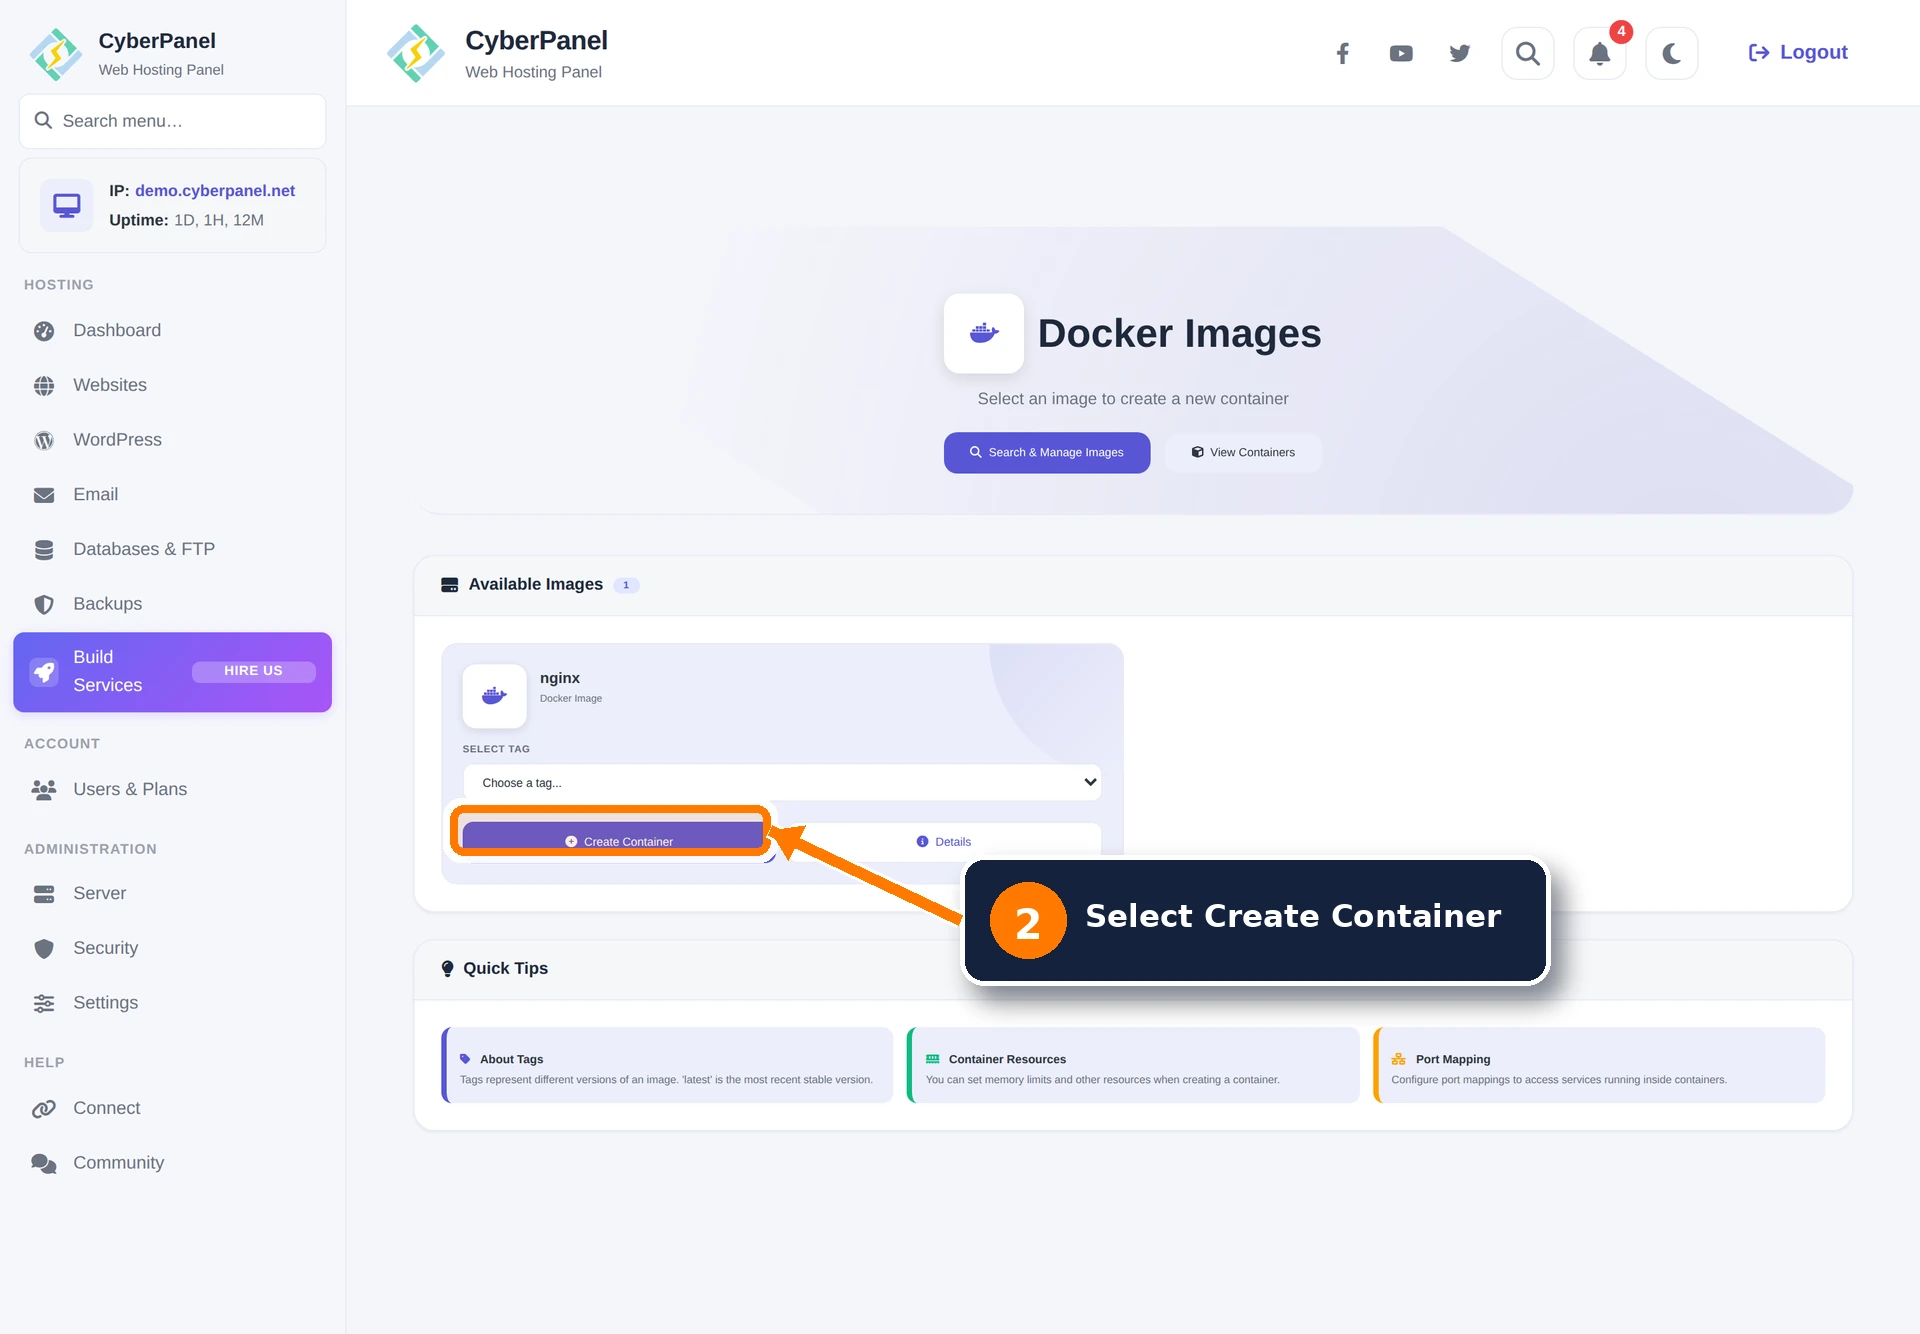
Step 3: Set the basic configuration
- Container Name: enter a unique, descriptive name.
- Owner: select the CyberPanel user responsible for the container.
- Memory Limit: enter the maximum memory in MB. Leave enough memory for CyberPanel, the operating system, and other services.
- Image and Tag: verify that the selected repository and version are correct.
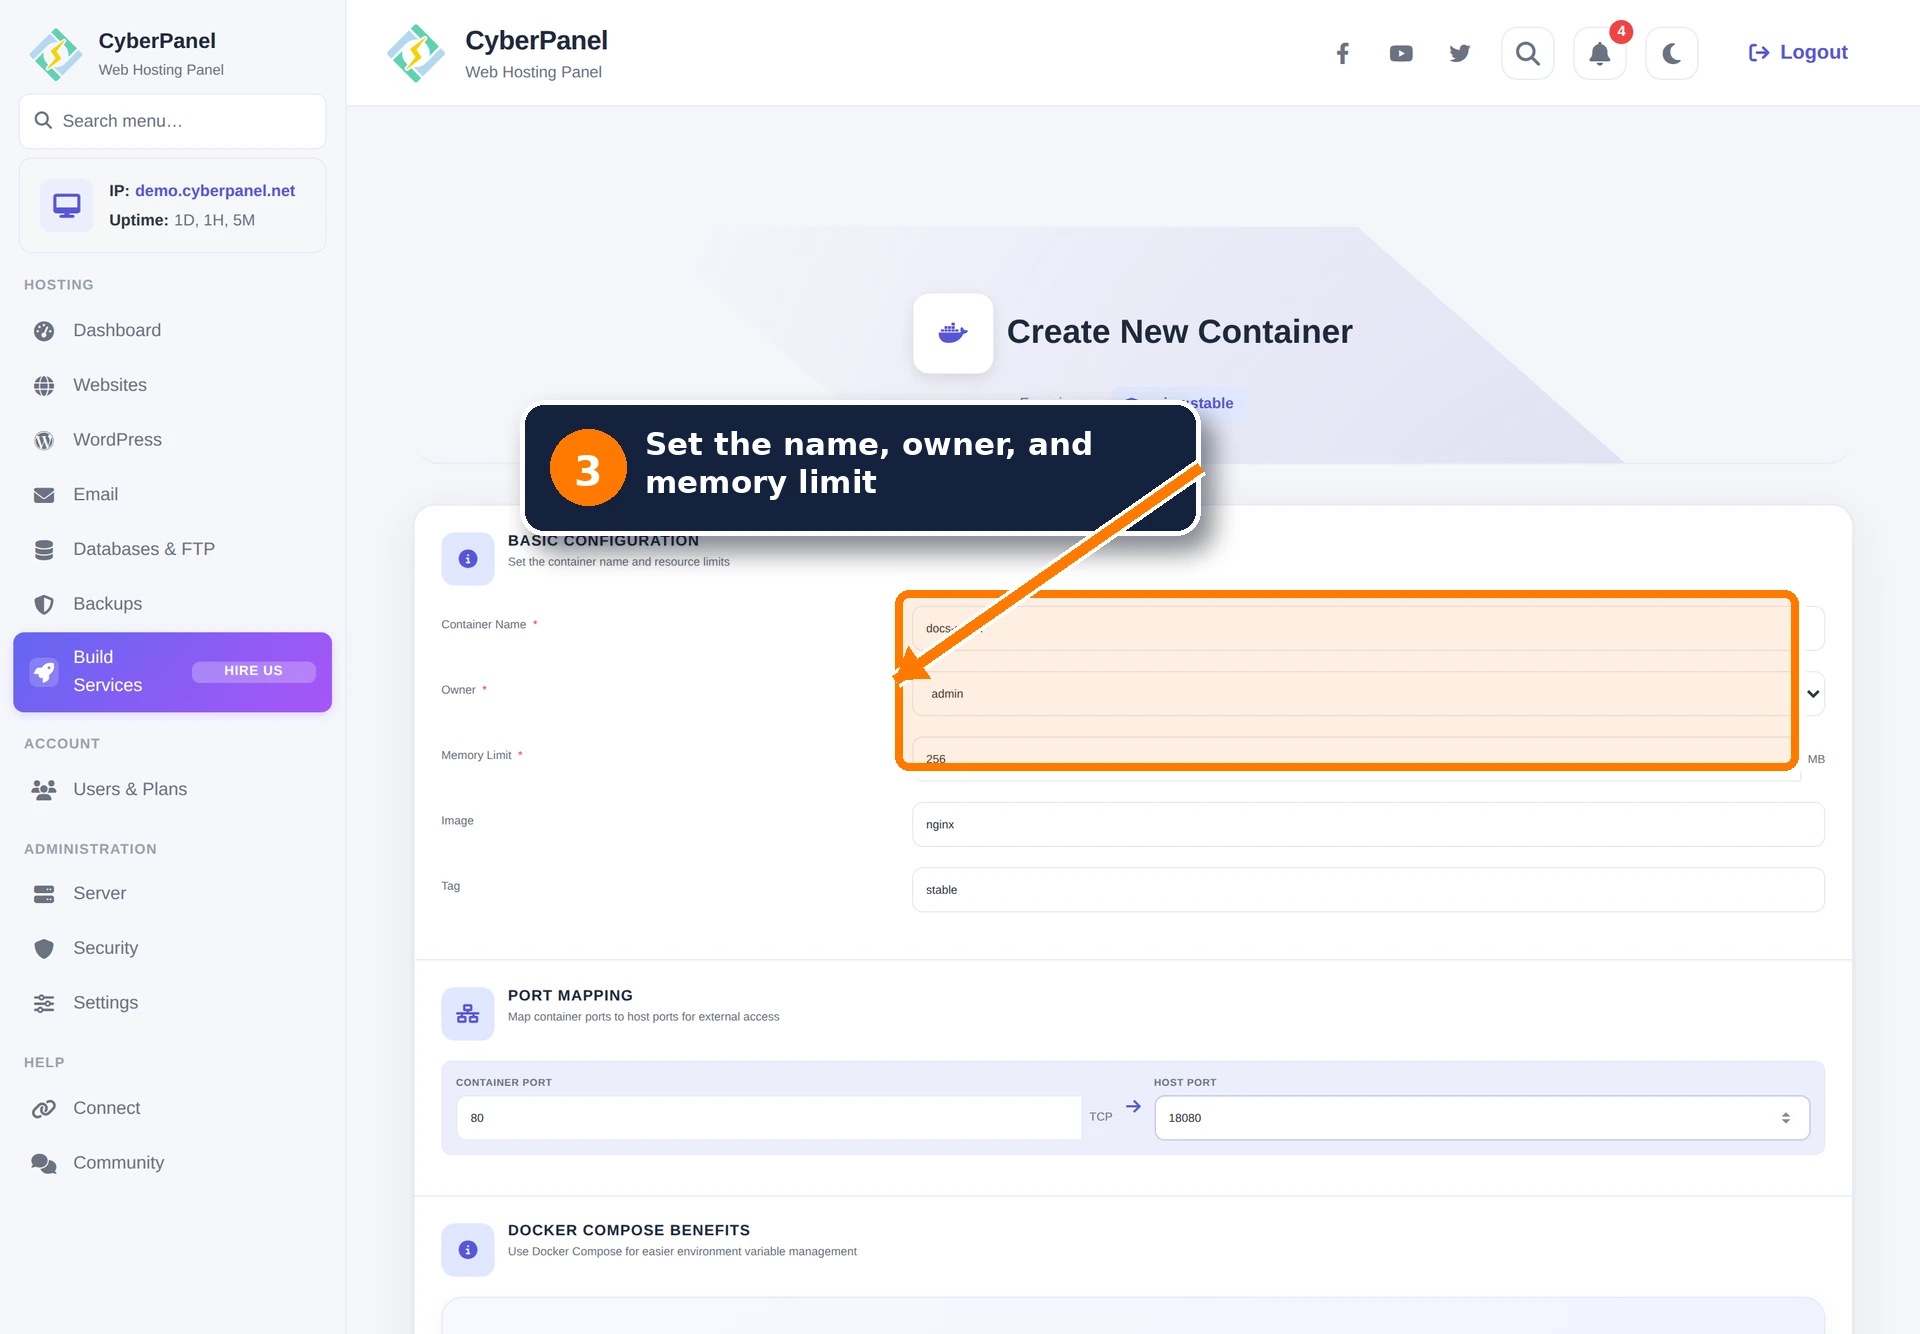
Step 4: Map required ports
For every port exposed by the image, enter a free host port between 1024 and 65535. The example maps container port 80/tcp to host port 18080.
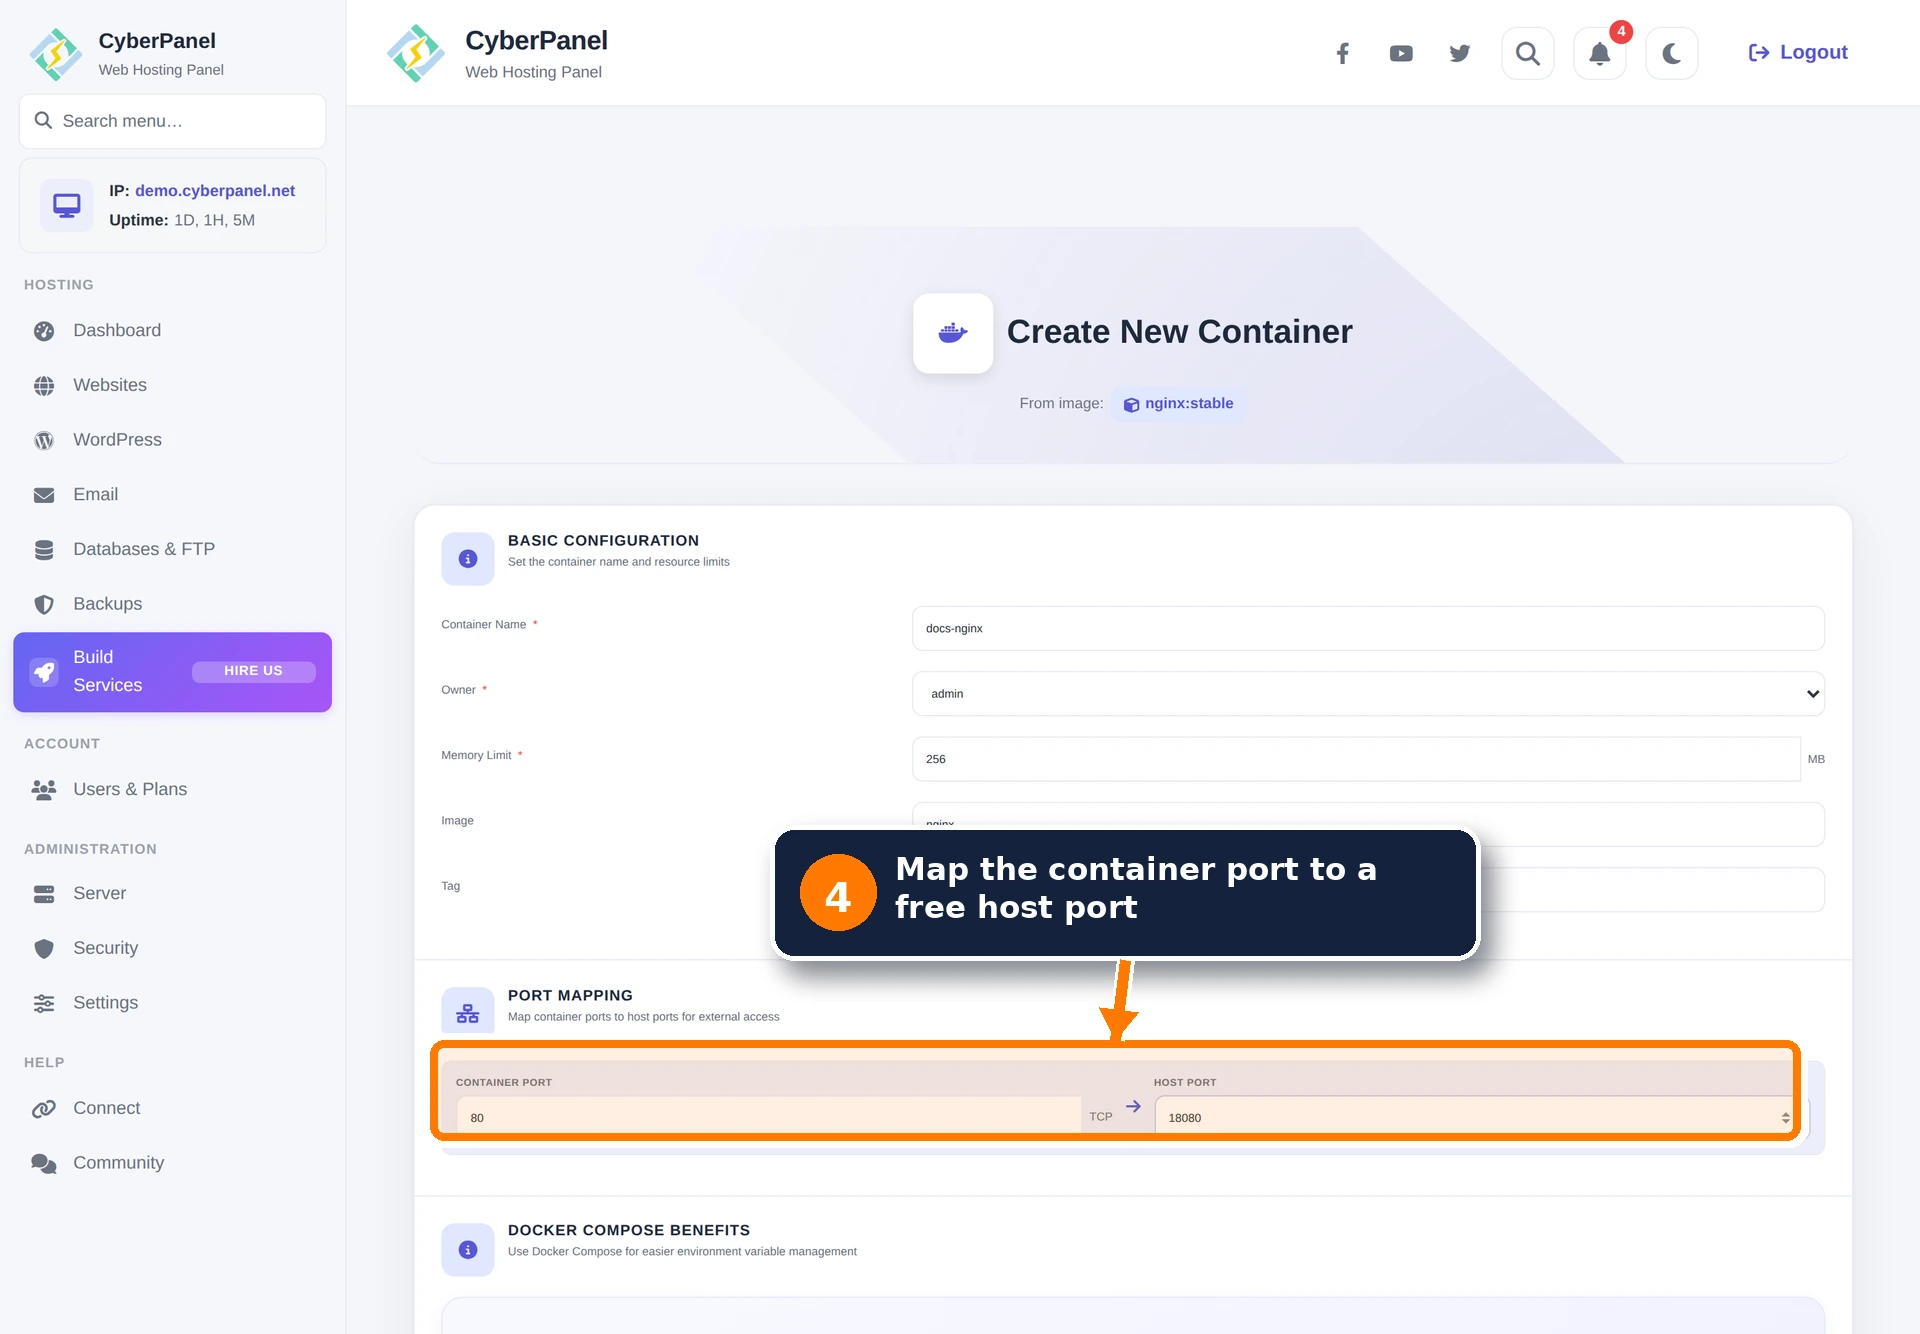
Step 5: Review environment variables
The image’s existing environment variables appear in the form. Use Advanced Mode for bulk KEY=VALUE input when custom variables are required. Confirm variable names against the image documentation.
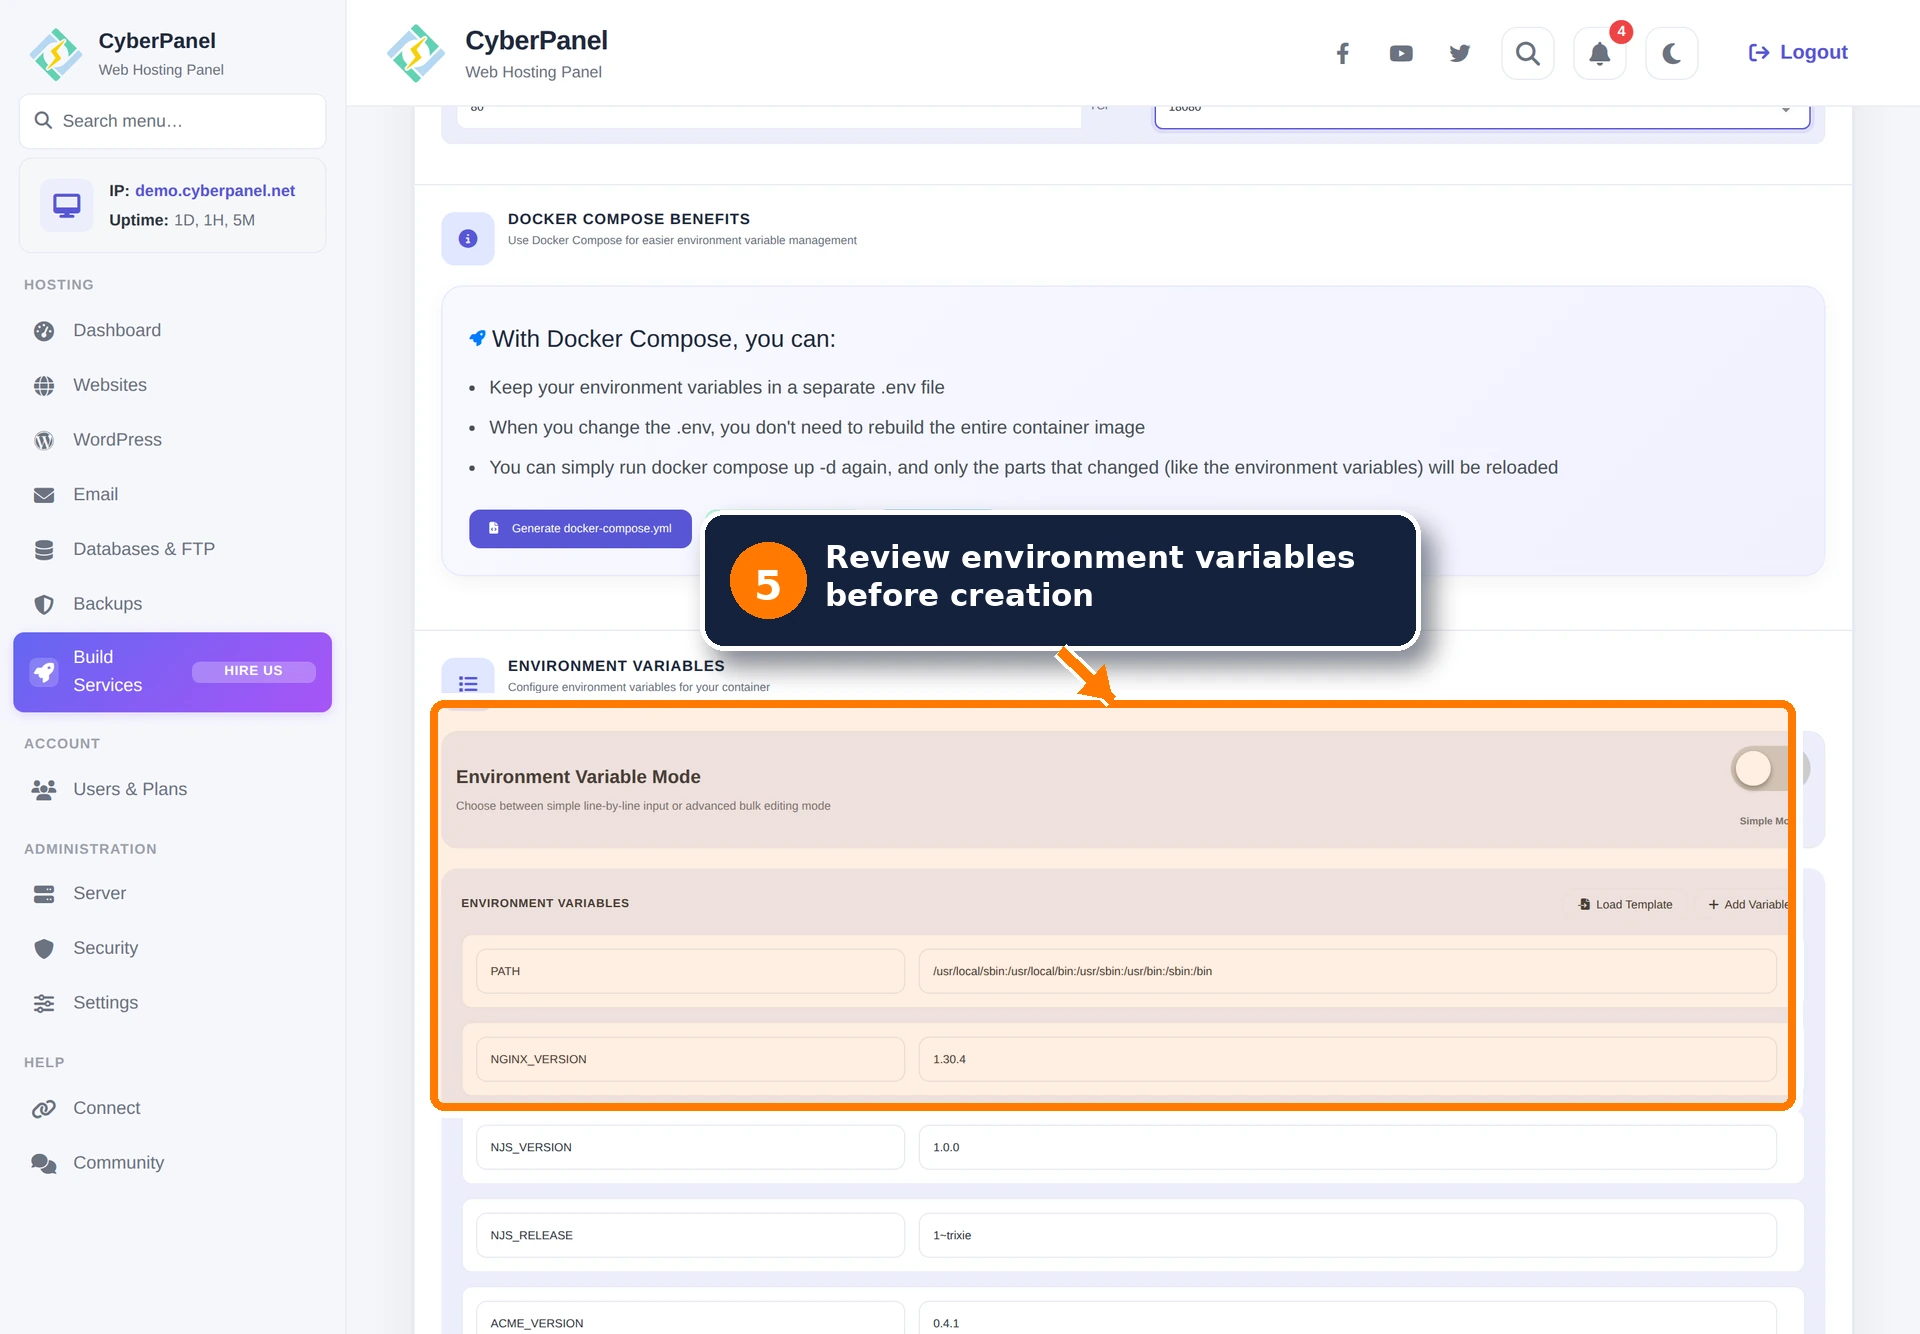
Environment variables are visible to users with permission to inspect the container. Prefer a dedicated secret-management method for high-value credentials and never paste real credentials into support tickets or screenshots.
Step 6: Add persistent storage when required
Select Add Volume to map a host path to a container path. The host directory must exist, have suitable ownership and permissions, and be included in your backup plan.
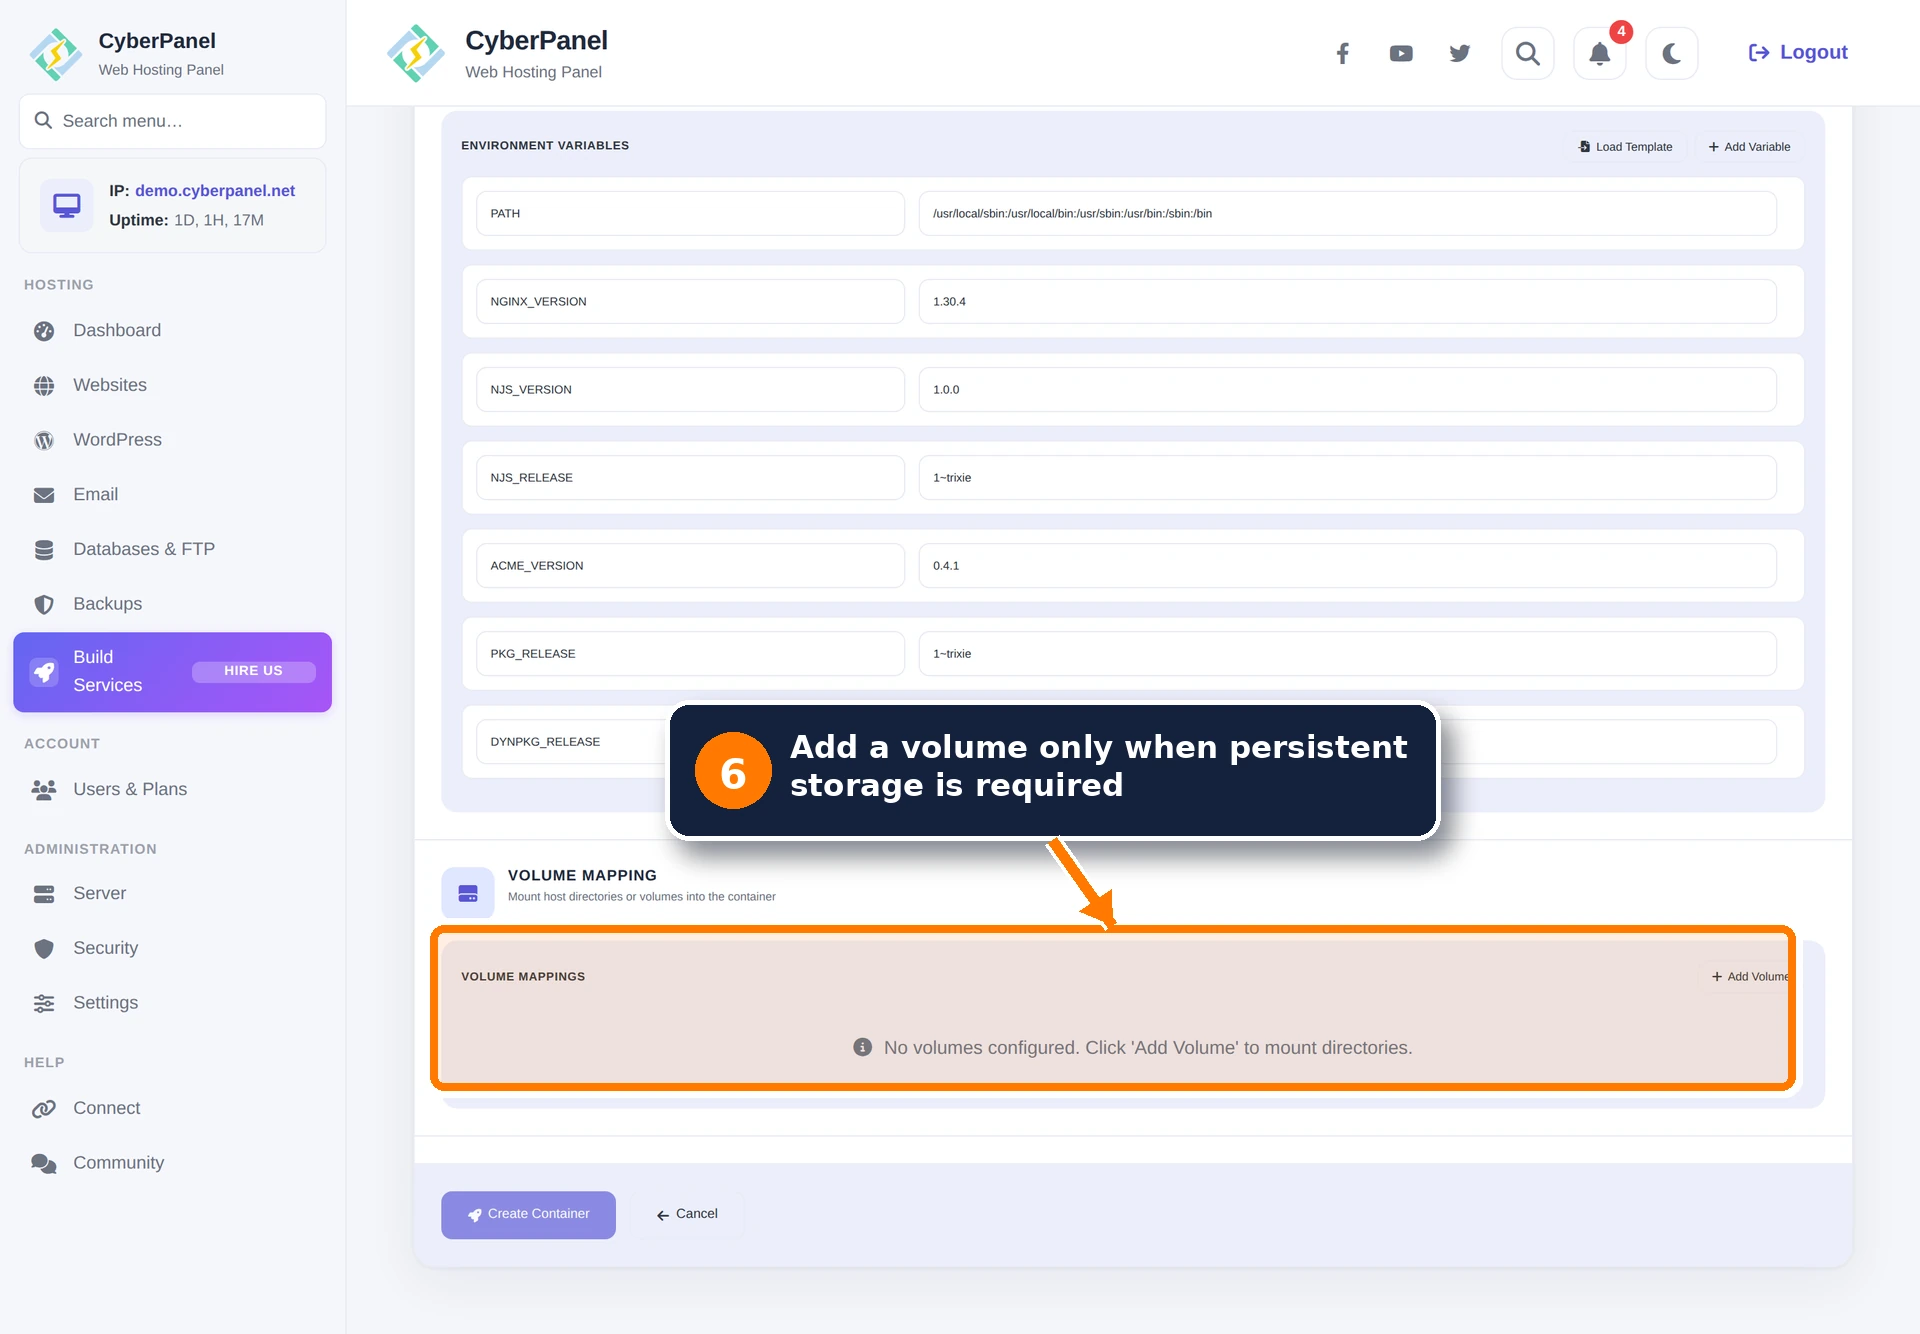
Do not map broad paths such as /, /etc, or the Docker socket into an untrusted container. Give the container access only to the files it needs.
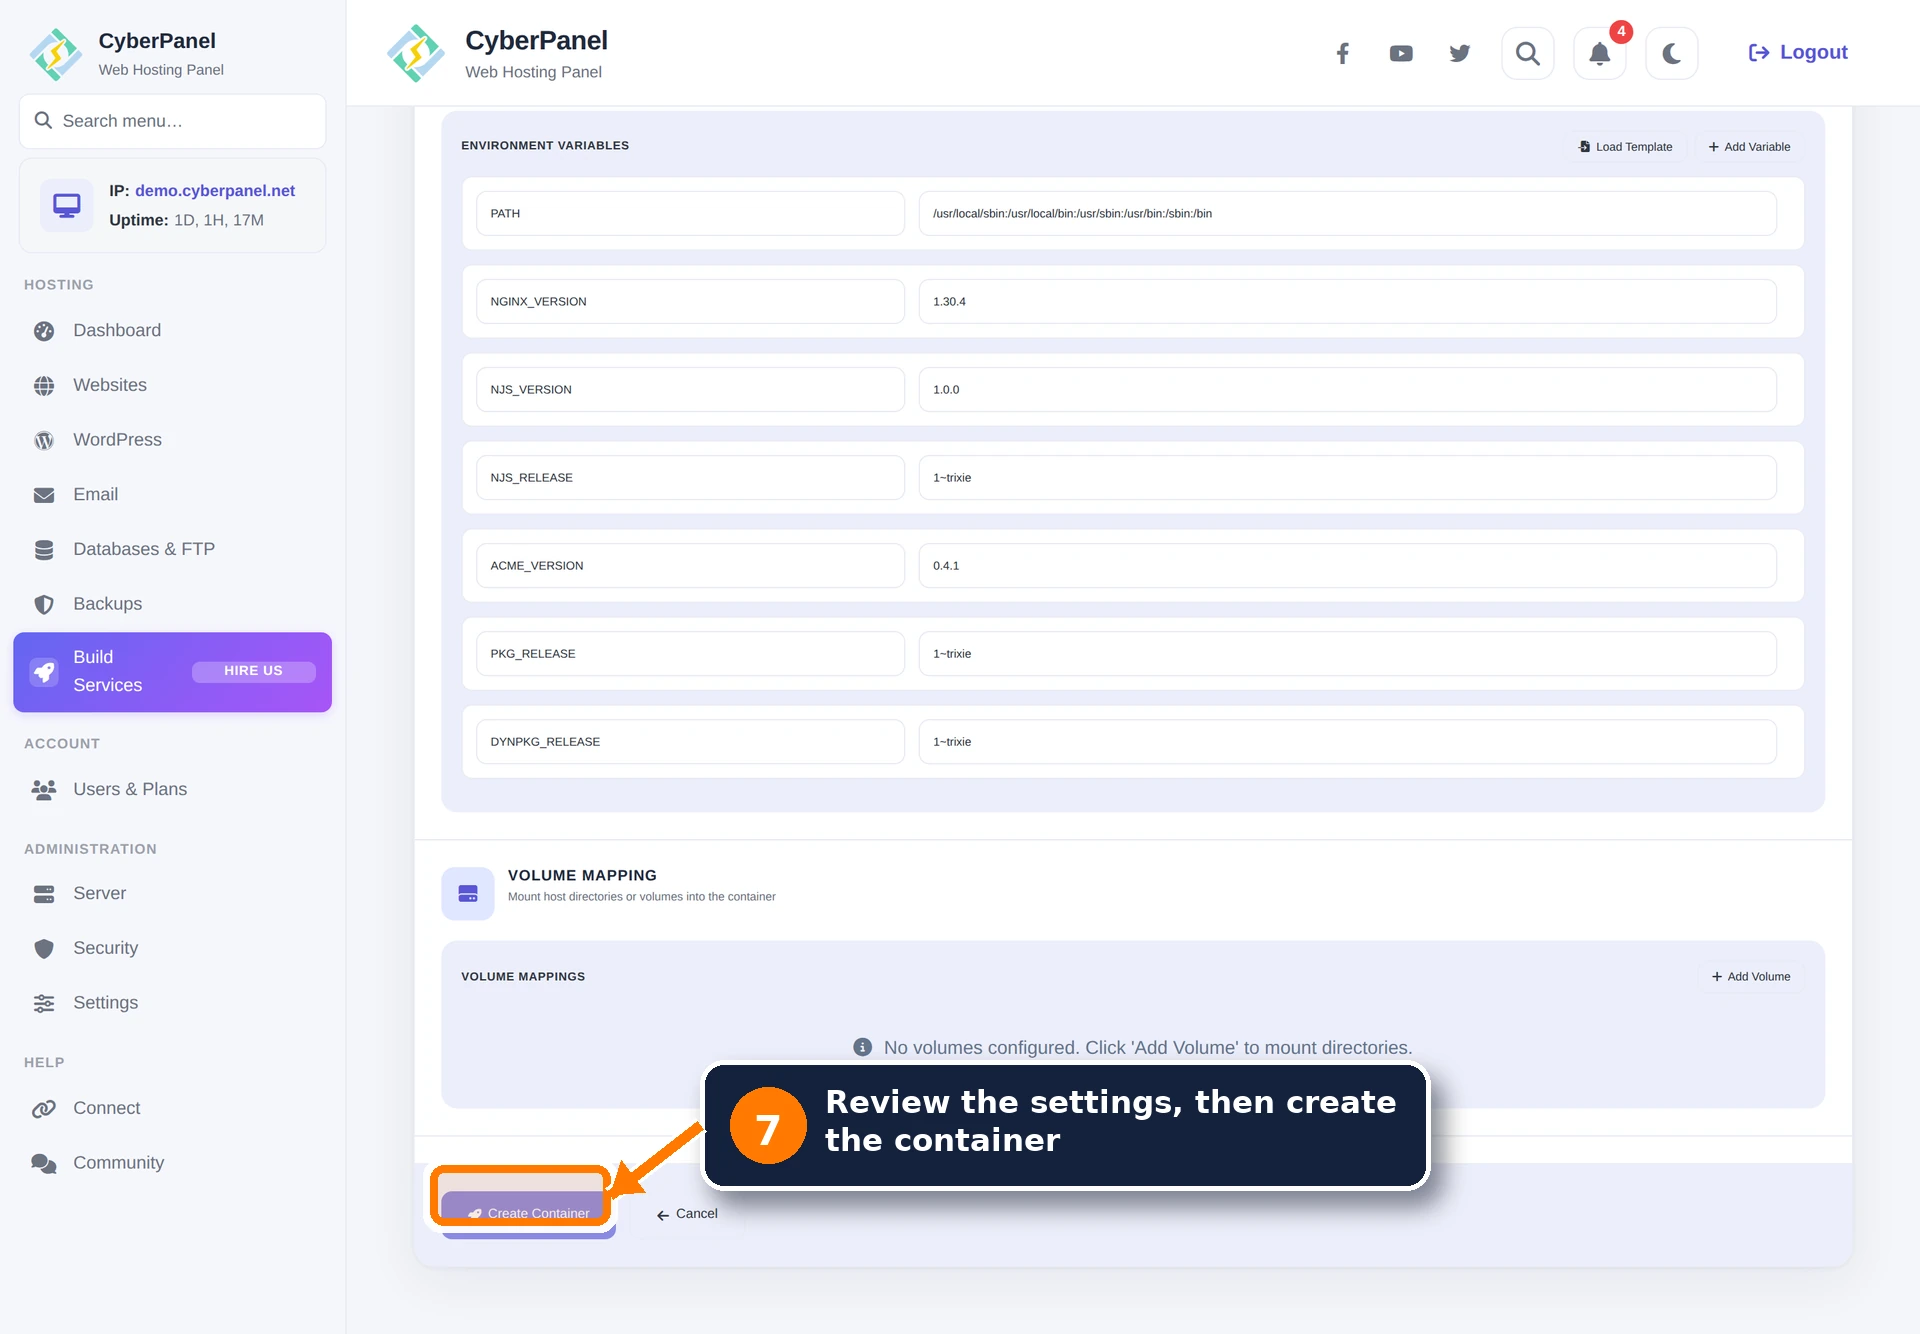
Step 7: Create and verify the container
Review every value and select Create Container. A new container is created in the created state; open its management page and select Start.
Check the running state, port mapping, memory limit, and logs. For the nginx example, a server-side request can verify the mapped port:
curl -I http://127.0.0.1:18080/