At first, your data pipelines may seem to work smoothly until something goes wrong with them.
If one operation fails, your entire workflow might stop. It could be challenging to scale, and debugging may become a nightmare. Before you know it, your “simple pipeline” has turned into a system you cannot even control.
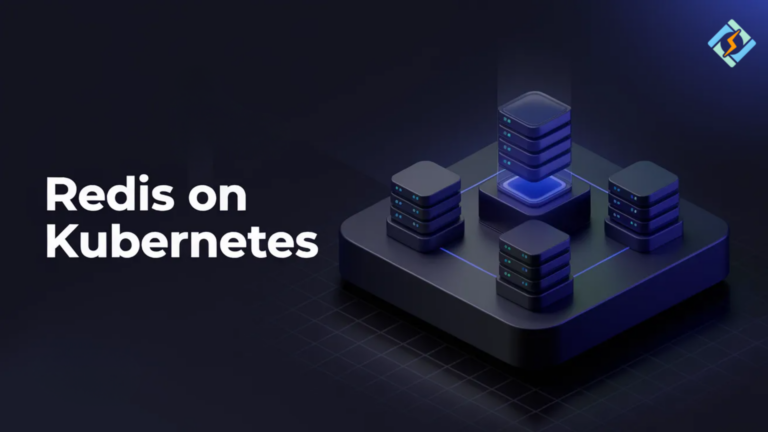
This is the moment when deploying Dagster Kubernetes is a real change.
Dagster helps you to organize things. Kubernetes is your source of energy. In combination, they convert delicate pipelines into scalable, production-ready environments.
However, here is a problem. Most people want to implement Dagster on Kubernetes and end up being stuck. Either the configuration is not clear, or the executor acts in a way that they didn’t expect.
This article clears that up for you.
First, you will know how to:
- Deploy Dagster on Kubernetes as a professional
- Learn the actual operation of the Dagster Kubernetes executor
- Recognize and escape typical errors that lead to broken deployments
- Design and implement a system that easily scales
There is hardly any wasted time here. You won’t get confused. Only a straightforward and functional method.
What Is Dagster Kubernetes Deployment & Why Does It Matter?
Deploying Dagster Kubernetes means that you execute your data pipelines inside Kubernetes pods rather than on a single machine.
It is important because with this, you get the following advantages:
- Task isolation
- Ability to scale each pipeline easily
- Better failure handling environments that are clean and pure
Rather than one overwhelmed system, every step in a pipeline is carried out independently.
What Are the Prerequisites to Deploy Dagster on Kubernetes?
If you intend to deploy Dagster on Kubernetes correctly, you should have a few basics. Here are the essential components:
- Kubernetes cluster (local or cloud)
- kubectl configured
- Helm installed
- Docker for building images
- Recommended Setup
- PostgreSQL (for production metadata)
- Ingress controller (for external access)
- Container registry
Recommended Setup
- PostgreSQL (for production metadata)
- Ingress controller (for external access)
- Container registry
Without these things, your deployment may work, but definitely won’t scale properly.
Dagster Kubernetes Deployment: Step-by-Step
Now, let’s discuss the steps to deploy:
Step 1: Add Dagster Helm Repository
helm repo add dagster https://dagster-io.github.io/helm
helm repo updateStep 2: Deploy Dagster on Kubernetes
helm install dagster dagster/dagsterStep 3: Verify Everything is Running
kubectl get podsStep 4: Access Dagster UI
kubectl port-forward svc/dagster-webserver 3000:80Open:
http://localhost:3000Dagster Kubernetes Executor
The Dagster Kubernetes executor is the core of scalability. It runs each pipeline in a separate Kubernetes pod. Here is why this is powerful:

- No dependency conflicts
- Each task gets its own resources
- Failures don’t crash entire pipelines
- Each horizontal scaling
Simple Configuration
execution:
  config:
job_namespace: defaultHow Dagster on Kubernetes Works Behind the Scenes
Here’s the simplified sequence:
- You start a job
- Dagster daemon gets the job plan
- Kubernetes spins up pods
- Each step is running in a separate pod
- Data is saved and displayed on the UI
This is what makes Dagster on Kubernetes dependable and scalable.
Optimization Tips for Better Performance
Here are some optimization tips for better performance:
Use External Database
SQLite is fine for testing. Use PostgreSQL for production.
Build Custom Docker Images
Package your pipeline code properly:
docker build -t dagster-pipeline:v1 .Set Resource Limits
resources:
  limits:
    cpu: "1"
memory: "1Gi"Enable Logging and Monitoring
Use:
- Prometheus
- Grafana
Without monitoring, debugging becomes painful.
Common Mistakes to Avoid
1. Not Using Kubernetes Executor
If you don’t, it is like killing the whole idea of scaling.
2. Running Everything in One Pod
Very likely to cause failures and bottlenecks.
3. No Persistent Storage
Without this, you don’t have logs and metadata.
4. No Version Control for Images
Docker images should always have a tag in your development cycle.
The Role of CyberPanel In This Setup
CyberPanel is a free and open-source web hosting control panel. It enables you to control the outer layer of your infrastructure. Real Advantages Host dashboards integrated with Dagster Manage domains and DNS effortlessly Use reverse proxy to secure access Enhance speed by LiteSpeed
Therefore while Kubernetes keeps the pipelines running, CyberPanel is all about managing access and performance.
Simple Architecture of Dagster Kubernetes
| Component | Purpose |
|---|---|
| Webserver | UI for pipelines |
| Daemon | Schedules jobs |
| Executor | Runs tasks in pods |
| Pods | Execute pipeline steps |
| Database | Stores metadata |
Conclusion
Deploying Dagster on Kubernetes transforms your data pipelines into scalable, dependable, and more manageable ones. Executing Dagster on Kubernetes with the Dagster Kubernetes executor mode enables the tasks to run separately, which helps in minimizing the failures and enhancing performances.
Begin with a straightforward arrangement. Make use of Helm. Run a single pipeline. Afterward, expand according to your work volume.
Publish Dagster on Kubernetes and operate your initial pipeline. When you experience the change, managing and expanding your data workflows will be a straightforward and foreseeable process.
FAQs
How does Dagster Kubernetes executor improve performance?
It runs each step in a separate pod, reducing conflicts and enabling parallel execution.
What is the biggest advantage of Dagster on Kubernetes?
Scalability with isolation. Each pipeline step runs independently.
Can I deploy Dagster on Kubernetes without Docker?
No. Docker images are required to run pipeline code inside pods.