Your messages don’t disappear because of RabbitMQ. It is all about how you deploy it. At first, everything works fine. Queues process smoothly, services communicate, and nothing seems wrong. Then a pod restarts, traffic spikes, or a node fails. And suddenly your system starts losing messages and behaving unpredictably. This is why RabbitMQ Kubernetes needs to be deployed properly.
If you have to deploy RabbitMQ Kubernetes, this is not only about running a container. You are building a reliable messaging system that survives restarts, scales under load, and protects your data.
In this article, we are going to learn how to deploy RabbitMQ on Kubernetes, what mistakes to avoid, and build a setup that actually works in production.
Let’s get started!
Understanding RabbitMQ Kubernetes
RabbitMQ sends and receives messages between services. Kubernetes runs and manages containerized applications. When you run RabbitMQ Kubernetes, it means you are placing your messaging system inside a managed and scalable environment. Here is why it is important:
- Kubernetes restarts failed pods automatically
- Scaling becomes easier
- Infrastructure becomes consistent
Why Do Most RabbitMQ Kubernetes Deployments Fail?
Before learning to deploy, we first need to understand what goes wrong.
1. No Persistent Storage
When pods restart, all messages are lost. This is the reason why most RabbitMQ Kubernetes deployments fail.
2. Wrong Controller
RabbitMQ needs a stable identity. Deployments do not provide that. And it can lead to the failed deployment of RabbitMQ on Kubernetes.
3. No Resource Planning
If memory is limited. It can crash RabbitMQ under load. It can lead to system failure.
Right Architecture for RabbitMQ Kubernetes
Here is how the architecture should be for RabbitMQ Kubernetes, if you want it to be production-ready.
- StatefulSet (not Deployment)
- Persistent storage (PVC)
- multiple replicas (clustered nodes)
- internal service for communication
- secure credentials
This structure ensures stability and data safety.
How to Deploy RabbitMQ on Kubernetes?
Here are the steps to deploy RabbitMQ on Kubernetes correctly:
Step 1: Create a StatefulSet

apiVersion: apps/v1
kind: StatefulSet
metadata:
  name: rabbitmq
spec:
  serviceName: rabbitmq
  replicas: 3
  selector:
    matchLabels:
      app: rabbitmq
  template:
    metadata:
      labels:
        app: rabbitmq
    spec:
      containers:
      - name: rabbitmq
        image: rabbitmq:3-management
        ports:
        - containerPort: 5672
- containerPort: 15672Step 2: Add Persistent Storage
volumeClaimTemplates:
- metadata:
    name: rabbitmq-storage
  spec:
    accessModes: ["ReadWriteOnce"]
    resources:
      requests:
storage: 10GiStep 3: Create a Headless Service
apiVersion: v1
kind: Service
metadata:
  name: rabbitmq
spec:
  clusterIP: None
  selector:
    app: rabbitmq
  ports:
- port: 5672After all these steps, you get:
- Stable pod identities
- Persistent message storage
- Cluster-ready architecture
Deployment vs StatefulSet
| Option | When to Use | Risk |
|---|---|---|
| Deployment | testing only | data loss |
| StatefulSet | production | safe |
Scaling RabbitMQ in Kubernetes
Scaling is not only about adding replicas. Queue distribution, node synchronization, and memory usage matter. You should scale gradually, monitor performance, and avoid sudden spikes.
A Safe Scaling Approach
Start small and grow gradually. Make sure to analyze the behavior of your queues before increasing the number of nodes.
Pay attention to:
- distributing queues across nodes
- avoiding a single overloaded queue
- keeping node communication stable
Smart Scaling Tips
- scaling horizontally is better (add more nodes, not bigger ones)
- quorum queues are the way to go for reliable
- perform scale tests with live traffic scenarios
- don’t go for abrupt increases in replicas
Helm vs Manual Deployment vs Kubernetes Operator
Now, let’s see the difference among Helm, Manual deployment, and Kubernetes operators.
Manual Deployment
- full control over configuration
- best for learning and customization
- requires a deeper understanding
Helm Charts
- faster to deploy
- widely used in production
- easier to maintain than raw YAML
Kubernetes Operator
- automates lifecycle management
- handles scaling, recovery, and updates
- ideal for large or critical systems
If you are in the learning phase, you should go for manual setup. And if you are handling small to medium projects, Helm will be the best for you. Moreover, for production-grade systems, a Kubernetes operator is better.
Real Production Mistakes That Cause Failures
Most of the RabbitMQ problems are not due to technical limitations. They are just wrong configurations.
Not Using Persistence
If you do not use persistent storage, even a simple restart can delete your queues.
Putting Too Much Load on a Single Queue
A single overloaded queue may be the bottleneck of the whole system.
Poor Resource Limits
Setting your memory too low may result in node crashes in times of heavy loads.
Weak Security Setup
Leaving management UI open and exposed without any form of protection is a very serious security risk.
Not Monitoring
When you do not have any visibility, issues can remain unnoticed and reach the point of failure.
How CyberPanel Supports Your Application Layer
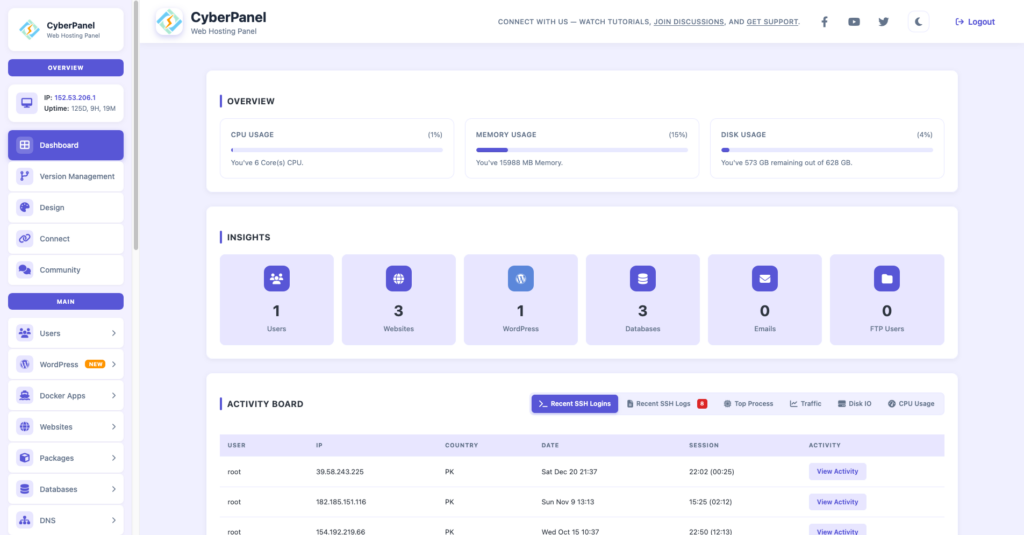
CytberPanel is a free and open-source web hosting control panel. It provides assistance to your applications if they depend on RabbitMQ.
Even while Kubernetes is in charge of containers and RabbitMQ takes care of messaging, CyberPanel has the feature of managing the application side among them.
The Things It Helps With Are:
- Domain and DNS configuration
- SSL setup for secure communication
- hosting management
- server monitoring
Therefore, infrastructure messaging and hosting are turned into a well-coordinated environment through this combination.
Conclusion
Deploying RabbitMQ within Kubernetes isn’t a matter of getting it running only. It’s about designing a system that will consistently operate effectively, even when it’s overloaded.
Though a basic arrangement should be enough for the test environment, systems of the real world require a lot more from you. Besides persistence, you should have proper scaling and a system capable of handling failures without losing data.
When you master the skill of scaling well and stay away from the common errors, RabbitMQ Kubernetes can turn into a dependable infrastructure for your applications rather than a source of problems.
Don’t settle for a basic setup. Deploy RabbitMQ on Kubernetes using a StatefulSet, add persistence, and test it under load. Build it properly now, so you don’t have to fix it under pressure later.
FAQs
Can RabbitMQ handle high traffic in Kubernetes?
Yes. With clustering and proper scaling, it can handle high message loads efficiently.
How do I monitor RabbitMQ in Kubernetes?
Use built-in management UI or integrate with monitoring tools like Prometheus.
Can I run RabbitMQ on cloud Kubernetes services?
Yes. It works on AWS, Azure, and Google Kubernetes environments.