On this page
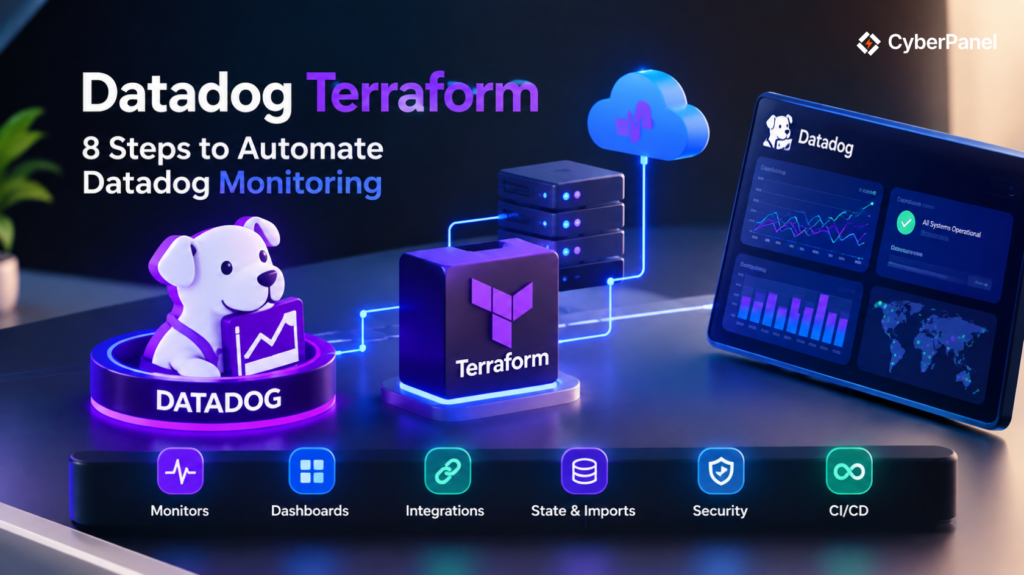
Datadog Terraform lets you manage Datadog resources through Terraform code instead of configuring every monitor, dashboard, integration, and other resource manually. The Datadog Terraform Provider connects Terraform to the Datadog API, allowing you to define your monitoring configuration as code, preview changes, and apply them through a repeatable workflow.
This approach is useful for DevOps and infrastructure teams that manage monitoring across multiple environments. You can keep Datadog configuration in version control, review changes through pull requests, and use CI/CD pipelines to apply approved changes.
The basic workflow looks like this:
Terraform Configuration
↓
Datadog Terraform Provider
↓
Datadog API
↓
Datadog Organization
The provider supports many Datadog resources, including monitors, dashboards, integrations, users, teams, credentials, permissions, synthetic tests, and other supported resources. Datadog also supports importing existing resources and referencing them through Terraform data sources.
This guide explains how Terraform Datadog works, how to install and configure the provider, how authentication works, how to create monitors and dashboards, how to manage existing resources, and how to use Terraform safely in production.
What Is Datadog Terraform?
Datadog Terraform is the practice of using Terraform to manage Datadog resources as code. The Datadog provider gives Terraform the functionality it needs to communicate with Datadog and manage supported resources through the Datadog API.
Terraform itself does not know how to create a Datadog monitor or dashboard.
The provider supplies that connection.
Terraform
↓
Datadog Provider
↓
Datadog API
↓
Datadog
You define the desired state in .tf files. Terraform then compares that configuration with its state and the remote environment before determining what changes are required.
For example, you can define a Datadog monitor like this:
resource "datadog_monitor" "cpu_usage" {

  name  = "High CPU Usage"

  type  = "metric alert"

  query = "avg(last_5m):avg:system.cpu.user{*} > 80"

  message = "CPU usage is above 80%."

  monitor_thresholds {

    critical = 80

  }

}Instead of manually creating this monitor in Datadog, Terraform can create and manage it from the configuration.
The official provider is published on the Terraform Registry as:
DataDog/datadog
As of September 2026, version 4.20.0 is listed as the latest provider release.
Why Use Terraform With Datadog?
Terraform makes Datadog configuration easier to reproduce, review, and automate.
Manual configuration can work for a small environment. However, monitoring becomes harder to maintain when a team has hundreds of monitors, multiple dashboards, several cloud integrations, and separate development, staging, and production environments.
With Terraform, these configurations can live in source control.
The main benefits include:
- Repeatable monitoring configuration
- Version-controlled changes
- Reviewable infrastructure changes
- Consistent environments
- Automated deployments
- Reusable Terraform modules
- Easier recovery and replication
- CI/CD integration
- Reduced manual configuration
For example, imagine that your production environment requires the same CPU, memory, disk, and availability monitors as your staging environment.
You could create every monitor manually.
Or you could define the monitoring configuration once and reuse it.
This is where Terraform Datadog becomes particularly useful.
Datadog officially supports using Terraform to manage resources such as dashboards, monitors, log configuration, cloud integrations, and other supported resources.
What Do You Need Before Using the Datadog Terraform Provider?
You need three basic components:
- Terraform
- A Datadog organization
- Datadog API credentials
Terraform
Install Terraform on the system where you will manage your Datadog configuration.
The current Datadog provider documentation requires Terraform 1.1.5 or later.
You should also understand basic Terraform concepts such as:
- Providers
- Resources
- Data sources
- Variables
- State
- terraform init
- terraform plan
- terraform apply
Datadog Organization
You need access to a Datadog organization where the provider can create and manage resources.
Datadog Credentials
The provider uses a Datadog API key and application key to authenticate with the Datadog API.
The credentials can be provided directly through Terraform configuration or through environment variables. Datadog recommends environment variables when you want to avoid putting credentials directly into configuration files.
How Do You Configure the Datadog Terraform Provider?
Create a Terraform configuration file such as main.tf.
A basic provider configuration looks like this:
terraform {

  required_version = ">= 1.1.5"

  required_providers {

    datadog = {

      source = "DataDog/datadog"

    }

  }

}

provider "datadog" {

  api_key = var.datadog_api_key

  app_key = var.datadog_app_key

}The most important part is the provider source:
DataDog/datadogTerraform uses this source to identify the official Datadog provider.
The provider documentation shows the same basic configuration pattern and states that the API and application keys can also be supplied through DD_API_KEY and DD_APP_KEY.
For production projects, you should also consider a deliberate provider version constraint.
For example:
terraform {

  required_version = ">= 1.1.5"

  required_providers {

    datadog = {

      source  = "DataDog/datadog"

      version = "~> 4.20"

    }

  }

}The exact constraint should match your team’s upgrade policy.
Avoid allowing production systems to receive unexpected provider upgrades without testing them first.
How Do You Install Terraform Datadog Provider?
Once the provider configuration is ready, run:
terraform initTerraform reads the required_providers block and downloads the Datadog provider.
You can then check the configuration:
terraform validateNext, create a plan:
terraform planIf the plan is correct, apply the configuration:
terraform applyThe normal workflow is:
Write Configuration
↓
terraform init
↓
terraform validate
↓
terraform plan
↓
Review
↓
terraform apply
Datadog’s documentation also recommends running terraform init from the directory containing the Datadog provider configuration before creating Datadog resources.
How Does Datadog Terraform Authentication Work?
Authentication allows Terraform to communicate with the Datadog API.
The provider supports:
- Datadog API key
- Datadog application key
- Datadog API URL
The simplest configuration uses variables:
provider "datadog" {
api_key = var.datadog_api_key
app_key = var.datadog_app_key
}However, you should avoid placing actual secrets directly inside .tf files.
Instead, you can use environment variables:
export DD_API_KEY="your-api-key"
export DD_APP_KEY="your-application-key"Then the provider can remain:
provider "datadog" {}The Datadog provider automatically reads DD_API_KEY and DD_APP_KEY.
This is especially useful in CI/CD environments where credentials can be stored in the platform’s secret manager.
Never commit real API keys or application keys to a public Git repository.
What Is the Datadog API URL?
The provider uses a Datadog API endpoint to communicate with your Datadog site.
The default API URL is:
If your organization uses another Datadog site, configure the appropriate api_url.
For example, the EU site uses:
provider "datadog" {
api_url = "https://api.datadoghq.eu"
}Datadog also provides other regional endpoints, including US3, US5, and the government site. The provider documentation recommends using the API URL that corresponds to your Datadog site.
Do not add /api/ to the end of the API URL.
How Do You Create a Datadog Monitor With Terraform?
A monitor is one of the most common resources managed with the Datadog Terraform Provider.
For example:
resource "datadog_monitor" "high_cpu" {
name = "High CPU Usage"
type = "metric alert"
query = "avg(last_5m):avg:system.cpu.user{*} > 80"
message = "CPU usage is above 80%."
monitor_thresholds {
critical = 80
}
}Run:
terraform planTerraform should show that it plans to create one Datadog monitor.
If the result is correct:
terraform applyTerraform then sends the required request through the provider.
The official Datadog Terraform integration documentation provides monitor examples and confirms that monitors can be created through Terraform.
How Do You Create a Datadog Dashboard With Terraform?
You can also use Terraform to create Datadog dashboards.
A dashboard allows teams to bring related metrics and monitoring information together.
A simplified configuration looks like this:
resource "datadog_dashboard" "infrastructure" {
title = "Infrastructure Overview"
description = "Infrastructure monitoring dashboard"
layout_type = "ordered"
widget {
timeseries_definition {
title = "CPU Usage"
request {
q = "avg:system.cpu.user{*}"
}
}
}
}The exact syntax depends on the dashboard widgets you need.
Datadog also provides a dashboard JSON resource for configurations that are easier to represent using JSON.
For large dashboards, keep the configuration organized. A dashboard containing dozens of widgets can quickly become difficult to review if everything is placed into one large file.
What Other Resources Can Terraform Datadog Manage?
The provider supports many types of Datadog resources.
Depending on the current provider version, these can include:
- Monitors
- Dashboards
- Cloud integrations
- Synthetic tests
- Webhooks
- Users
- Teams
- Roles
- Service accounts
- API keys
- Application keys
- Logs configuration
- Downtime
- Security resources
- Incident-related resources
- Other supported Datadog objects
The exact list changes as the provider develops, so check the current Terraform Registry documentation before depending on a particular resource.
Datadog’s official Terraform guide specifically highlights dashboards, monitors, cloud integrations, synthetic tests, and webhooks among supported use cases.
How Do You Manage Datadog Cloud Integrations With Terraform?
Terraform Datadog can also manage supported cloud integrations.
For example, Datadog provides Terraform resources for integrations with:
- AWS
- Microsoft Azure
- Google Cloud
These integrations allow cloud data to flow into Datadog.
A simplified workflow looks like this:
Cloud Infrastructure
↓
Datadog Cloud Integration
↓
Metrics and Logs
↓
Datadog
↓
Terraform-managed Monitors
↓
Alerts
Datadog documents Terraform resources for AWS, Azure, and Google Cloud integrations.
For AWS specifically, Terraform can be used to create the Datadog IAM role, policy document, and Datadog AWS integration as part of the same infrastructure workflow.
This can be useful when provisioning infrastructure and monitoring together.
How Do You Use Variables With Terraform Datadog?
Variables make monitoring configurations easier to reuse.
Instead of hardcoding a threshold:
critical = 80
define a variable:
variable "cpu_threshold" {
type = number
default = 80
}Then use it:
resource "datadog_monitor" "cpu" {
name = "High CPU Usage"
type = "metric alert"
query = "avg(last_5m):avg:system.cpu.user{*} > ${var.cpu_threshold}"
message = "CPU usage is too high."
monitor_thresholds {
critical = var.cpu_threshold
}
}You can then use different values for different environments.
For example:
Development → 90
Staging → 85
Production → 80The same Terraform configuration can therefore support multiple environments without duplicating every monitor.
How Do You Organize a Terraform Datadog Project?
A small project can start with a single main.tf file.
As the project grows, separate resources by purpose:
datadog-terraform/
├── providers.tf
├── variables.tf
├── outputs.tf
├── monitors.tf
├── dashboards.tf
├── integrations.tf
├── teams.tf
└── terraform.tfvarsFor example, providers.tf can contain the provider:
terraform {
required_version = ">= 1.1.5"
required_providers {
datadog = {
source = "DataDog/datadog"
}
}
}
provider "datadog" {}Then monitors.tf can contain your monitoring resources:
resource "datadog_monitor" "cpu" {
name = "High CPU Usage"
type = "metric alert"
query = "avg(last_5m):avg:system.cpu.user{*} > 80"
message = "CPU usage is too high."
monitor_thresholds {
critical = 80
}
}Terraform loads all .tf files in the same directory, so the file names are mainly used to keep the project readable.
How Do Terraform Modules Help With Datadog?
Terraform modules become useful when the same monitoring configuration is needed repeatedly.
For example, you could create a module for standard application monitoring:
modules/
└── application-monitoring/
├── main.tf
├── variables.tf
└── outputs.tf
The module could create standard resources such as:
- CPU monitors
- Memory monitors
- Availability monitors
- Application monitors
- Standard dashboards
Then another configuration could use the module:
module "web_app_monitoring" {
source = "./modules/application-monitoring"
application_name = "web-app"
environment = "production"
}This reduces duplicated Terraform code.
It also makes future changes easier because a common monitoring rule can be updated inside the module instead of manually changing every environment.
How Do You Manage Existing Datadog Resources With Terraform?
You do not always need to create every Datadog resource from scratch.
An organization may already have dashboards, monitors, integrations, or other resources created manually.
Terraform supports importing supported existing resources into its state so they can be managed as code. Datadog also documents using existing resources through Terraform data sources.
The general process is:
Existing Datadog Resource
↓
Create Terraform Configuration
↓
Import Resource
↓
Terraform State
↓
terraform plan
↓
Fix Configuration Differences
For example, Datadog documents importing existing dashboards into Terraform.
Importing is useful when an organization wants to move an existing Datadog setup toward infrastructure as code without rebuilding everything.
However, importing a resource does not mean you should immediately assume the configuration is perfect.
Always run:
terraform planafter importing and review the differences.
What Is the Difference Between a Terraform Resource and Data Source?
The difference is important when using the Terraform Datadog Provider.
| Terraform object | Purpose |
| Provider | Connects Terraform to Datadog |
| Resource | Creates and manages an object |
| Data source | Reads an existing object |
| State | Records Terraform’s managed resources |
A resource might look like:
resource "datadog_monitor" "example" {
name = "Example Monitor"
# Additional configuration
}A data source is used when you need to read existing information rather than create the object.
This distinction becomes increasingly useful as a Datadog Terraform project grows.
How Do You Manage Terraform State for Datadog?
Terraform state records information about the resources Terraform manages.
For a Datadog project, that can include monitors, dashboards, integrations, teams, permissions, and other resources.
The basic workflow is:
Terraform Configuration
↓
terraform plan
↓
Review
↓
terraform apply
↓
Terraform State
Protect the state file carefully.
Do not commit sensitive state to a public Git repository.
For team environments, use an appropriate remote backend with access controls and locking where supported.
State is part of the infrastructure management system, so losing or exposing it can create operational and security problems.
What Is Configuration Drift in Datadog Terraform?
Configuration drift happens when the Datadog environment changes outside Terraform.
For example, suppose Terraform manages a monitor with a critical threshold of 80.
Someone manually changes the same monitor in Datadog to 90.
You now have a difference between the Terraform configuration and the remote resource.
Terraform Configuration
≠
Datadog Resource
The next Terraform plan may identify that difference.
The safest approach is to establish ownership.
If Terraform manages a resource, make Terraform the normal place for changing that resource.
A controlled workflow looks like this:
Change Terraform Code
↓
Code Review
↓
terraform plan
↓
Review
↓
terraform apply
This helps prevent accidental changes and makes monitoring configuration easier to audit.
How Do You Secure Datadog Terraform?
Datadog monitoring can contain sensitive operational information, while API credentials can provide access to your organization.
Follow these practices.
Protect API credentials
Do not hardcode credentials inside Terraform files.
Use environment variables or a secure secrets manager.
Use least privilege
Only provide the permissions required by the Terraform workflow.
Datadog provides resources and data sources for users, teams, roles, and service accounts that can help organizations apply least-privilege access controls.
Protect Terraform state
Treat state as sensitive infrastructure data.
Protect CI/CD secrets
Do not expose API keys in pipeline logs.
Review Terraform plans
Always inspect important changes before applying them.
Control provider upgrades
Test provider upgrades before applying them to production configurations.
This is particularly important because major provider releases can include breaking changes.
For example, the Datadog provider’s v4 upgrade required Terraform 1.1.5 or later and included breaking changes from v3.
How Do You Use Datadog Terraform in CI/CD?
Terraform Datadog works well with CI/CD because monitoring configuration can be treated like other infrastructure code.
A typical pipeline can look like this:
Git Push
↓
terraform fmt
↓
terraform init
↓
terraform validate
↓
terraform plan
↓
Code Review
↓
terraform apply
For example:
terraform fmt -check
terraform init
terraform validate
terraform planThe apply step should normally happen only after the plan has been reviewed according to your team’s deployment process.
This is especially useful for production monitors.
A small change to a monitor query or threshold can affect alerting behavior across an entire environment. Treating that change as reviewed code gives your team more control.
What Is the Difference Between Datadog Terraform and the Datadog API?
The Datadog API provides direct programmatic access to Datadog.
The Datadog Terraform Provider uses that API while adding Terraform’s infrastructure-as-code workflow.
| Datadog API | Datadog Terraform |
| Direct API interaction | Terraform configuration |
| Request-oriented | Desired-state approach |
| Used by applications and scripts | Used through .tf files |
| No Terraform state | Uses Terraform state |
| Flexible API automation | Planning and configuration management |
Datadog describes the Terraform provider as a way to interact with the Datadog API through Terraform configuration.
So you can think of the API as the communication layer and Terraform as the configuration and management layer.
What Should You Do If the Datadog Terraform Provider Stops Working?
Start with the exact Terraform error message.
Then check the following:
| Check | What to verify |
| Provider source | DataDog/datadog |
| Provider version | Installed and supported version |
| Terraform version | Meets provider requirements |
| API key | Available and valid |
| Application key | Available with required permissions |
| API URL | Matches your Datadog site |
| Resource syntax | Matches current provider documentation |
| State | Check for drift or state problems |
| Permissions | Confirm required access |
| Provider upgrade | Check for breaking changes |
Also verify that you are using the correct Datadog site.
The provider supports multiple API endpoints, including US1, EU, US3, US5, and the government site.
For example:
provider "datadog" {
api_url = "https://api.datadoghq.eu"
}Using the wrong endpoint can cause authentication and API request problems.
What Is the Current Datadog Terraform Provider Version?
As of September 2026, the Terraform Registry lists DataDog/datadog 4.20.0 as the latest provider version. The provider requires Terraform 1.1.5 or later.
A production configuration can use an explicit version constraint:
terraform {

  required_version = ">= 1.1.5"

  required_providers {

    datadog = {

      source  = "DataDog/datadog"

      version = "~> 4.20"

    }

  }

}Do not blindly copy the latest version into an existing production project.
Instead, test provider upgrades in a controlled environment first.
This is particularly important when moving between major versions. The v4 upgrade included breaking changes and increased the minimum Terraform version requirement.
Where Does CyberPanel Fit With Terraform Datadog?
CyberPanel and Datadog operate at different layers.
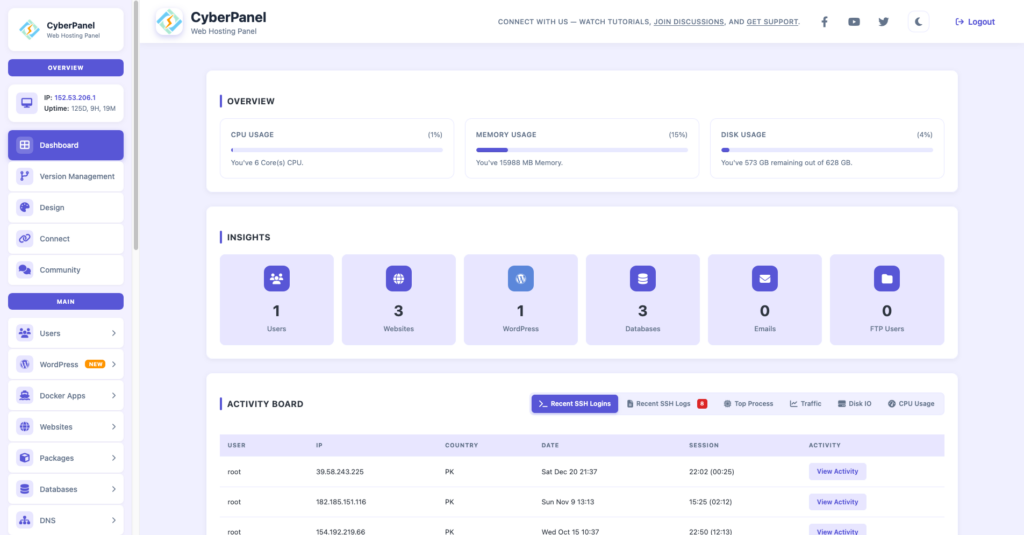
CyberPanel is a web hosting control panel that helps administrators manage websites, domains, SSL, DNS, databases, email, and other hosting services.
Datadog focuses on monitoring and observability.
Terraform can act as the automation layer connecting infrastructure configuration with monitoring configuration.
A broader workflow could look like:
Terraform
│
├── Infrastructure
│
├── Datadog Monitoring
│
└── Other Cloud Services
│
↓
Servers
↓
CyberPanel
The tools are not replacements for each other.
Terraform automates infrastructure and configuration.
Datadog provides monitoring and observability.
The Datadog Terraform Provider connects Terraform with Datadog.
CyberPanel manages web hosting services.
This separation makes the overall DevOps environment easier to understand and maintain.
Is Datadog Terraform Worth Using?
Yes, especially when a Datadog environment contains many monitors, dashboards, integrations, teams, or multiple environments.
The biggest advantage is not simply replacing a few clicks in the Datadog interface.
The real benefit is managing monitoring configuration as code.
With Terraform Datadog, you can:
- Store monitoring configuration in Git
- Review changes before deployment
- Reuse configurations
- Replicate environments
- Automate deployments
- Reduce manual configuration
- Integrate monitoring into CI/CD
The Datadog Terraform Provider provides the connection to the Datadog API, while Terraform provides the configuration, planning, and state-management workflow.
For small environments, manual configuration may still be practical.
For larger environments, however, Terraform can make Datadog configuration much easier to maintain.
Frequently Asked Questions
Can Terraform manage existing Datadog monitors?
Yes. Supported Datadog resources can be imported into Terraform so they can be managed through code. After importing a resource, run terraform plan and review the differences between the Terraform configuration and the existing resource.
Can Terraform create Datadog dashboards?
Yes. The Datadog Terraform Provider supports dashboard resources. You can define dashboards through Terraform and manage changes through the normal plan and apply workflow. Datadog also provides a dashboard JSON resource for JSON-based dashboard definitions.
Can you use Terraform Datadog in CI/CD?
Yes. You can run Terraform validation and planning inside CI/CD pipelines and apply approved monitoring changes automatically or through a controlled deployment step.
Manage Datadog Monitoring as Code
The Datadog Terraform Provider gives DevOps teams a practical way to manage Datadog configuration through code. Instead of relying entirely on manual changes, you can define monitors, dashboards, integrations, synthetic tests, teams, permissions, and other supported resources in Terraform.
The workflow is straightforward:
Define
↓
Initialize
↓
Validate
↓
Plan
↓
Review
↓
Apply
For production environments, use a deliberate provider version, protect your API credentials and Terraform state, follow least-privilege principles, and review important Terraform plans before applying them.
If you already use Terraform for infrastructure, adding Datadog to the same workflow can make monitoring configuration easier to reproduce and maintain.
For a CyberPanel-based hosting environment, the roles remain clear. Terraform handles automation, the Datadog Terraform Provider connects Terraform to Datadog, Datadog provides observability, and CyberPanel manages supported web hosting services.
Start with one non-production monitor, verify the plan, apply it through Terraform, and then expand your Datadog configuration as your monitoring requirements grow.