

Authentication serves as the foundation of most modern-day applications. The best of the apps are vulnerable if there is no secure identity system. However, preparing authentication manually over several services would be a disorganized, very tedious, and hardly scalable process.
And this is why Keycloak Kubernetes totally revolutionizes the situation.
Instead of reinventing the wheel when it comes to authentication, how about installing a full-fledged identity platform right inside your cluster? Most developers who wish to deploy Keycloak in Kubernetes want to use it as a single solution for login, user management, and access control.
Installing Keycloak Kubernetes for the first time or would like a clean way to deploy Keycloak on Kubernetes, this article will make you comfortable with the whole process as simple and practical as possible.
Keycloak in Kubernetes
Keycloak is a software for managing identity, user authentication, and authorization. It keeps these tasks separate from the application code.
Kubernetes is a platform to manage containerized applications at scale.
Keycloak Kubernetes means running Keycloak on a Kubernetes cluster and using it as the authentication manager for your applications.
Features
- User authentication
- SSO (single sign-on)
- Role-based access control
- Identity federation
This way, you don’t have to make your own authentication mechanisms.
Why Deploy Keycloak in Kubernetes?
Deploying Keycloak in Kubernetes offers you a scalable and dependable authentication framework.
Key Benefits
- unified authentication for all applications
- simple scaling with Kubernetes
- high availability
- user security management
This suits best microservices and cloud-native applications.
Pre-requisites Before Deployment
Before Keycloak deployment to Kubernetes, ensure you have:
- a functional Kubernetes cluster
- kubectl configured
- understanding of YAML files
- container runtime (Docker or equivalent)
How to Deploy Keycloak in Kubernetes?
Here is how to deploy Keycloak in Kubernetes:
Step 1: Add Helm Repository
Helm makes deployment fast and clean.
helm repo add bitnami https://charts.bitnami.com/bitnami
helm repo updateStep 2: Install Keycloak Kubernetes Setup
Now, install Keycloak using Helm:

helm install keycloak bitnami/keycloakStep 3: Check Deployment Status
kubectl get podsStep 4: Access Keycloak
To access it locally:
kubectl port-forward svc/keycloak 8080:80Now open:
http://localhost:8080Step 5: Get Admin Credentials
kubectl get secret keycloak -o jsonpath="{.data.admin-password}" | base64 --decodeHow to Configure Keycloak After Deployment?
Once you deploy Keycloak on Kubernetes, do these basics:
Create a Realm
A realm is like a workspace.
Add Clients
These are your apps (web, mobile, APIs).
Add Users
Create users and assign roles.
Configure Authentication
Set login methods like:
- Email/password
- Google login
- OTP
How to Install Keycloak Kubernetes?
Here is step by step for how to install Keycloak Kubernetes:
Step 1: Creating Deployment
apiVersion: apps/v1
kind: Deployment
metadata:
  name: keycloak
spec:
  replicas: 1
  selector:
    matchLabels:
      app: keycloak
  template:
    metadata:
      labels:
        app: keycloak
    spec:
      containers:
      - name: keycloak
        image: quay.io/keycloak/keycloak:latest
        args: ["start-dev"]
        ports:
- containerPort: 8080Step 2: Now, Create Service
apiVersion: v1
kind: Service
metadata:
  name: keycloak-service
spec:
  type: NodePort
  selector:
    app: keycloak
  ports:
    - port: 80
      targetPort: 8080
nodePort: 30007Step 3: Finally, Apply Configuration
kubectl apply -f keycloak-deployment.yaml
kubectl apply -f keycloak-service.yamlOutput:
Keycloak runs inside your cluster.
Deploying Keycloak on Kubernetes with Persistence
You should not rely on temporary storage for production. You can use PostgreSQL or MySQL for persistent data. It is important because:
- User data is safe
- Survives pod restarts
- Supports scalling
Deploy Keycloak to Kubernetes with Ingress
You can use Ingress to expose Keycloak properly. Here is an example:
apiVersion: networking.k8s.io/v1
kind: Ingress
metadata:
  name: keycloak-ingress
spec:
  rules:
  - host: keycloak.example.com
    http:
      paths:
      - path: /
        pathType: Prefix
        backend:
          service:
            name: keycloak-service
            port:
number: 80Result:
- Access via domain
- Better routing
- Production-ready setup
Best Practices for Keycloak Kubernetes
Here are a few best practices you should follow for KeyCloak Kubernetes:
Use External Database
Do not use in-memory storage.
Set up HTTPS
Secure authentication endpoints at all times.
Scale Pods
Keep multiple replicas for availability.
Backup Data
Keep user data protected regularly.
Common Mistakes to Avoid
Now, let’s discuss some common mistakes to avoid:
Using Dev Mode in Production
start-dev is designed for testing only.
No Persistence
Results in losing data.
Weak Admin Credentials
Use a strong password always.
Not Paying Attention to Resource Limits
Will cause pod failures during high load.
Keycloak Kubernetes Architecture
| Component | Role |
|---|---|
| Pod | Runs Keycloak container |
| Service | Exposes Keycloak internally |
| Ingress | External access |
| Database | Stores users & data |
| ConfigMaps | Configuration |
Role of CyberPanel in Kubernetes Apps
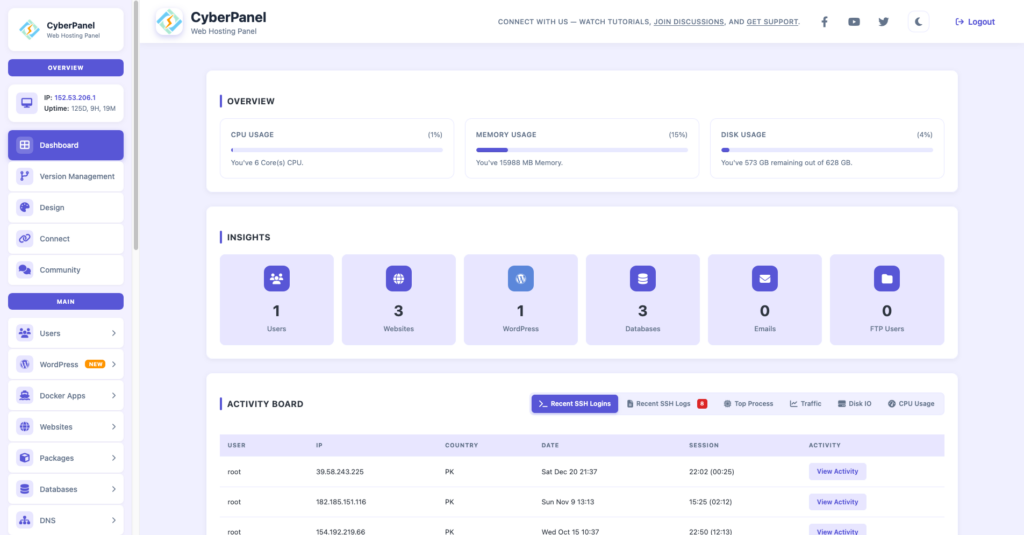
CyberPanel is a free and open-source web hosting control panel. It is a great tool for managing apps dependent on Keycloak authentication.
It features support for:
- domain configuration
- SSL setup
- hosting management
- monitoring
You have Kubernetes for running applications, Keycloak for authentication, and CyberPanel for hosting management.
Conclusion
Authentication need not be a complex matter. By utilizing the combination of Keycloak and Kubernetes, you can set up a secure and scalable identity system within a few minutes. Keycloak in a Kubernetes environment for either testing or production purposes is a straightforward and manageable activity.
In case you decide to support it with both persistence and ingress, Keycloak will be a very efficient authentication layer for any modern application.
Set up your Kubernetes cluster today. Run the Helm command. Launch your Keycloak instance.
FAQs
Is Keycloak Kubernetes setup suitable for small projects?
Yes. You can run it on a small cluster, but scale later when needed.
Can I use Keycloak with microservices?
Yes. Keycloak works perfectly with microservices for centralized authentication.
Can I deploy Keycloak without Helm?
Yes, but it is more complex. Helm simplifies deployment and is recommended for most users.


I like how the post balances deployment instructions with security and management considerations—it’s often overlooked in similar guides. The step-by-step approach really helps clarify the setup process, especially in complex Kubernetes environments.