On this page
If you have a Databricks deployment managed through the web console, this article solves the problem you’ve likely encountered: nothing is repeatable. One teammate deploys a cluster one way, another deploys it another, and no one can explain why staging looks nothing like production.
Terraform solves this, and the Terraform Databricks provider is the bridge that lets you talk to your Databricks workspace the same way you’re communicating with other clouds.
This guide covers the ins and outs of the provider, how to install and configure it for the first time, and how to use it to create and maintain real resources including clusters, jobs, and service principals. You’ll also find where a Terraform Databricks workflow fits in with other infrastructure tools that may already be using Terraform.
What Is the Databricks Terraform Provider?
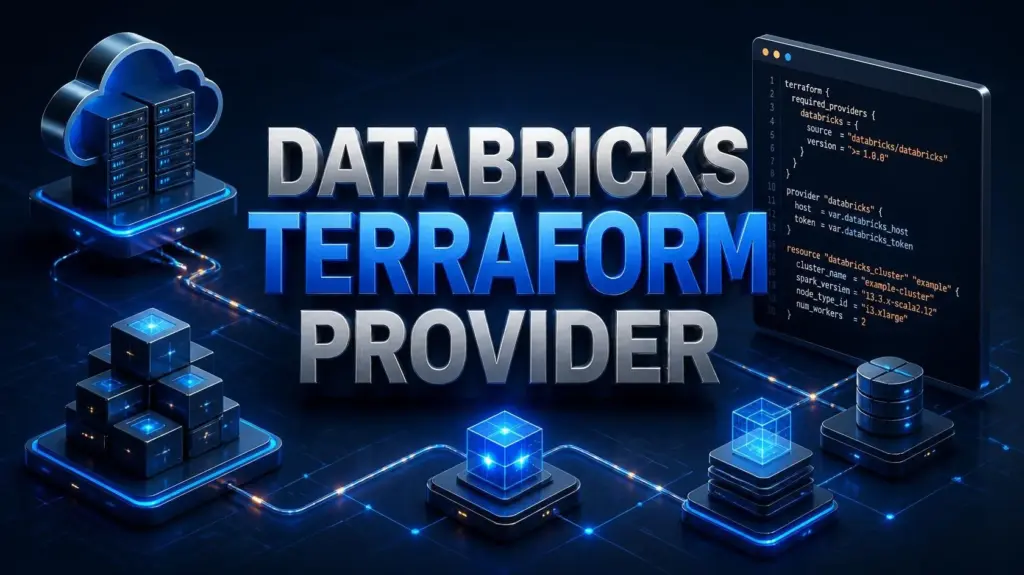
The Terraform Databricks provider is an official plugin that lets Terraform create and manage Databricks resources. It connects Terraform configurations to Databricks APIs, allowing teams to manage resources such as clusters, jobs, notebooks, permissions, and other workspace components as code. Its aim is to support every Databricks REST API, enabling the automation of even the most complex Databricks deployments.
In practice, that means instead of clicking around in the Databricks console to create a cluster, you write down its description in a text file and let Terraform know to build it from there. And if you run the same file again, it’ll look at what you have running in the current workspace, and only make the changes needed to get there.
Many companies are using this provider to deploy and manage clusters and jobs, and to configure data access. Some are pairing this with the AWS, Azure, or Google Cloud provider, so that their cloud and Databricks deployments can be created in one orchestrated run.
Why Teams Choose Terraform Over the Databricks UI
Manual management works fine until you have more than one workspace. And having three clusters, five teams, or an auditor asking “who changed this cluster policy last month?” is when the value of Terraform really shines through.
With the Databricks provider, the following are possible:
- Version control: All your changes to cluster configuration, jobs, and permissions are captured in a Git repo, and not in someone’s head.
- Peer review: A pull request shows which resources will change, and what they’ll be changed to.
- Repeatability: The same code deploying dev can deploy staging, and only the variables will change.
- Rollback: Bad config? Revert the commit and re-apply.
- Documentation that doesn’t rot: The .tf files always show what the workspace is like at any given time.
Before You Start: What You’ll Need
You won’t need much to get started, but skipping these steps is where most of the errors people run into come from.
- Terraform CLI installed on your machine (preferably version 1.x or newer).
- A Databricks workspace you have admin or contributor access to, running on AWS, Azure, or GCP.
- Authentication credentials; this could be a personal access token, OAuth, or a service principal, depending on your setup.
- A dedicated project folder. A Terraform configuration is typically organized in its own working directory containing
.tffiles. Terraform loads the configuration files in that directory together.
Setting Up the Databricks Provider
Create a folder for your project, and inside it, a file (often called main.tf) with the provider block.
terraform {
  required_providers {
    databricks = {
      source  = "databricks/databricks"
      version = "1.130.0"
    }
  }
}
provider "databricks" {
  host  = var.databricks_host
  token = var.databricks_token
}
variable "databricks_host" {
  type        = string
  description = "URL of the Databricks workspace"
}
variable "databricks_token" {
  type        = string
  sensitive   = true
  description = "Databricks authentication token"
}
Running terraform init inside that folder, Terraform will download the provider plugin and get things ready. This is the same command you’d run for any provider, so if you have experience with the AWS or GCP provider, nothing here should feel unfamiliar.
Authentication Methods Compared
Databricks supports multiple ways to authenticate Terraform, and picking the right one matters both for security and how your pipelines will be set up later. Here’s a quick look at the options.
| Auth Method | Best For | Notes |
| Personal Access Token (PAT) | Solo projects, quick testing | Tied to one user account; token can expire or get revoked if that user leaves |
| OAuth (U2M) | Interactive local development | Opens a browser login flow; good for individuals, not for automation |
| Service Principal (M2M) | CI/CD pipelines, production | Not tied to a human user; recommended for automated Terraform runs |
| Databricks CLI profile | Local dev with multiple workspaces | Stores credentials in a config file Terraform can reference |
For anything besides personal testing, a service principal is the safer route. Databricks recommends using a service principal with its OAuth token or personal access token instead of a personal user account and token, because it allows you to grant and restrict access independently of any one person, disable or delete the identity without affecting other users, and remove a departing employee without breaking automation tied to that identity.
Provisioning Your First Resources
Once authentication is sorted, you can start describing real resources. A common starting point includes a notebook, a cluster, and a job that runs the notebook on that cluster.
resource "databricks_notebook" "this" {
  path     = "/Shared/example-notebook"
  language = "PYTHON"
  source   = "./notebook.py"
}
resource "databricks_cluster" "this" {
  cluster_name            = "terraform-demo-cluster"
  spark_version           = "13.3.x-scala2.12"
  node_type_id            = "i3.xlarge"
  autotermination_minutes = 20
  num_workers             = 2
}
resource "databricks_job" "this" {
  name = "terraform-demo-job"
  task {
    task_key = "run_notebook"
    notebook_task {
      notebook_path = databricks_notebook.this.path
    }
    existing_cluster_id = databricks_cluster.this.id
  }
}Running terraform plan will show you exactly what Terraform intends to create, without touching anything yet. Then, once you’re happy with the plan, it’s time to run terraform apply and actually build it.
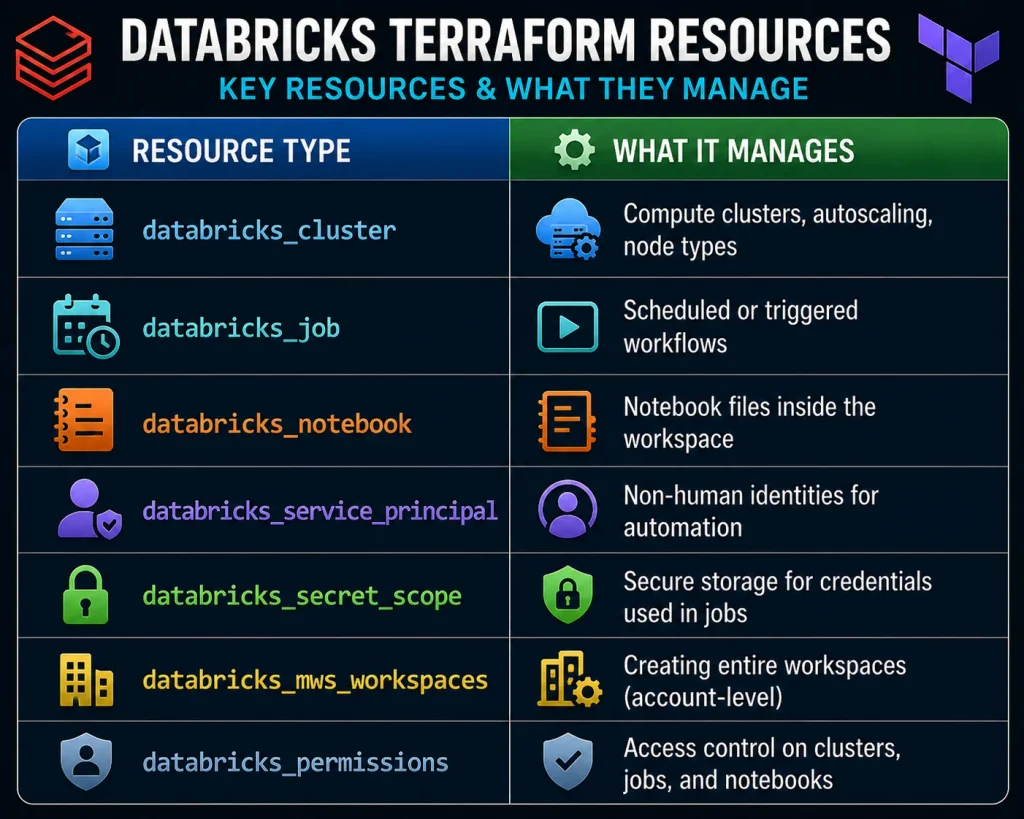
Common Resource Types You’ll Work With
The provider covers a lot of ground. These are the ones most teams touch first.
Creating a Workspace With Terraform
Terraform isn’t limited to managing resources inside an existing workspace. It can also be used to create the workspace itself. Both serverless and classic Databricks workspaces can be created through Terraform automation. The databricks_mws_workspaces resource is used for AWS and GCP workspace creation at the Databricks account level, while Azure Databricks workspaces are created using the azurerm_databricks_workspace resource from the AzureRM provider
This matters most for platform teams standing up new environments for different business units. Instead of a manual checklist that takes hours, a workspace can be provisioned in one apply.
Terraform CDK: A Path Most Teams Should Skip Now
If you’ve seen references to the Cloud Development Kit for Terraform (CDKTF) for Databricks, know that this path is being phased out. Databricks no longer recommends using CDKTF to manage Databricks resources, since HashiCorp has announced the sunset of the CDKTF project and it will no longer receive active development or support. Stick with standard HCL configuration files unless you have a very specific legacy reason not to.
Using Terraform in CI/CD Pipelines
Most mature teams don’t run terraform apply from a laptop. They run it from a pipeline, triggered by a merge to the main branch. A typical flow looks like this:
- A developer opens a pull request with a change to a .tf file.
- The pipeline runs terraform plan and posts the output as a comment for review.
- A teammate approves the change.
- On merge, the pipeline runs terraform apply using a service principal, not a personal token.
- State should be stored in a properly configured remote backend that supports collaboration and state locking where available, such as an S3-based or Azure Storage backend.
This setup eliminates the “it worked on my machine” problem entirely, since the pipeline is the only thing allowed to make changes.
Mocking and Testing Before You Apply Anything
One underused feature is the ability to test configuration without touching real infrastructure or needing live credentials at all. The Databricks Terraform provider can be mocked, which allows running terraform test without deploying any resources and without requiring authentication credentials. This is a solid way to catch syntax and logic errors in a pull request before anyone applies real changes to a shared workspace.
Where CyberPanel Fits Into the Picture
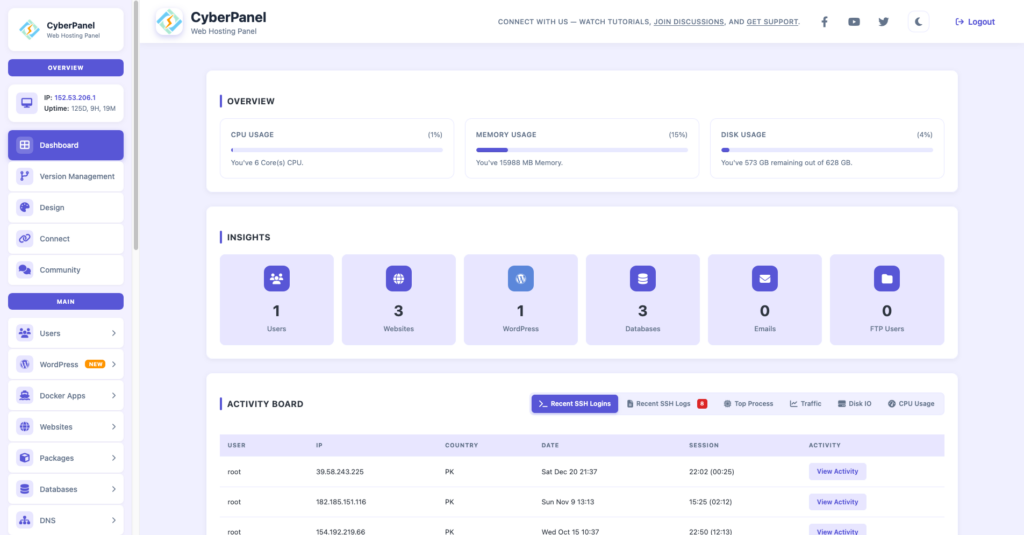
Terraform and Databricks solve infrastructure problems for data platforms and cloud compute. But most businesses also run something simpler alongside all of that: a website, a mail server, or an internal tool sitting on a regular web server. That’s where a web hosting control panel comes in, and it’s worth understanding how the two worlds connect.
CyberPanel is a free and open-source web hosting control panel. It takes care of the day-to-day of running a web server, things like domain setup, SSL certificates, email accounts, and database management, through a clean dashboard instead of raw command-line work. It’s the same philosophy Terraform brings to cloud infrastructure, just applied to web hosting: fewer manual steps, fewer mistakes, and a repeatable way to manage what’s running.
Plenty of Databricks and Terraform users also maintain a companion website, documentation portal, or internal dashboard, and that’s usually hosted through a standard web hosting control panel rather than a cloud data platform. If your team is choosing infrastructure tools for different layers of the stack, it helps to know both exist for a reason: Terraform and the Databricks provider handle data and compute automation, while a control panel like CyberPanel handles the web-facing side of your infrastructure.
Common Errors and How to Fix Them
| Problem | Likely Cause | Fix |
| “401 Unauthorized” on apply | Token expired or workspace URL wrong | Regenerate the token and double-check the host value |
| Resource already exists error | Something was created manually outside Terraform | Import it using terraform import instead of recreating |
| Provider version mismatch | Old version pinned in required_providers | Update the version number and re-run terraform init -upgrade |
| State file conflicts | Two people applying at once with local state | Move to remote state with locking enabled |
| Cluster fails to start after apply | Invalid spark_version or node_type_id for your cloud region | Check available versions and node types for your specific workspace |
Best Practices Worth Following From Day One
- Keep secrets out of .tf files entirely. Use environment variables or a secret manager, never hardcoded tokens.
- Separate environments (dev, staging, prod) into different state files or workspaces, not the same file with different variables.
- Pin the provider version instead of leaving it open-ended, so an update doesn’t silently break your pipeline.
- Use terraform plan as a required check before every merge, not an optional step.
- Tag resources with owner and purpose so cost and access reviews aren’t a guessing game later.
Frequently Asked Questions
Can I manage an existing Databricks workspace with Terraform, or does it have to be created new?
You can bring an existing workspace under Terraform management. The process involves writing resource blocks that match what already exists, then using terraform import to link each real resource to its Terraform definition. After that, Terraform treats it like anything else it manages.
Does the Databricks Terraform provider work the same way across AWS, Azure, and GCP?
The provider itself works the same way, but some resources are cloud-specific. Workspace creation, for example, needs different supporting cloud resources depending on the platform, so your .tf files will differ even though the Databricks-side syntax stays consistent.
What happens if someone changes a cluster manually in the UI after Terraform created it?
Terraform detects the drift when it refreshes the resource during a subsequent plan or apply. Depending on the configuration, the resulting plan may show the change and propose updating the resource to match the Terraform configuration.
Is the Databricks Terraform provider free to use?
The provider itself is open source and free. You still pay for the underlying Databricks compute and cloud resources it creates, the same as if you built them manually.
Can Terraform manage Databricks Unity Catalog permissions too?
Yes. Unity Catalog objects like catalogs, schemas, and grants have their own resource types in the provider, so access control can be version-controlled alongside compute and jobs instead of being managed separately in the UI.
Final Thoughts
The use of Terraform does not aim to make Databricks simpler. It aims to make it more predictable. Predictable code reduces unexpected changes and late-night help desk calls about who changed “this particular cluster configuration.” It lets junior developers read and reason about the code rather than reverse-engineer some undocumented user interface.
Start small: Take one resource, a single cluster or job that you want to be managed under version control, and watch it go through apply and planning before moving on to more involved setups. Your colleagues who rush to embrace infrastructure as code on day one will most likely be disillusioned with the tool quickly. More often than not, successful IaC adoption follows the “iterate and learn” approach.
The same attitude, by the way, applies to all infrastructure-as-code tools. Whether you decide to manage your Databricks workspace with Terraform or you want to use a control panel (such as CyberPanel) to manage your web server, the principle is the same. Infrastructure as code tools help you reduce human error and simplify audits by replacing unpredictable custom automation with generalized, battle-tested code.
Ready to automate your Databricks infrastructure? Start managing your workspace with Terraform today for faster, consistent, and repeatable deployments.