On this page
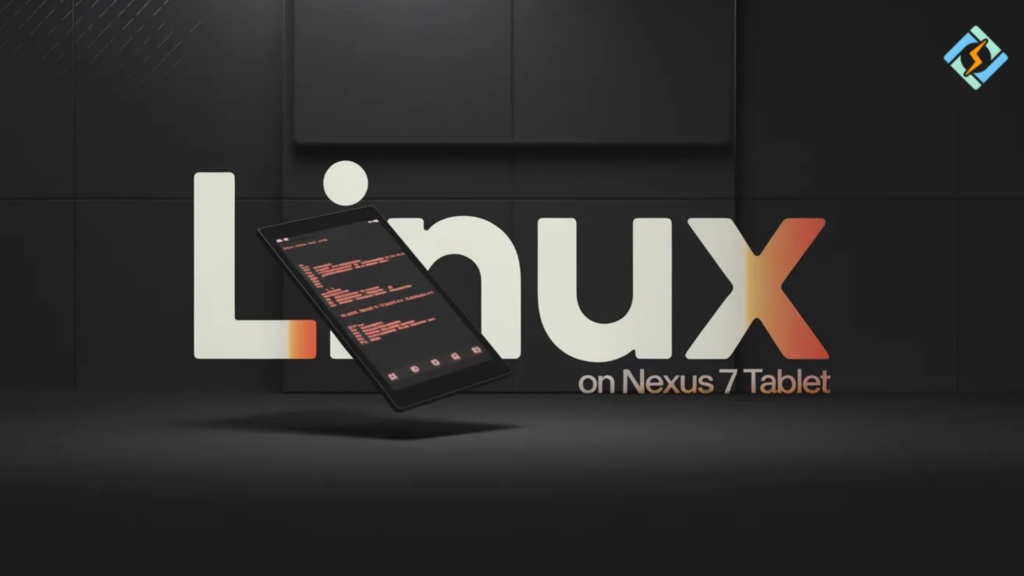
The Google Nexus 7 is old hardware. It was first released in 2012 and 2013, and the production stopped a long time ago. Yet, a very active and enthusiastic group of tinkerers, developers, and Linux fans still find new ways to install Linux on it and bring it to life. If you’re planning to work on a Nexus 7 Linux project, consider this manual as your personal guide. No matter if you’re thinking of turning it into a minimalist desktop with a single lightweight interface, to have Kali Linux on Nexus 7 for hacking-related work, or just to learn what the small tablet is capable of, beyond its original Android environment, you made the right decision.
Now, let’s start.
Why Install Linux on a Nexus 7?
The Nexus 7 wouldn’t even be considered decent by 2026 standards. The best you could get with it is a quad-core Tegra 3 or Snapdragon S4 Pro SoC and 1 GB of RAM. Even so, Linux is strangely thriving on limited resources these days. Lightweight distros like Ubuntu Touch, PostmarketOS, and Debian ARM can run on much less than you would need for most modern apps. Switching from Android to the lean Linux system makes the Nexus 7 an intriguing device again.
The main trigger behind people’s decision to install Linux on their Nexus 7 usually boils down to a few familiar factors:
- It has been years since Android stopped receiving updates, but with Linux, the device stays safe and up-to-date
- It is a perfect way to learn Linux on actual hardware without risking your main computer.
- Having a portable Kali Linux setup for security purposes
- Using the tablet as a lightweight server, reader, or terminal device
- Simply because it is a fascinating technical exercise
What You Need Before You Start
Before touching a single command, get these things sorted. Skipping preparation is how devices get bricked.
| Requirement | Details |
|---|---|
| Nexus 7 Model | 2012 (Wi-Fi) or 2013 (Wi-Fi/LTE) — both supported |
| Unlocked Bootloader | Mandatory — cannot install without it |
| ADB & Fastboot | Installed on your Linux or Windows host machine |
| USB Cable | Original or high-quality replacement — cheap cables cause failed flashes |
| Battery Level | Charge to at least 70% before starting |
| Backup | Back up everything on the device first |
| Host Machine | A Linux machine is recommended for this process |
Unlocking the Bootloader
Connect your Nexus 7 to your computer via USB. Enable USB debugging on the tablet under Developer Options, then run:
adb reboot bootloaderOnce the device is in fastboot mode:
fastboot oem unlockConfirm the unlock on the device screen. The tablet will factory reset and reboot. This is normal. You now have an unlocked bootloader and can proceed with installing any Linux distribution you choose.
Best Linux Distributions for Nexus 7
| Distribution | Best For | Difficulty | Status (2026) |
|---|---|---|---|
| PostmarketOS | Daily use, lightweight desktop | Beginner-friendly | ✅ Active |
| Ubuntu Touch (UBports) | Touch-friendly desktop experience | Beginner-friendly | ✅ Active |
| Debian ARM | Terminal use, server tasks | Intermediate | ✅ Active |
| Kali Linux (NetHunter) | Penetration testing | Advanced | ✅ Active |
| Arch Linux ARM | Full control, customization | Advanced | ⚠️ Manual setup |
How to Install Linux on Nexus 7: PostmarketOS
PostmarketOS is the actively maintained distribution with direct Nexus 7 support. It uses a lightweight Alpine Linux base and supports multiple desktop environments. These include Phosh, XFCE, and Sway. Here are the steps to install Linux on Nexus 7:
Step 1 — Install pmbootstrap
PostmarketOS uses its own installation tool called pmbootstrap. On your Linux host machine:
pip3 install pmbootstrapStep 2 — Initialize pmbootstrap
pmbootstrap initWhen prompted, select:
- Device: google-nexus7-flo (2013) or google-nexus7-grouper (2012)
- Interface: Phosh or XFCE depending on your preference
- Username and password: Set these as prompted
Step 3 — Build and Flash
pmbootstrap install
pmbootstrap flasher flash_rootfs
pmbootstrap flasher flash_kernelAfter that, reboot the device. PostmarketOS will boot on your Nexus 7 with a functional touch interface, Wi-Fi support, and a proper Linux environment underneath.
Installing Kali Linux on Nexus 7
Kali Linux Nexus 7 is becoming a favourite of security experts and students who wish to get a portable penetration testing environment. Kali NetHunter – Offensive Security’s official Android overlay that enables running Kali Linux tools over a compatible Android – is the preferred way.
What Kali NetHunter Offers
- Complete lineup of Kali Linux tools, including Metasploit, Nmap, Aircrack-ng, and many more
- A Kali chroot instance that runs side by side with Android
- The NetHunter application for tool management via a touch interface
- Support for external adapters used in wireless security testing
Installation in Brief
Installing Kali NetHunter on Nexus 7 will require:
- A compatible custom recovery, i.e., TWRP (Team Win Recovery Project)
- An Android ROM that is compatible to be the base (LineageOS is the one recommended)
- The NetHunter installer zip that is available on the official Kali downloads page
Flash TWRP first through fastboot:
fastboot flash recovery twrp-nexus7.imgBoot into recovery, flash your LineageOS base ROM, then flash the NetHunter zip on top of it. The full detailed installation guide is maintained at nethunter.com and is the authoritative source for current device-specific instructions.
Ubuntu Touch on Nexus 7
Ubuntu Touch, maintained by the UBports community, offers the most polished touch-native Linux experience available for the Google Nexus 7. It’s the most touch-friendly Linux interface you can find for Nexus 7, far away from an Android mod. Ubuntu Touch suits best if you want a tablet that feels like a genuine Linux device.
To install the system, you should use the UBports Installer, a user-friendly program for Linux, Windows, and macOS, which makes the flashing operation very simple and fast. Get it from devices.ubuntu-touch.io, plug in your Nexus 7, choose the model of the device, and do what is shown on the screen.
Ubuntu Touch running on the Nexus 7 will provide you with:
- A desktop environment designed for touch, based on Ubuntu
- Functional Wi-Fi and display
- A terminal with full Linux command-line utilities as well
- A simple web browser and basic application package
It’s really the perfect Linux on Nexus 7 option for those users who want a daily tablet but not a development or security device.
Common Issues and How to Fix Them
| Problem | Cause | Fix |
|---|---|---|
| Device not detected by ADB | USB debugging not enabled | Enable Developer Options → USB Debugging |
| Fastboot command not found | ADB tools not installed | Install android-tools-adb package |
| Flash fails midway | Poor USB cable | Replace with quality USB cable |
| Wi-Fi not working after install | Missing firmware | Install device firmware package for your distro |
| Touchscreen unresponsive | Wrong kernel | Verify correct device codename during installation |
| Boot loops after flash | Incomplete installation | Reflash from recovery using TWRP |
The Role of CyberPanel in a Nexus 7 Linux Setup
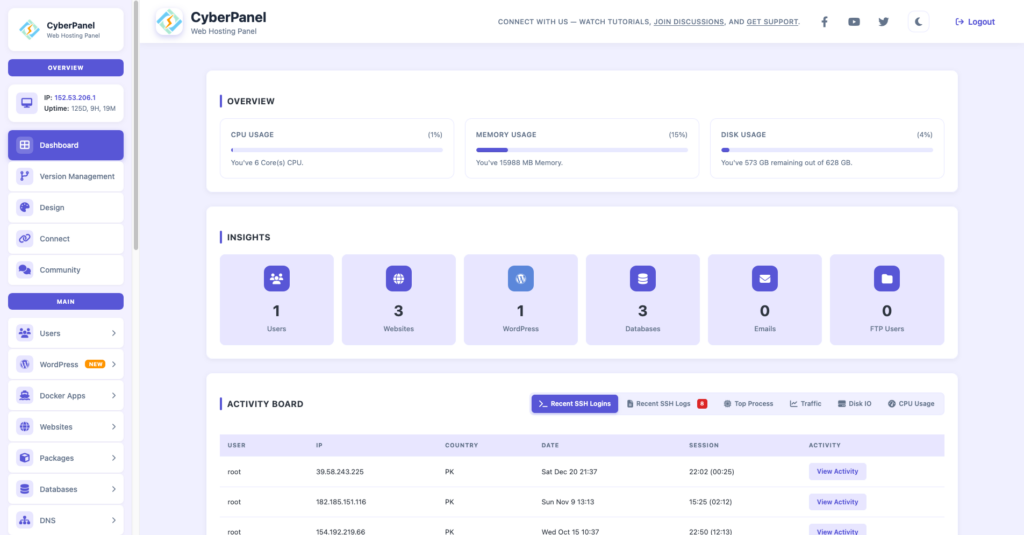
One of the most imaginative ways to use your Nexus 7 Linux device after setting it up would be as a very simple terminal that connects to and manages a remote Linux server.
It is quite common for developers and homelabbers who run self-hosted services to use low-power devices for such purposes, that is to say, as a control interface that they can carry around for their server infrastructure.
CyberPanel, the Linux web hosting control panel powered by OpenLiteSpeed, is meant to be handled entirely through a web browser. This means that your Nexus 7 with Linux, provided you have a browser installed on it, stands as a complete interface for managing your remote server (websites, databases, email, and file storage).
The real-world scenario goes as follows:
Nexus 7 running Ubuntu Touch or PostmarketOS → browser open → CyberPanel dashboard on your remote Ubuntu server → full server management from a portable Linux tablet
Conclusion
The Google Tablet Nexus 7 Linux project is not to turn old computers into a powerhouse and run them as your main machines. It’s mainly focused on giving a good quality life to a powerful device, learning Linux on a real device, and using the tablet, which Android has already forgotten in a very interesting way.
PostmarketOS is equivalent to working in a modern, actively maintained Linux environment from a user perspective. Ubuntu Touch is a beautifully designed touch-focused interface. Kali Linux on Nexus 7 is your mobile security lab that fits in your bag. These are the real and valuable result that comes out from a device that most people keep in a drawer only to become a paperweight.
Select the Linux distro, implement the instructions, and let that Nexus 7 be reborn.
Your Next Steps:
Download PostmarketOS — the most actively maintained Linux for Nexus 7 → postmarketos.org
Install Ubuntu Touch — the most polished touch Linux experience → ubuntu-touch.io
Get Kali NetHunter — official portable penetration testing → kali.org/get-kali
Try CyberPanel — manage your Linux server from any browser, including your Nexus 7 → cyberpanel.net
FAQs
Can I install Linux on Nexus 7 without unlocking the bootloader?
No. Bootloader unlock is mandatory for installing any custom operating system on the Nexus 7. There is no workaround for this requirement.
Which Nexus 7 model is better for Linux — 2012 or 2013?
The 2013 model is generally preferred. It has better hardware, a sharper display, and broader community support across most Linux distributions. If you have a choice between the two, go with the 2013 version.
Will installing Linux void my Nexus 7 warranty?
The Nexus 7 is long out of warranty, so this is not a practical concern for most users. Unlocking the bootloader does technically void the original manufacturer’s warranty.