
Rsync, the remote synchronization tool, stands out as a powerful and efficient solution for file transfer and synchronization between directories. In this comprehensive guide, we will explore various aspects of using rsync on Linux, with a special focus on the rsync -e option, which allows you to specify the remote shell to use.
Prerequisites
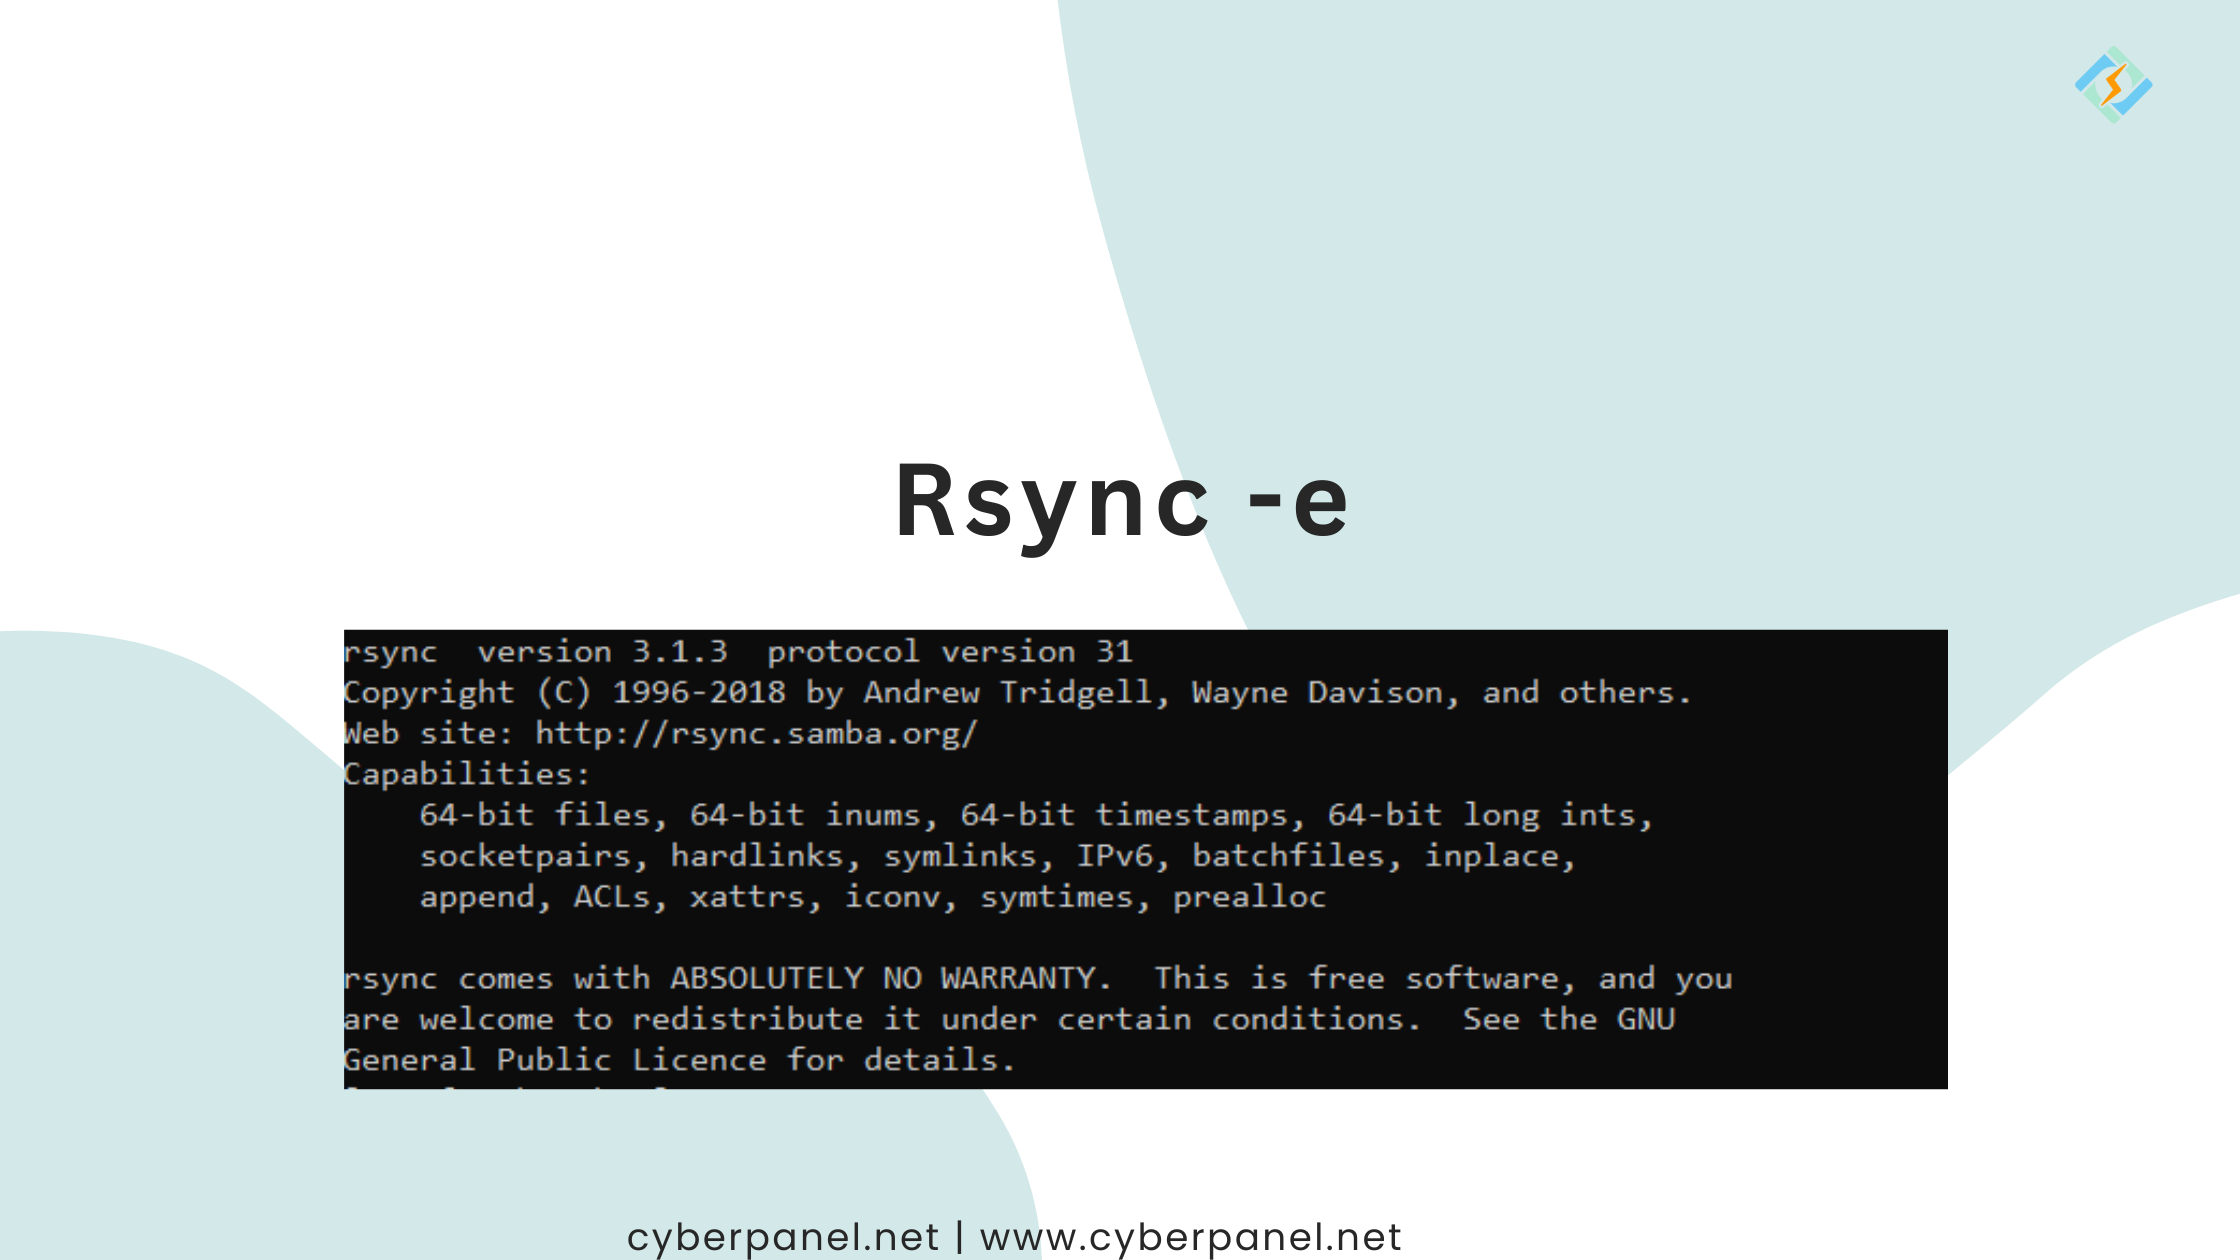
Before diving into the details, ensure that rsync is installed on both your local and remote systems. To confirm its presence, use the following command:
rsync --version

Use Rsync to Sync Files Locally
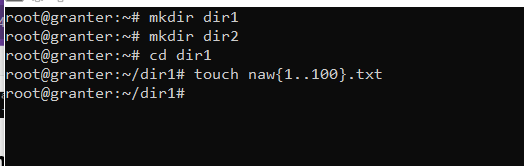
Rsync simplifies local file synchronization with a syntax reminiscent of other familiar tools like scp and cp. For demonstration, let’s create two directories: dir1 as the source and dir2 as the destination.
mkdir dir1
mkdir dir2

Change directory to dir1 and then create list of files there using touch command.
cd dir1
touch naw{1..100}.txt
To copy and synchronize the files from dir1 to dir2, use the following rsync command:
before this change directory to main using the command: cd ..
rsync -vr dir1/ dir2

The -v or --verbose option provides detailed output, while the -r or --recursive option ensures the recursive copying of files and subdirectories. Consider using the -a or --archive flag for a recommended sync, preserving file attributes.
Exclude Specific Files and Directories
Rsync allows you to exclude specific files or directories during synchronization. For instance, to exclude file1.txt from the transfer, use:
rsync -av --exclude=naw99.txt dir1/ dir2

For multiple exclusions, enclose them in curly braces:
rsync -av --exclude={naw1.txt,naw2.txt} dir1/ dir2

Perform a Dry Run
Before executing the rsync command, run a dry run to simulate the file transfer without actually performing any actions. This helps ensure the intended operation. Combine the -a, -n, and -v flags for an informative dry run:

rsync -avn dir1/ dir2

Use Rsync to Sync Files Remotely
Rsync’s capabilities extend beyond local synchronization; it can transfer files to and from remote systems. To achieve this, ensure rsync is installed on both systems, and configure passwordless SSH login.
Push Files to a Remote Location
Perform a push operation to sync files from local to remote using the following syntax:
rsync [options] source [user@host-ip]:dest-on-remote-machine
For example:
rsync -av sample.txt user@remote-ip:/home/

Pull Files From a Remote Location
Conversely, perform a pull operation to sync files from remote to local:
rsync [options] [user@host-ip]:source dest-on-local-machine
Example:
rsync -av user@remote-ip:remote-file.txt /home/local/data
Synchronize Local and Remote Directories
To synchronize local and remote directories, use the --delete option. Be cautious, as this option deletes files in the destination directory if they don’t exist in the source directory:
rsync -av --delete dir1 user@remote-ip:/home/user/
Compress Files and See Transfer Progress
Enhance your rsync operations with the -z option for file compression and the -P option for a progress bar:
rsync -azP dir1 user@remote-ip:/home/user/data
FAQs
What does the “-e” option in rsync stand for?
The “-e” option in rsync is used to specify the remote shell to be used during file synchronization. It allows users to customize the way rsync connects to remote systems, providing flexibility in the choice of the remote shell.
Are there alternative remote shells I can use with the “-e” option?
Yes, besides the default SSH, you can specify alternative remote shells using the “-e” option. Common alternatives include “rsh,” “ssh2,” and others based on your system’s available options.
What should I do if I encounter connection issues with the “-e” option?
If you encounter connection issues, first ensure that the remote host is reachable, and the specified remote shell command is valid. Check for typos in the command and verify network connectivity between the local and remote systems.
Is the “-e” option required for all rsync commands involving remote hosts?
No, the “-e” option is optional. If not specified, rsync uses SSH by default for remote connections. The “-e” option provides customization options for users who require specific remote shell configurations.
Can I use the “-e” option with other file transfer protocols besides SSH?
Yes, the flexibility of the “-e” option extends beyond SSH. While SSH is the default and widely used protocol, you can specify alternative protocols such as “rsh,” “ssh2,” or any custom command that facilitates the connection between the local and remote systems.
Conclusion
Mastering Rsync for remote file synchronization enhances efficiency and flexibility in managing data across diverse systems. Whether pushing files to a remote location, pulling from a remote source, or copying entire directories, Rsync’s capabilities shine in streamlining these operations. By understanding the syntax and nuances of Rsync’s remote synchronization, users can harness the full potential of this powerful tool for seamless and secure data transfers.


