This is the easiest walkthrough if you struggle to integrate WordPress with Mailchimp.
Mailchimp is a popular platform for managing email marketing campaigns.
Integrating WordPress and Mailchimp can enhance your website content and email marketing efforts, especially if you already use both platforms independently. This connection allows you to maximize the benefits of each tool. You’re able to collect leads, automate emails, and eventually grow your audience.
This guide will explain the right steps you can follow to integrate WordPress with Mailchimp today. Before that just take a look overview of what Mailchimp is and why WordPress integration with MailChimp is so efficient.
What Is Mailchimp and Why Should You Use It with WordPress?
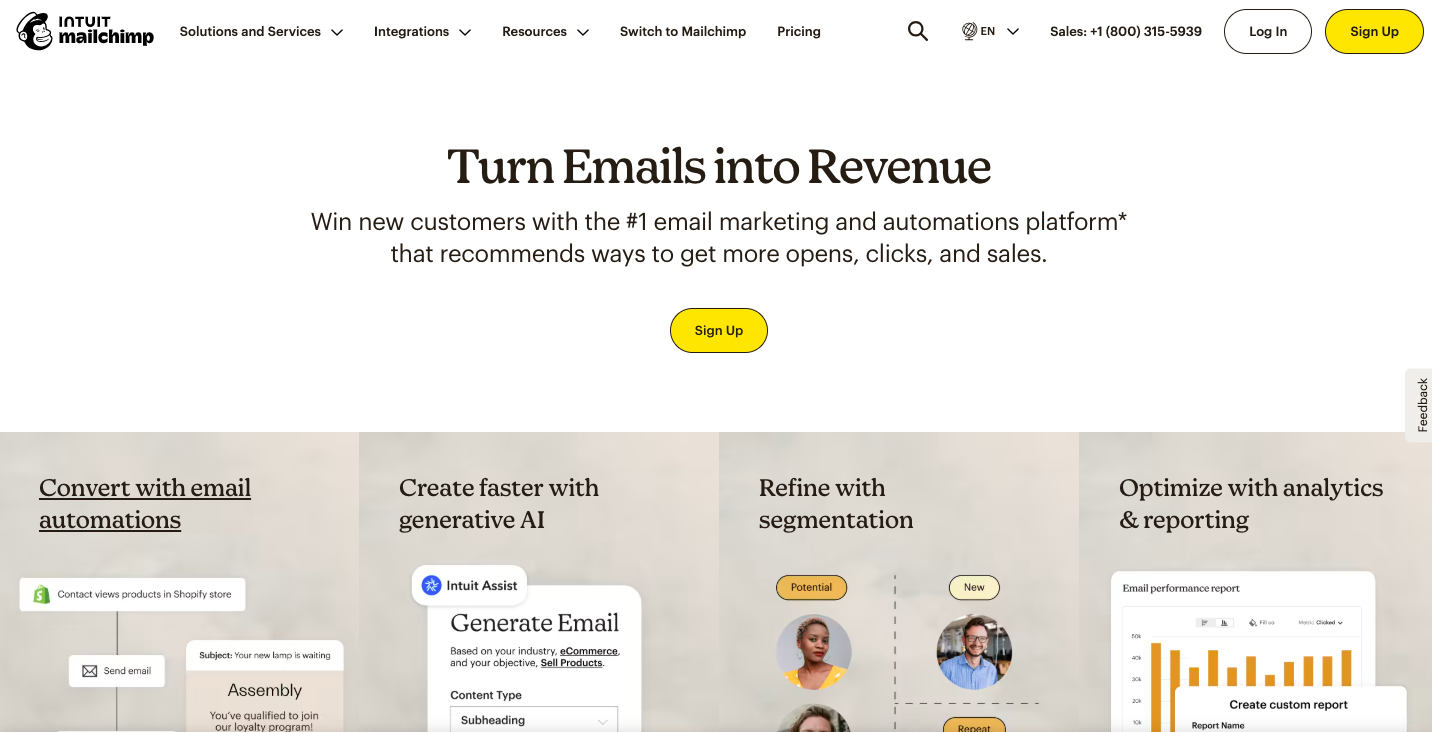
Mailchimp is an email marketing platform. It stands out as a premier all-in-one marketing platform, equipping businesses of all sizes with powerful tools to connect with their customers effectively.
Mailchimp has been around for about 20 years and has grown to over 10 million users. Their software and services, tons of support, tips, and online tools to help you get the most out of your email campaigns.
Get exclusive access to all things tech-savvy, and be the first to receive
the latest updates directly in your inbox.
- Email Builder: Create highly targeted emails that encourage repeat purchases using user-friendly drag-and-drop editors and advanced automation features.
- Product Recommendations & Dynamic Content: It uses customer behavior and purchase history to customize content and boost conversions.
- Content Generator & Creative Assistant: Leverage generative AI to quickly produce personalized content and test different versions for more tailored emails to your audience.
- Content Optimizer: Analyze your email content against top-performing campaigns and receive actionable recommendations for improvement.
- AB/MV Testing: Evaluate how your content influences key engagement and revenue metrics.
How Do You Prepare for WordPress Integration with Mailchimp?
First things first! People ask if they need a Mailchimp account.
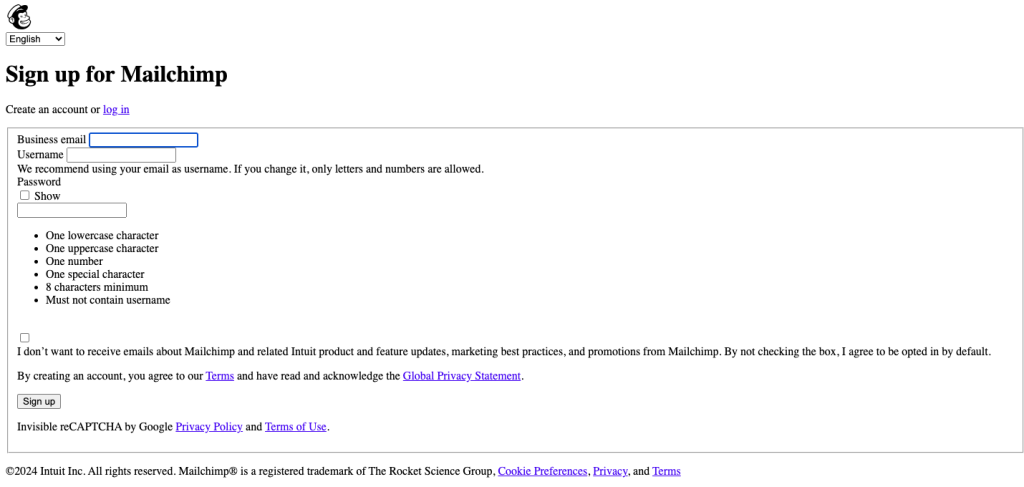
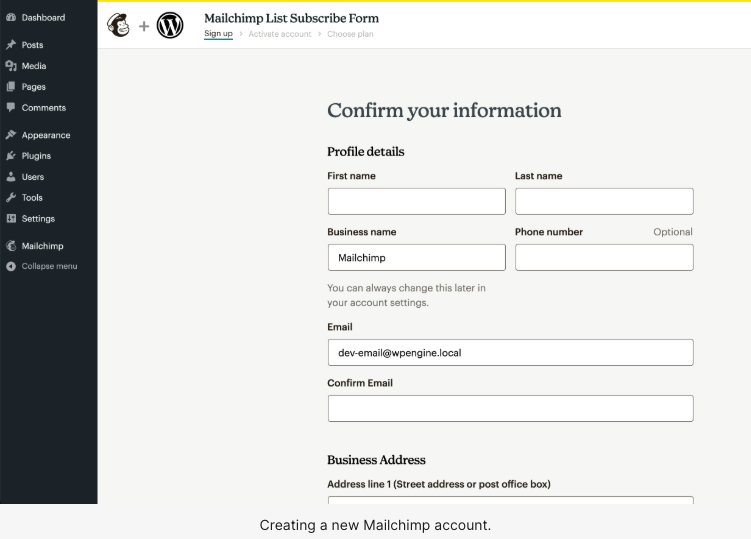
Yes, you do! You can create an account by going to their official site. Click sign up and you’ll see this:
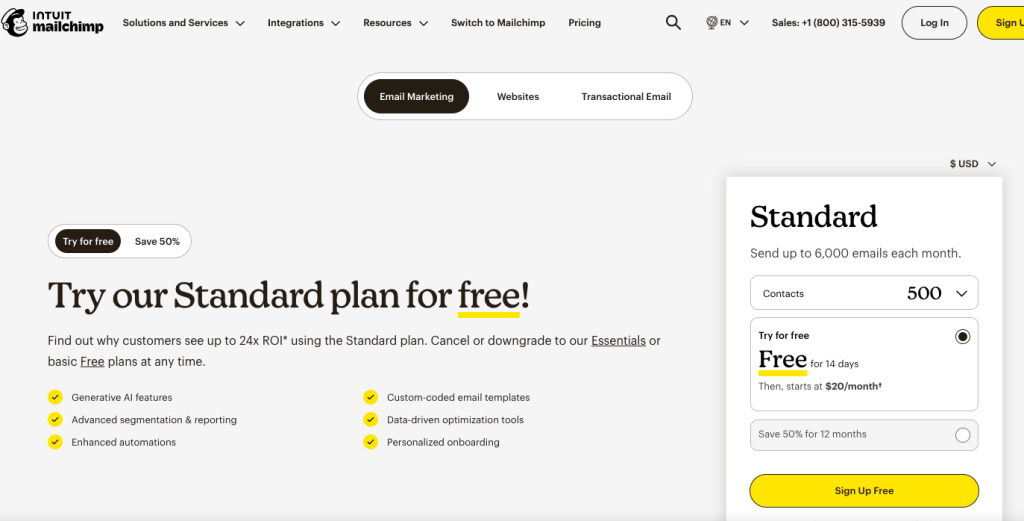
Once your account is activated, you can complete a few brief forms. This process will assist Mailchimp in setting up your account. You will begin by sharing some optional details about your business.
The free plan is perfect for beginners, you want to give this a try. To seamlessly connect Mailchimp with your WordPress site, utilizing a plugin is essential. Here are some of the best choices available:
- Elementor Pro: If you’re an Elementor user, take advantage of its integrated Mailchimp functionality for a smooth experience.
- Mailchimp for WordPress (MC4WP): This widely-used plugin is known for its user-friendly interface and effectiveness.
- Mailchimp Forms by MailMunch: Perfect for designing stunning signup forms that attract subscribers.
How to Connect MailChimp to WordPress
Step-by-Step Guide to Generating a Mailchimp API Key
To set up Mailchimp for WooCommerce, follow these simple steps.
- First, log in to your WordPress Admin Dashboard.
- Next, in the navigation panel, select Plugins and then click on Add New.
- Type Mailchimp in the search bar to locate Mailchimp for WooCommerce, and then hit Install Now.

- Activate, once the installation Is complete!
Next, you can connect your social media accounts to Mailchimp to share campaigns easily. Complete this step or skip it for now. Either way, select Continue to finish setting up your Mailchimp account.
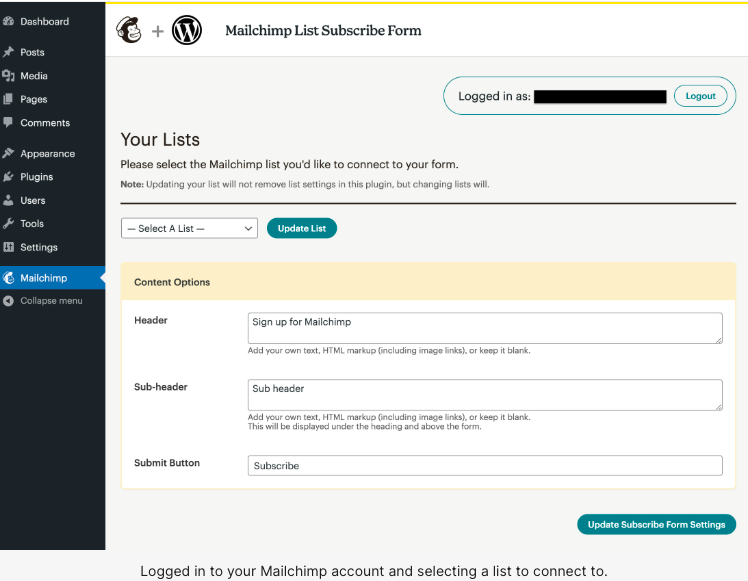
After installing and activating the plugin on your website, go to the Mailchimp Settings section in your WordPress dashboard. From there, you can link your Mailchimp account to your website by entering an API key. This will allow you to access your lists and forms directly from your site.
Step 4: Locate and generate your API key
An API key serves as a link between your website and another service, such as Mailchimp. To obtain your API key, go to Mailchimp for WP > Mailchimp in your WordPress dashboard.
- Click on Get your API key here, located below the API Key field.
You will be redirected to the Mailchimp website. Click on Create a Key, then copy the generated code. Return to your WordPress site, paste the code into the API Key field, and click Save Changes.

With this, you can access your lists, previously created forms, and any integrations directly from your dashboard. You can also create new forms by going to Mailchimp for WP > For.
After creating the forms, you can add them to your pages, posts, or widgets using the provided shortcode.
Step 5: Integrate Mailchimp forms into your WordPress site
After the Mailchimp integration with WordPress and the plugin on your site, create and add signup forms. Alternatively, you can manually create forms on the Mailchimp website after completing Steps 1 and 2 as explained earlier.
You can create various types of forms with Mailchimp. To add a popup form to your website, go to Lists > Signup forms > Subscriber pop-up in Mailchimp.
After that, customize your popup by selecting a design, which includes formatting and display options. Choose the fields you want to include, like ‘name‘ and ‘email address‘, and add additional content such as background images. You can preview the popup while customizing it and make adjustments as needed.
When you’re ready, click on Generate Code at the bottom of the popup form editor, highlight the code, and copy it.
How to Automate Email Campaigns with Mailchimp
Once you integrate WordPress with MailChimp, An automated newsletter allows you to quickly send updates to your subscribers via email, ensuring that everyone on your list receives the information.
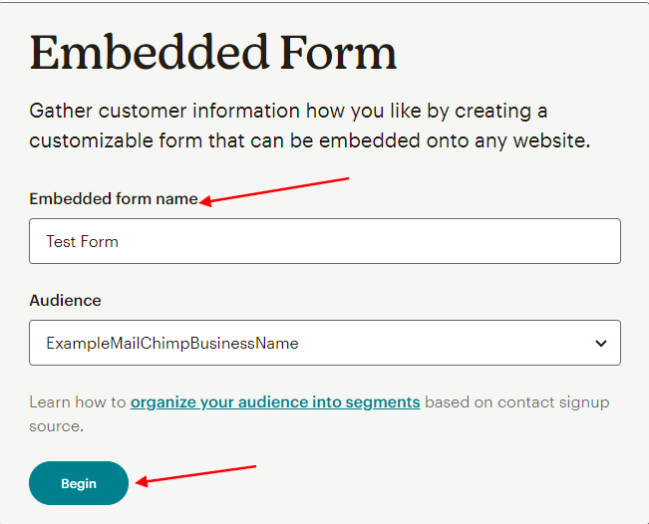
Start by obtaining your website’s RSS feed URL. Then navigate to Campaigns > Create Campaign > Create an Email > Automated in Mailchimp. Choose the option to Share blog posts, give your Mailchimp campaign a name, and click Begin.
Next, input your RSS feed URL, select a preferred sending time, and adjust any additional settings as necessary.
Remember to choose your Recipients and make any required changes in the Setup section (like the Subject line). Finally, select your Mailchimp Template and Design preferences. Once everything is configured, just click Confirm, and you’re ready to go!
How to Use Tags to Create Customized Email Campaigns
- Using tags, you may create customized campaigns by categorizing your audience:
- Create tags in Mailchimp such as “New Customer” or “Blog Subscriber.”
- Tag subscribers according to their conduct or the source of their signup.
- Send targeted emails by using these tags.
Can You Integrate Mailchimp with WordPress Without a Plugin?
Before we get into the steps, let’s take a moment to discuss why you might consider steering clear of plugins:
- Performance: Using plugins can lead to a slower website, which can negatively affect user experience and your SEO rankings.
- Security: Every plugin you add introduces a new potential security risk to your site.
- Simplicity: Fewer plugins mean easier management and maintenance of your website.
MailChimp Form Creator Page Overview
- Start by logging into your MailChimp dashboard and selecting Lists.
- Pick the list you wish to use for signups and click on Signup Forms.
- Select the General form to customize the fields for your form and modify all confirmation and thank you pages.
- Click on the Embedded Forms button to integrate Mailchimp into your WordPress sites.
Create Your Form: Embed Mailchimp in WordPress
- Choose from three types of forms: Classic, Slim, or Naked.
- If you prefer not to include a title, uncheck the box and decide whether to display all fields or just the required ones.
- You can also uncheck the interest group fields and indicators for required fields.
- To allow the form to fill the available width in your widget, leave the form width field empty.
Add the Form to Your WordPress Website
- You can place the form codes anywhere on your WordPress site.
- Options include adding the form as a widget, embedding it in your footer, or incorporating it into pages using the native WordPress editor elements.
Style Your Form (Optional) for Mailchimp in WordPress
- Find the Form ID/Class and apply custom CSS to target the form’s ID or class.
- Don’t forget to save your custom CSS changes.
How to Troubleshoot Mailchimp Integration Issues
- Form Not Showing
- Verify Embed Code: Make sure you have copied the complete embed code from Mailchimp.
- Check HTML Placement: Confirm that the code is correctly integrated within the HTML framework.
- Form Visibility Problems
- CSS Conflicts: Use browser developer tools to check for any CSS conflicts with your theme.
- Mobile Compatibility: Ensure your form is responsive and appears correctly on various devices.
Final Thoughts on Mailchimp and WordPress Integration
This guide is the best way to integrate WordPress with MailChimp. Whether you’re a blogger, business owner, or e-commerce seller. This integration can help you build stronger connections with your real audience and boost your online presence.
By following the steps you can optimize your signup forms and watch how your email lists grow in 2025. Make sure that your integration is a hit by keeping the form easy to use, good-looking, and positioned just right to boost conversions. Enjoy embedding!
FAQ’s
1. What is the simplest method to connect WordPress with Mailchimp?
Utilizing a plugin such as Mailchimp for WordPress (MC4WP) makes the integration straightforward.
2. Can I use Mailchimp with WordPress at no cost?
Yes, Mailchimp offers a free plan that supports up to 500 contacts and includes basic features, making it an excellent option for beginners.
3. How can I set up automated email campaigns in Mailchimp for WordPress?
Leverage Mailchimp’s automation feature to create workflows for welcome emails or promotional campaigns.
4. Why is my Mailchimp signup form not appearing on WordPress?
Possible reasons include deactivated plugins, incorrect placement of shortcodes, or issues with caching.
5. Where are the most effective places to position Mailchimp forms on WordPress?
Sidebars, pop-ups, footer areas, and the end of posts are all effective spots for maximizing conversions.
6. Is it possible to integrate Mailchimp with WordPress without any coding experience?
Yes, most plugins like Mailchimp for WordPress can be set up without any coding knowledge.
7. How safe is the Mailchimp integration with WordPress?
The integration is secure if you keep your plugins updated and follow Mailchimp’s security guidelines.
8. What kinds of emails can I send through Mailchimp on WordPress?
You can send newsletters, promotional emails, automated welcome messages, and more.
9. How can I monitor the performance of Mailchimp campaigns from WordPress?
Utilize Mailchimp’s built-in analytics to track open rates, click-through rates, and subscriber growth.
10. What are some alternatives to Mailchimp for integrating with WordPress?
Answer: Alternatives include services like Constant Contact, Sendinblue, and ConvertKit.
