WordPress blocks have revolutionized the way users create content on the platform. With the introduction of the Gutenberg block WordPress, users can now build dynamic and visually appealing layouts with ease. In this article, we will delve into the intricacies of WordPress blocks, exploring the features, functionalities, and benefits they offer. Additionally, we’ll take a closer look at Gutenberg blocks, including reusable blocks, and how they enhance the content creation experience on WordPress.
What are WordPress Blocks?
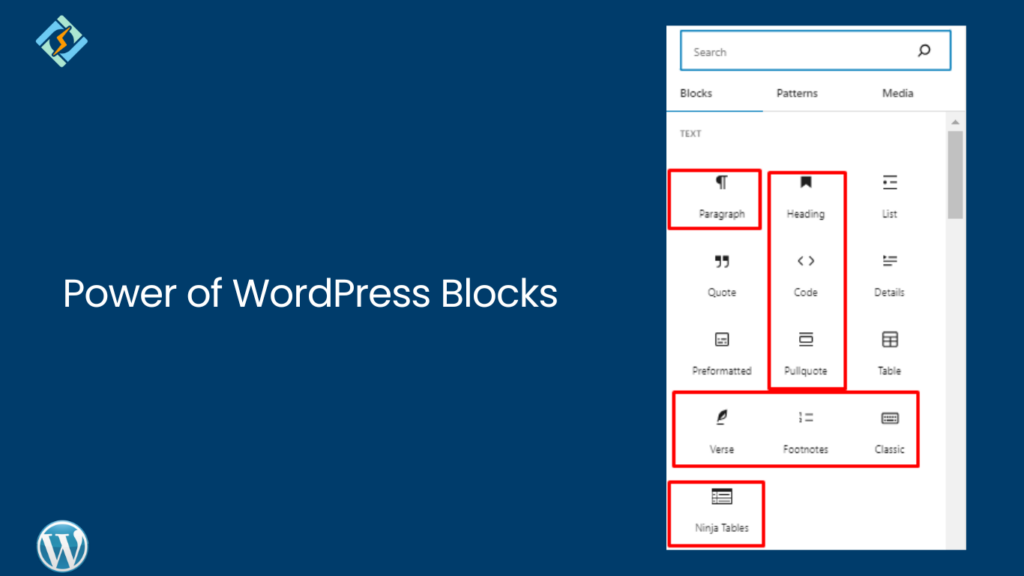
WordPress blocks are the building blocks of content within the Gutenberg editor. Each block represents a distinct element, such as paragraphs, headings, images, and more. By utilizing WordPress blocks, users can structure their content in a modular fashion, making it easier to customize and rearrange elements within the editor.
What are WordPress Gutenberg Blocks?
Gutenberg blocks are the heart of the new WordPress editing experience. In 2019, with the release of WordPress 5.0, the old classic editor was replaced by a new block editor affectionately named “Gutenberg.” This innovative block editor (Gutenberg) introduced a novel approach to content creation within WordPress. These blocks enable users to create rich and engaging content layouts without the need for complex coding or design skills. With Gutenberg, users can choose from a wide range of blocks, including text blocks, image blocks, gallery blocks, and more, to create custom layouts tailored to their needs.
What is the Difference Between WordPress Block Editor and Classic Editor?
Appearance
This is what the classic WordPress editor looks like:

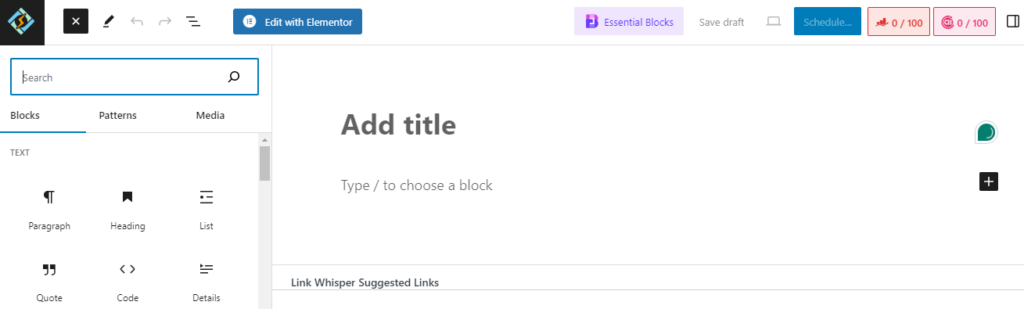
And the WordPress block editor (Gutenberg) looks like this:
Key Differences
The WordPress Gutenberg blocks editor and the Classic Editor are two distinct editing interfaces within WordPress, each offering unique features and functionalities. Here’s a breakdown of the key differences between WordPress Blocks and the Classic Editor:
| Aspect | Gutenberg Editor | Classic Editor |
|---|---|---|
| User Interface | Block-based interface with drag-and-drop functionality | Traditional interface resembling word processing software |
| Content Creation | Flexible and dynamic, utilizing individual blocks for various elements | Primarily text-based, with limited formatting options |
| Blocks vs. Shortcodes | Blocks represent content elements, allowing granular control and customization | Shortcodes or HTML used for embedding media and custom functionality |
| Customization and Extensibility | Offers built-in and custom blocks, with options for creating custom blocks | Limited customization options, may require plugins or custom code for additional functionality |
| Learning Curve | Steeper learning curve due to block-based interface | Familiar interface, easier learning curve for users accustomed to traditional editing methods |
Purpose of Using WordPress Blocks Editor
The purpose of utilizing the WordPress block editor, often referred to as Gutenberg, is to streamline and enhance the content creation process for WordPress users. Introduced with WordPress version 5.0, the block editor revolutionized the way users compose and manage content on their websites. The key objectives behind implementing the block editor include:
- Enhanced Flexibility
- Intuitive Editing Experience
- Simplified Customization
- Consistent User Experience
- Improved Accessibility
How to Use WordPress Blocks Editor?
Using WordPress blocks is a straightforward process, and there are several ways to incorporate them into your content creation workflow. Now that you’re familiar with the concept of WordPress blocks, let’s dive into practical ways you can harness their power to enhance your website. In this guide, we’ll walk you through the essential steps to maximize the utility of WordPress blocks, including:
- Adding a block to your content
- Customizing individual blocks to suit your needs
- Utilizing the List View feature to efficiently select blocks
- Rearranging blocks to optimize your layout
- Selecting multiple blocks for bulk editing
- Arranging blocks side-by-side for a dynamic presentation
- Grouping related blocks for organizational purposes
- Copying and pasting blocks to replicate content seamlessly.
1. Adding a Block to Your Content
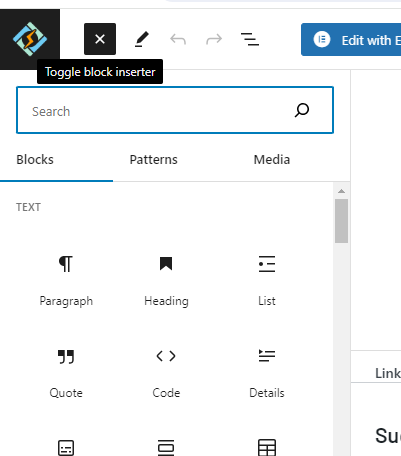
To insert a new block, you initiate by clicking on one of the plus icons available in the interface to activate the block inserter. Subsequently, you can search for and designate the desired block for addition. To access the complete block inserter, simply tap on the plus icon located within the main toolbar. Following this, proceed to select the block of your choice. While hovering over a block, you’ll be presented with a preview showcasing its potential appearance
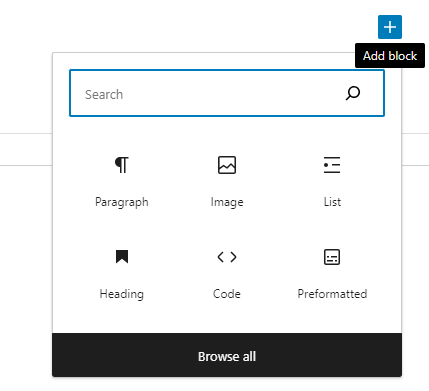
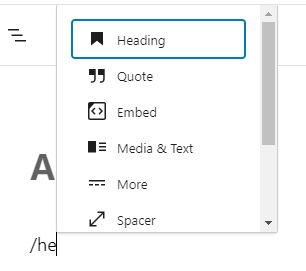
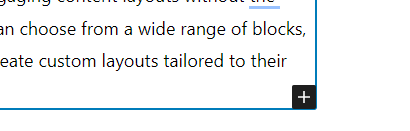
Alternatively, by hovering over a particular area within your content, you can activate a smaller block inserter interface by clicking the plus icon. Choose the desired block from the block library, such as paragraphs, headings, images, galleries, or embeds, and it will be inserted into your content. When you choose a block in this manner, it will be inserted automatically at the position where you clicked the icon.
You can also use the slash (“/”) command followed by the block name.
2. Customizing Individual Blocks to Suit Your Needs
Once a block is added to your content, you can customize it to fit your requirements.
Click on the block to reveal the block toolbar and settings, where you can edit text, adjust formatting, upload media, and configure block-specific options.

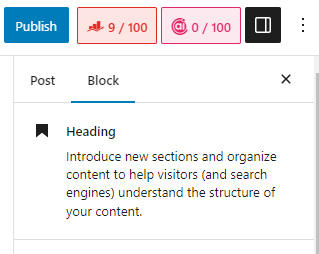
For more intricate adjustments, you can utilize the Block settings located in the sidebar. These settings are tailored to each block, offering comprehensive control over its functionality.
3. Utilizing the List View Feature to Efficiently Select Blocks
The List View feature offers a comprehensive overview of all the blocks utilized in your content, simplifying the navigation and management of intricate layouts. To access the List View, click on the “Document Overview” option (represented by three lines) located in the top toolbar. To choose a block, simply click on it within the list.

4. Rearranging Blocks to Optimize Your Layout
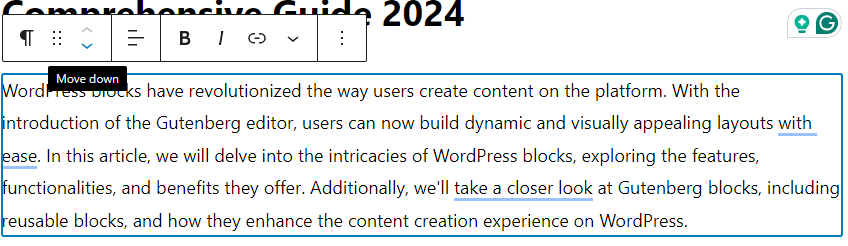
There are two methods available for rearranging WordPress blocks. If you only need to adjust the position of a block by a few places, you can select the block and then utilize the up or down arrow icons to move the block accordingly, as depicted in the image below.

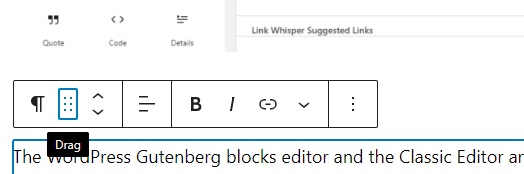
Use the drag-and-drop functionality to reorder blocks vertically or move them between columns in multi-column layouts.
5. Selecting Multiple Blocks for Bulk Editing
Hold down the Shift key while clicking to select multiple blocks simultaneously. Once selected, you can perform bulk actions such as deleting, copying, or applying formatting changes to all selected blocks at once.
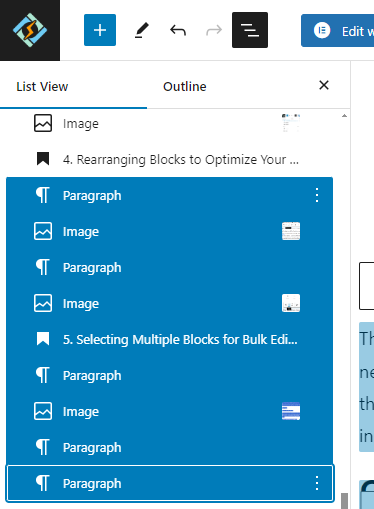
For additional control, you can access the list view and choose multiple blocks. Click on the first block that you wish to select. While holding down the Shift key on your keyboard, click on the last block to select it. All blocks located between the first and last block will be automatically selected.
6. Arranging blocks side-by-side for a dynamic presentation
To arrange blocks side-by-side, you can utilize the Columns block. Here’s how:
Begin by opening the block inserter and adding the Columns block.
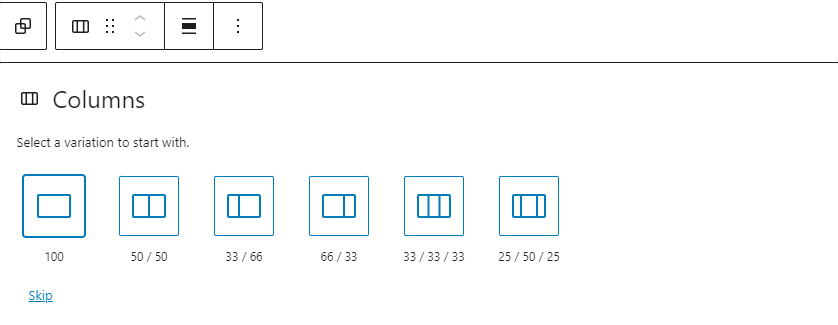
Upon adding the block, you’ll be prompted to select your preferred column layout, such as two equal columns or varying sizes for each column. You can also opt for more than two columns if needed.
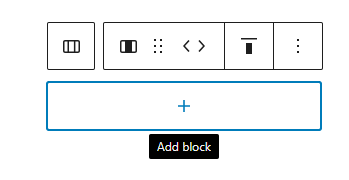
Once the column structure is in place, you’ll notice plus icons within each column. Click on these icons to insert content directly into each column, enabling you to position the content side by side.
Should you need to modify the column layout at a later stage, you can edit the settings of the main Column block. If encountering difficulty selecting the column block, accessing the list view can simplify the process.
7. Grouping related blocks together for organizational purposes
Grouping blocks together can prove advantageous in specific scenarios, such as when applying a unified background color to multiple blocks. To facilitate this, you can employ the Group block. Here’s how:
Initiate by opening the block inserter and incorporating a new Group block.

Subsequently, click on the plus icon housed within the Group block to insert additional content blocks into the group.
Should you wish to modify the overarching settings of the Group block, such as adding a background color, any alterations made will be uniformly applied to all blocks contained within the Group.
Additionally, you have the flexibility to reposition the Group block, ensuring that all other blocks remain nested within it.
8. Copying and pasting blocks to replicate content seamlessly
Easily duplicate blocks by selecting a block, clicking the three dots, and choosing “Duplicate” from the context menu.
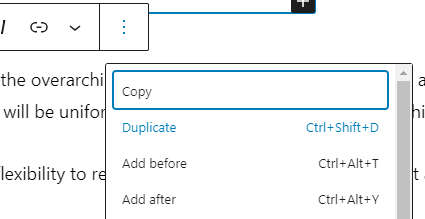
You can also use the copy option from here to copy and then paste using “Ctrl+V”.
Alternatively, use the keyboard shortcut (Ctrl+C to copy, Ctrl+V to paste) to copy and paste blocks within your content.
Reusable Blocks
In the realm of the WordPress block editor, a gem called the reusable blocks of WordPress shines brightly. This versatile tool empowers content creators by offering a simple yet powerful solution. The ability to save content blocks for future use across various posts and pages.
For many bloggers, the repetition of certain content elements is a familiar challenge. Whether it’s a compelling call-to-action, a snippet of social media links, or any other recurring content, the process often involves saving these snippets as text files, tediously copying, and pasting them as needed.
How to Use Reusable Blocks?
In the WordPress Gutenberg editor, each block serves as an individual content element, offering flexibility and customization. Moreover, these blocks can be transformed into reusable assets known as WordPress reusable blocks, streamlining your content creation process.
To embark on this journey of efficiency, start by accessing an existing or new post within the editor interface.
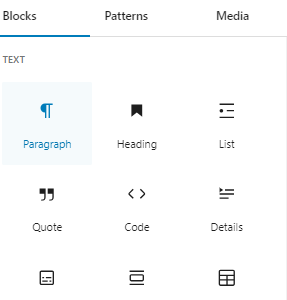
Once you’re in the block editor, navigate to the top left corner and locate the ‘Add Block’ (+) button. Clicking this button will unveil the block menu, presenting you with an array of options to choose from.
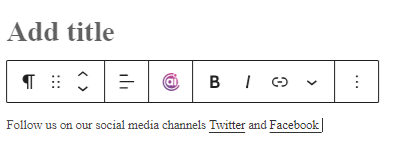
After adding the desired block, furnish it with the content you wish to reuse across multiple pages or posts. Utilize the block toolbar at the top of the block panel on the right to refine its appearance and style.
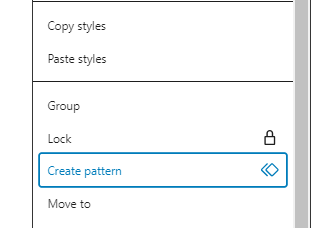
Once your block is polished to perfection, direct your attention to the three-dot menu button in the block toolbar. Clicking on it will reveal a dropdown menu where you’ll find the ‘Create Reusable Block’ option. This option also appears with the name ‘Create Pattern’.
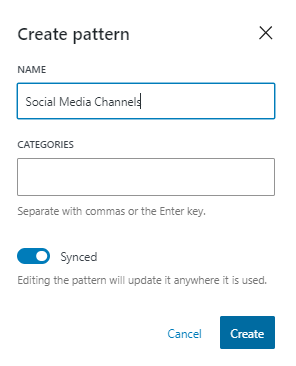
Select this option, and you’ll be prompted to assign a name to your newly minted reusable block. Opt for a descriptive name that succinctly encapsulates the block’s purpose and functionality.
Upon naming your block, seal the deal by clicking the ‘Create’ button, ensuring its secure storage in the WordPress database alongside all its settings.
Your reusable blocks are now safely nestled within the WordPress ecosystem, ready to be deployed whenever the need arises, streamlining your workflow and fostering consistency across your content creation endeavors.
Disable WordPress Blocks
Disabling blocks in WordPress can be necessary for various reasons, such as restricting certain functionalities or optimizing performance. Here’s how to do it.
1. Install and Activate a Plugin
WordPress offers several plugins that enable block management and customization. Look for a plugin that suits your needs, such as “Disable Gutenberg” or “Disable Blocks.”
2. Access Plugin Settings
Once you’ve installed and activated the desired plugin, navigate to the WordPress dashboard and locate the plugin settings. This is typically found in the “Plugins” section of the dashboard.
3. Configure Block Disabling Options
Within the plugin settings, you should find options related to block management. Depending on the plugin you’re using, you may have the ability to disable specific blocks individually or disable the Gutenberg block editor altogether.
4. Save Changes
After configuring the block disabling options according to your preferences, remember to save the changes. This ensures that the changes take effect and the specified blocks are disabled on your WordPress site.
Disable Blocks Using Code Snippets
Using Code Snippets
For users comfortable with adding custom code, you can disable blocks by adding code to your theme’s functions.php file or via a site-specific plugin.
a. Disable Specific Blocks:
function my_disable_blocks($allowed_blocks) {
    return array_diff($allowed_blocks, array(
        'core/paragraph',
        'core/image',
        'core/quote'
        // Add more blocks to disable as needed
    ));
}
add_filter('allowed_block_types_all', 'my_disable_blocks');
add_filter('allowed_block_types_all', 'my_disable_blocks');- This code snippet will disable the paragraph, image, and quote blocks. Adjust the array to include the blocks you want to disable.
Most Useful WordPress blocks
WordPress offers a vast array of blocks to enhance the functionality and design of your website. Here are some of the most useful WordPress blocks:
Text Blocks
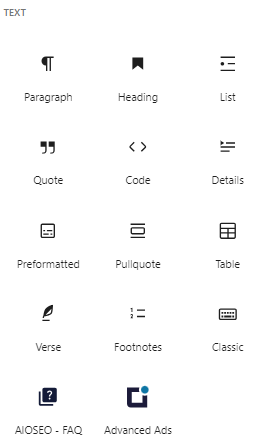
Text blocks are fundamental building blocks for adding textual content to your WordPress website. They allow you to write and format text, and add headings, paragraphs, lists, and other textual elements to your posts and pages. With text blocks, you have full control over the styling and formatting of your text, including font size, color, alignment, and more.
Media Blocks
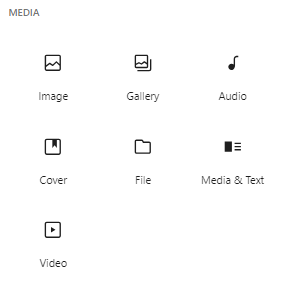
Media blocks encompass a variety of blocks designed to handle different types of media content. This includes the Image block for adding images, the Gallery block for creating image galleries, the Audio block for embedding audio files, the Video block for embedding videos, and more. Media blocks enable you to visually enhance your website with multimedia content.
Design Blocks

Design blocks, also known as layout or formatting blocks, are blocks that help you customize the appearance and layout of your content. This includes blocks like the Spacer block for adding space, the Divider block for creating visual breaks between sections, the Columns block for creating multi-column layouts, and the Group block for grouping multiple blocks. Design blocks allow you to create visually appealing and well-structured layouts for your website.
Widgets
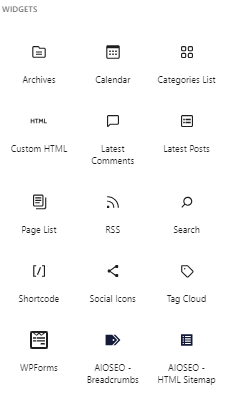
Widgets are small, self-contained modules that can be added to various areas of your WordPress website, such as sidebars, footers, or widget areas. WordPress comes with a variety of built-in widgets for common elements like navigation menus, recent posts, categories, and more. Additionally, you can install third-party widgets to add additional functionality to your website, such as social media feeds, contact forms, or event calendars.
Theme
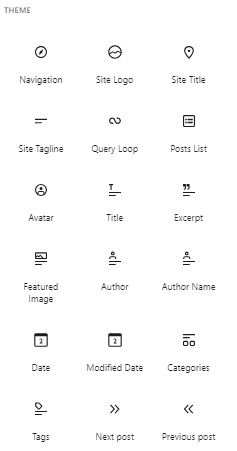
Themes dictate the overall design, layout, and styling of your WordPress website. A theme controls elements like the header, footer, navigation menus, typography, colors, and more. WordPress offers a wide range of free and premium themes, each with its unique design and features. You can customize your theme further by adjusting settings within the WordPress Customizer or by using custom CSS code.
Embeds
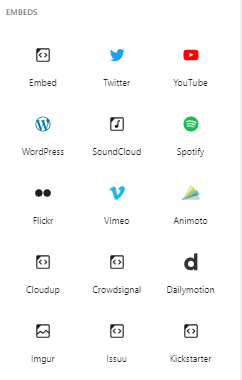
Embeds allow you to easily embed content from other websites into your WordPress posts and pages. This includes content from popular platforms like YouTube, Twitter, Instagram, Facebook, SoundCloud, and more. WordPress automatically converts the URL of the embedded content into an embedded object, making it easy to share and display multimedia content from external sources on your website.
FAQs
How do I add blocks to my WordPress post or page?
To add a block, simply open the Gutenberg block editor for your post or page, then click the (+) button or start typing ‘/’. This will open the block inserter, where you can search for and select the desired block from the available options.
Can I customize the appearance of blocks?
Yes, most blocks in WordPress come with customization options that allow you to adjust settings such as font size, color, alignment, and more. Additionally, you can apply custom CSS styles to blocks for further customization.
Are there reusable blocks in WordPress?
Yes, WordPress allows users to save blocks as reusable blocks, which can then be easily inserted into other posts or pages. This feature is particularly useful for recurring content elements that you want to use across multiple parts of your website.
Can I create my custom blocks?
Yes, WordPress provides developers with the ability to create custom blocks using the WordPress Block API. This allows developers to build custom blocks with unique functionality and appearance tailored to their specific needs.
Are there any best practices for using WordPress blocks?
Some best practices for using WordPress blocks include organizing your content with clear headings and paragraphs, using descriptive block names, optimizing media files for web use, and regularly testing your content across different devices and browsers for consistency.
Conclusion
WordPress blocks have transformed the content creation experience on WordPress, offering users a powerful and intuitive way to build dynamic and visually appealing websites. With features such as reusable blocks and a vast library of customizable elements, WordPress Gutenberg blocks empower users to unleash their creativity and build professional-looking websites with ease. By embracing WordPress blocks and incorporating them into your content creation workflow, you can take your WordPress website to new heights of success.