For developers, system administrators, and hobbyists working with Debian 12, creating bootable USB drives or SD cards is a common task. Balena Etcher is one of the best tools for this purpose due to its simplicity and reliability. Installing Balena Etcher on Debian 12 will ensure you have a strong tool at your disposal to create bootable media without much hassle, whether for server setups, OS installations, or recovery drives.
In this guide, we’ll explore the detailed steps to install Balena Etcher on Debian 12, covering installation methods from the official page and repositories, its application in CyberPanel environments, and FAQs to resolve any common issues.
Why Use Balena Etcher on Debian 12?
Balena Etcher stands out among its competitors for several reasons:
Ease of Use: Its intuitive interface makes it beginner-friendly.
Cross-Platform Compatibility: It runs on Linux, Windows, and macOS.
Validation of Flashed Images: Ensures error-free flashing by validating every process.
Get exclusive access to all things tech-savvy, and be the first to receive
the latest updates directly in your inbox.
Open-Source: Continuous improvements by the developer community.
In an environment managed by Debian 12 users, Balena Etcher on Debian 12 is important for writing image files to drives for servers, preparing recovery images and test environments.
Steps to Install Balena Etcher on Debian 12
Method 1: Downloading Balena Etcher from the Official Page
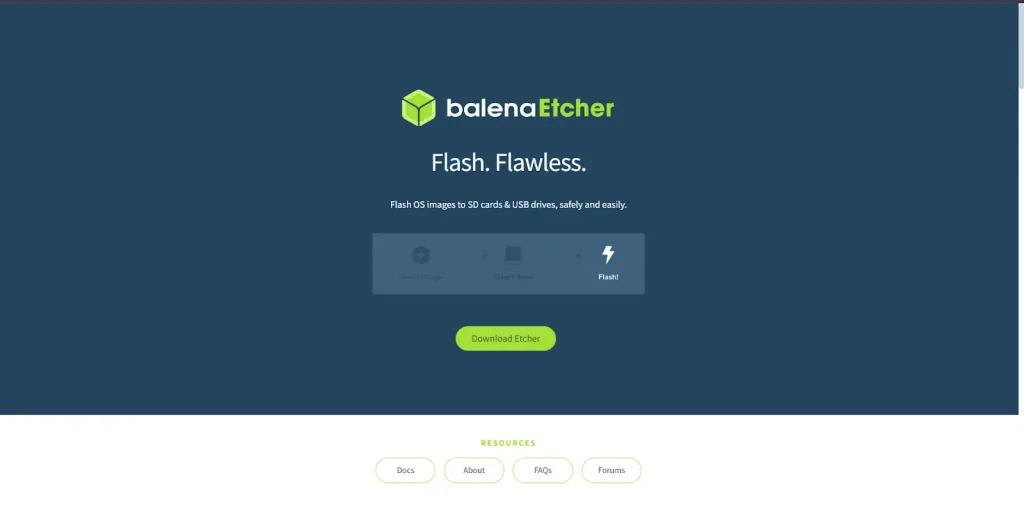
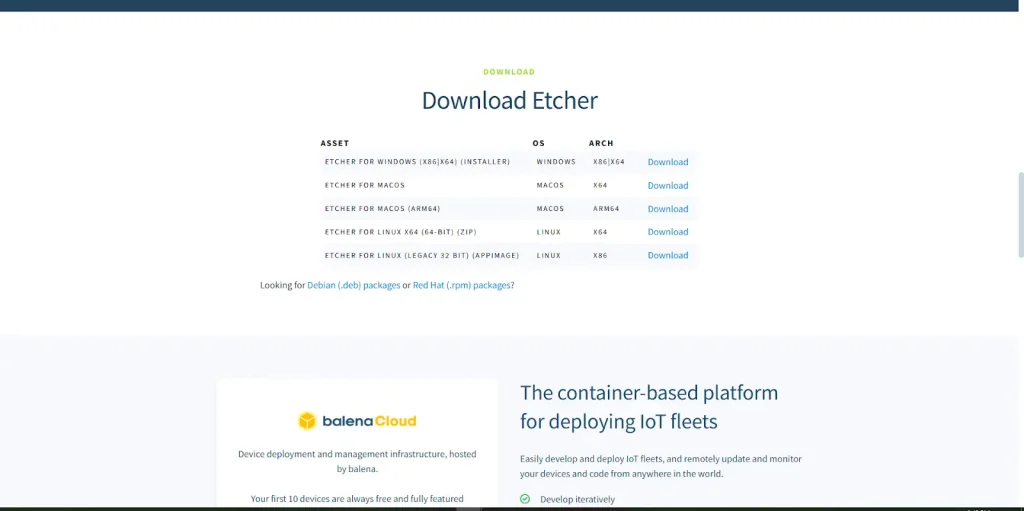
The easiest way is to download the.AppImage file directly from the official website of Balena Etcher.

Download the AppImage
Visit the official download page and select the.AppImage file compatible with Linux.

Make the File Executable
After downloading, open a terminal and navigate to the download location:

Launch Balena Etcher
Run the following command to start the application:
Confirm the installation. Make sure that after installing, the GUI launches correctly, and you’ll be able to select both images and flash drives.

Advantages of installing from the official page:
- You’ll have access to the latest version of the tool available.
- No need for supplementary repositories or dependencies.
Method 2: Install Balena Etcher on Debian 12 from the Repository
Another way of installing Balena Etcher for those who like handling their software via APT is by downloading it from its repository.
Update Your System

Add the GPG Key
Download and add the GPG key for Balena Etcher:
wget -O- https://dl.cloudsmith.io/public/balena/etcher/gpg.key | gpg --dearmor -o /usr/share/keyrings/balena-etcher-keyring.gpgAdd the Repository
Add the Balena Etcher repository to your sources list:
echo "deb [signed-by=/usr/share/keyrings/balena-etcher-keyring.gpg] https://dl.cloudsmith.io/public/balena/etcher/deb/ any main" | sudo tee /etc/apt/sources.list.d/balena-etcher.listInstall Balena Etcher

Verify Installation
Confirm the version after installation to ensure that the installation is successful:


Tips and Tricks: Install Balena Etcher on Debian 12
These are tips and tricks for Balena Etcher to enhance your experience:
1. Always Validate Downloads
Before proceeding with an ISO or IMG file, ensure it hasn’t gotten corrupted while downloading by checking the checksum of the download. Most Linux distributions offer a checksum file for such purposes.
2. Keep Balena Etcher Updated
Ensure you’re using the latest version of Balena Etcher to benefit from bug fixes, new features, and compatibility improvements. Updates can be downloaded directly from the official Balena Etcher website.
3. Use High-Speed USB Drives
For faster flashing, use USB 3.0 drives or better. The speed of the target drive significantly affects the overall process time.
4. Double-Check Target Drive Selection
Balena Etcher hides all system drives by default, however, it is always a good rule of thumb to double-check the drive you are flashing to avoid overwriting important data.
5. Flashing with Logging Enabled for Troubleshooting
In the event that something goes wrong, simply enable debugging logs in Balena Etcher to determine why it failed. Logs may be accessed through the application settings in the developer tools.
6. Reformatting Drives After Flashing
You can format the drive with a disk formatting tool and make it reusable for storage purposes. The process in Debian 12 can be performed with either GParted or the Disks utility.
7. Testing Bootable Media Before Using
You must test the bootable media on a non-critical system before putting it into action. Testing ensures you avoid potential pitfalls during a critical setup.
8. Handle Large ISO Files Efficiently
In case you need to handle large ISO files, ensure your system has sufficient memory and space for the disk while flashing. Balena Etcher manages large files well but runs slower in underpowered systems.
9. Use Etcher for Non-Standard Images
Balena Etcher supports ISO and IMG files but also.zip archives. This means you do not need to decompress the image before you can flash it.
10. Learn Shortcut Commands
In advanced usage, familiarize the user who needs more power options using the command line so that he does not perform a large number of manual repeat actions.
These tips make the most of the efficiency and reliability of Balena Etcher when building bootable media for Debian 12.
Common Shortcut Commands for Balena Etcher
Launch Balena Etcher with a Preselected Image
Instead of selecting an image every time, you can predefine it when launching:

Flash Automatically with Preselected Target Drive
Use this to define the image and target drive:

Replace /dev/sdX with the path to your USB drive or SD card.
Skip Validation
If you do not want Balena Etcher to validate the image after flashing (although it is not recommended for important tasks):

Run in Debug Mode
Debug mode gives extensive logging useful for debugging:

Specify Drive by UUID
To be more precise about which drive you want, you can specify it using its UUID:

Open Developer Tools at Launch
If you are debugging or customizing the application:

Role of CyberPanel in Optimization of the Server Management Process with Balena Etcher on Debian 12

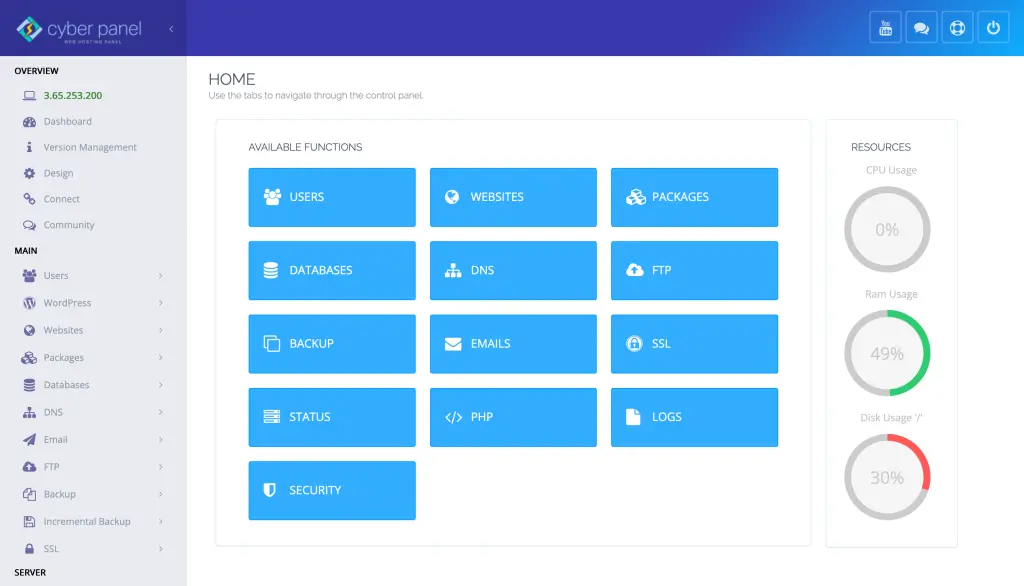
Balena Etcher has to work with Debian 12 to create USB bootable drives or to flash images; hence server management becomes vital. Optimal environment, in which all these are done with the help of CyberPanel – a user-friendly web hosting control panel.
1. Simple server setup
CyberPanel gives you an easy-to-use interface for managing Debian 12 servers. Balena Etcher is used when flashing OS images, making the setup and configuration smooth. It lets users handle server operations without complicated command-line tasks.
2. Backup and Recovery
CyberPanel has automated backup features to safeguard critical data in case of image flashing. In case something goes wrong during the flashing process, you can easily restore the server configurations and data and thus minimize downtime.
3. Optimized Server Performance
CyberPanel has its OpenLiteSpeed server to optimize server efficiency. It is of greatest benefit for running heavy tasks such as flashing OS big images through Balena Etcher to ensure smoother operation without slowing it down.
4. Security
The best thing with CyberPanel on your Debian 12 is that the image flashing in Balena Etcher cannot be attacked since CyberPanel offers SSL management, firewall protection, and user access all to keep the server secure throughout the running of Balena Etcher.
5. Multi-Server Management
For users working on several Debian 12 servers, CyberPanel allows them to have centralized control. This is important during simultaneous flashing of multiple devices, thereby ensuring that all servers’ performance is similar and easy to monitor through one dashboard.
6. Ease of Use for Developers
Its tools for database management, website hosting, and email configuration make it easier to deploy applications after flashing an OS with Balena Etcher. It eliminates the otherwise exhaustive work of users and lets them concentrate more on development, not server management.
FAQs on “Install Balena Etcher on Debian 12”
1. Can Balena Etcher be applied to all Linux distributions?
Yes, Balena Etcher supports creating bootable drives for most Linux distributions, including Debian, Ubuntu, and Fedora.
2. Is the target drive formatted by Balena Etcher?
Yes, it overwrites and formats the selected drive during the flashing process.
3. Do I need to validate?
Validation is optional. However, it will ensure that the flashed media will not have errors and it can boot.
4. Can I use Balena Etcher to clone drives?
No, Balena Etcher is an imaging tool and not designed to clone drives.
5. If my drive does not appear in the target list?
Check if the drive is properly connected and not mounted. Reconnect it if necessary.
6. Is Balena Etcher safe to use on servers?
Yes, Balena Etcher is safe, but always double-check the target drive you have selected, or you may lose all data on it.
Concluding: Effortless Server Administration with Balena Etcher on Debian 12
We explored in this article how to install Balena Etcher on Debian 12 and make bootable USB drives, as well as OS image flashing, easier to use than ever. With a step-by-step installation guide, usage tips, and optimizations for your overall experience, one can easily understand that Balena Etcher is an effective developer tool for system administrators alike, with CyberPanel topping it all by optimizing how one handles their server management on performance, security, and protection of data.
Using these outlined steps, you’ll get the chance to work easily with Balena Etcher. With CyberPanel, manage your server more effectively, optimize your workflow, and make it easy for image flashing. You’re likely to flash OS images when developing or deploying them. You will find that it gives you a more efficient way and securely to get things done.
Optimize your image flashing and server management processes with Debian 12 and CyberPanel today with Balena Etcher!


