
Automation is critical to deliver software in today’s productivity-driven development environment. Jenkins is an open-source automation server that will automate the testing and building of the applications. Jenkins is a widely used open-source automation server that simplifies CI/CD for DevOps teams with its robust pipeline system. We are going to learn how to install Jenkins on Ubuntu.
Jenkins is a very popular CI tool which is used for building, deploying and automating your Azure DevOps processes. Jenkins is flexible and efficient, whether for a personal project or the software development pipeline for a web app.
With this guide, you will have a working Jenkins that you can use to build your automation and CI/CD pipelines.
What is Jenkins?

Jenkins is an open-source automation server built for CI/CD. It helps developers:
- Cloud and DevOps Consulting | automating repetitive tasks, testing, deployment
- Rapidly integrate code changes
- Increase software reliability and quality
- Improve team collaboration in DevOps
How to Install Jenkins on Ubuntu
To install Jenkins on Ubuntu, you have to follow the steps below:
Step 1: Update System Packages
For Jenkins installation on Ubuntu, update your system packages before installing Jenkins:
sudo apt update && sudo apt upgrade -yStep 2: Install Java
Jenkins requires Java to run. Recommended for Jenkins, install OpenJDK 17.
sudo apt install -y openjdk-17-jdkVerify the Java installation:
java -versionOutput:
openjdk version "17.0.10" 2024-01-16 OpenJDK Runtime Environment (build 17.0.10+10)Step 3: Add the Jenkins repository
Import the official Jenkins GPG key:
curl -fsSL https://pkg.jenkins.io/debian/jenkins.io-2023.key | sudo tee \ /usr/share/keyrings/jenkins-keyring.asc > /dev/nullAdd Jenkins repository to your system:
echo "deb [signed-by=/usr/share/keyrings/jenkins-keyring.asc] \ https://pkg.jenkins.io/debian binary/" | sudo tee \ /etc/apt/sources.list.d/jenkins.list > /dev/nullStep 4: Install Jenkins on Ubuntu
After adding the repository, you can install Jenkins:

sudo apt updatesudo apt install -y jenkinsThis command will install Jenkins and its dependencies.
Step 5: Start and Enable Jenkins
For it to start on boot, the Jenkins service must be enabled and started:
sudo systemctl start jenkins sudo systemctl enable jenkinsVerify the status of Jenkins service:
sudo systemctl status jenkinsOutput:
● jenkins.service - LSB: Start Jenkins at boot time Loaded: loaded (/etc/init.d/jenkins; enabled; preset: enabled) Active: active (running) since ...Step 6: Access Jenkins on the web browser
By default, Jenkins will run on port 8080. Open up a web browser and visit the link, Jenkins:
http://your-server-ip:8080If Jenkins is being installed locally, use:
http://localhost:8080Step 7: Unlock Jenkins
The first setup makes Jenkins ask for an administrator password. To retrieve it, run:
sudo cat /var/lib/jenkins/secrets/initialAdminPasswordStep 8: Add Recommended Plugins
After login, Jenkins will ask you to install plugins. One-click setup, click Install suggested plugins.
Step 9: Create an Admin User
Once you have installed the plugin, you will create an admin user and fill out the required information. We use this user to control Jenkins configuration.
Step 10: Configuring the Firewall (Optional)
If you are using UFW (Uncomplicated Firewall), enable Jenkins traffic:
sudo ufw allow 8080 sudo ufw enableVerify firewall settings:
sudo ufw statusOutput:
8080 ALLOW AnywhereHow to Install Jenkins on Ubuntu 22.04
For Ubuntu 22.04, the installation process is the same as the steps described above. Just make sure you have Java 17 (since that’s what Jenkins requires).
Introducing CyberPanel for Jenkins Management
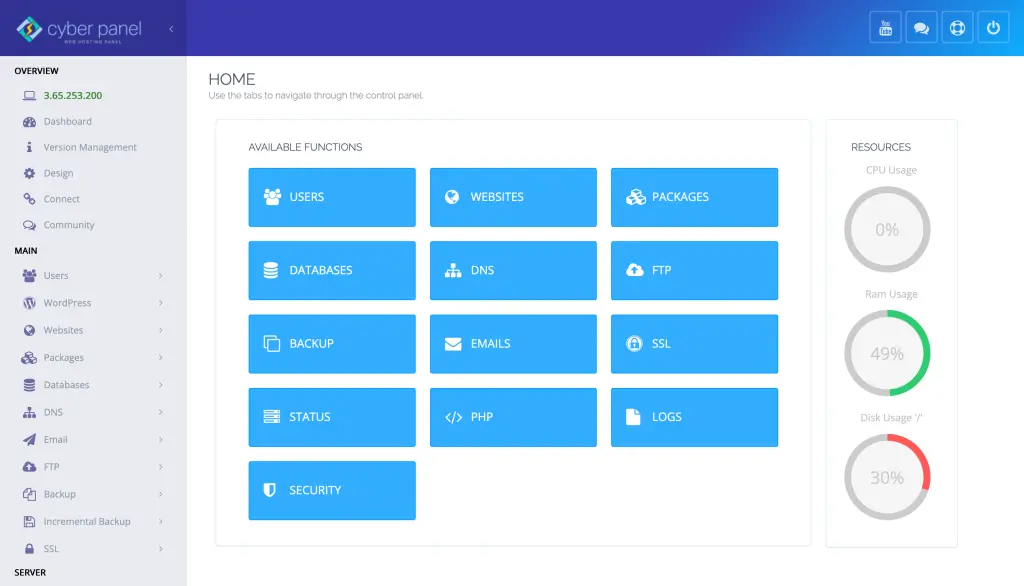
CyberPanel is a robust web hosting control panel and helps in server management. Although Jenkins focuses on CI/CD, CyberPanel helps manage:
- Server configuration
- Database management for Jenkins integrations
- Hosting of Jenkins-related applications securely
- SSL Management + Domain Configurations
In DevOps workflows, CyberPanel and Jenkins can be integrated for end-to-end automation, where CyberPanel can provision the application, and Jenkins can automate application builds, deployments, integration, and testing on the server provisioned by CyberPanel.
FAQs
1. What are the system requirements to install Jenkins on Ubuntu?
There should be at least 1GB of RAM (2GB recommended for production) dual-core processor. A minimum of 10GB in disk space. It also needs Java (ideally OpenJDK 11 or higher).
2. What if you want to install Jenkins without the internet?
Yes, however, you need to pre-load any packages and dependencies. This part contains Java, the Jenkins .deb package, and the requisite libraries. This means that when installing offline, dependencies must be resolved manually.
3. What is the best practice for recovering Jenkins after installation?
Jenkins can be secured with the help of enabling firewall rules, implementing authentication and authorization, using SSL encryption, and updating the plugins periodically to patch vulnerabilities.
Final Thoughts!
Jenkins is important to automate the entire software development process and helps in implementing continuous integration and delivery. Optimize your development workflow and experience seamless deployment today!