When you are using Ubuntu, the need to connect to the internet via a proxy server is sometimes necessary. It is for keeping the privacy of the user, their security, or simply to be able to access the network. The Ubuntu proxy settings allow you to have full control over the connections made by the system to the internet. No matter if you want to get around limitations, strengthen your security, or set up your office network, learning how to appropriately configure and manage proxy settings in Ubuntu is definitely a step in the right direction.
The problem is, though, that quite a few new users are mixed up in the way they try to figure out the right proxy settings for Ubuntu. Is it better to use the terminal, system settings, or perhaps environment variables? This guide makes everything easy to understand and breaks down the proxy settings in Ubuntu so that setting them up becomes a piece of cake.
We are going to discuss several methods, including GUI, terminal commands, and environment variables. Furthermore, you will be given the instructions on how to make these settings effective for the whole Ubuntu system, including applications like apt. At the end of it all, you will be so competent that you will be able to set the Ubuntu proxy without any mistakes.
What are Ubuntu Proxy Settings?
The proxy settings in Ubuntu define how your system communicates with the internet. It routes traffic through a proxy server. This helps mask your IP, improve security, and manage access in restricted networks. Moreover, in Ubuntu, you can set proxies globally or for specific applications.
How to Set Proxy in Ubuntu GUI?
The simplest method for new users to set up a proxy on Ubuntu is via the system GUI.
- Open Settings → Network
- Click on Network Proxy
- Pick Manual
- Type your HTTP, HTTPS, FTP, and SOCKS proxy information
- Save and Apply
In this way, the proxy is turned on, which is valid for most system applications.
Get exclusive access to all things tech-savvy, and be the first to receive
the latest updates directly in your inbox.
Get to know how to configure proxies without GUI?
How to Configure Proxy Settings in Ubuntu Terminal?
Command-line lovers may opt for using environment variables to have complete command-line control.
export http_proxy="http://username:password@proxyserver:port/"
export https_proxy="http://username:password@proxyserver:port/"
You can make it permanent by adding the lines to ~/.bashrc or /etc/environment.
How to Set Proxy for APT in Ubuntu?
APT stands for ‘Advanced Package Tool’. APT does not automatically follow the system proxy. You have to configure it separately.
Edit the apt configuration file:
sudo nano /etc/apt/apt.conf
Add lines like:
Acquire::http::Proxy "http://username:password@proxyserver:port/";
Acquire::https::Proxy "http://username:password@proxyserver:port/";
Save and exit.
After all that, apt update and apt install commands will work with your proxy.
Quick Table: Ubuntu Proxy Settings Methods
| Method | Where to Apply | Best For |
|---|---|---|
| GUI Network Settings | System Settings | Beginners, quick setup |
| Terminal Variables | ~/.bashrc or env file | Advanced users, flexibility |
| APT Proxy Config | /etc/apt/apt.conf | Package manager proxy only |
Role of CyberPanel in Proxy Judgement

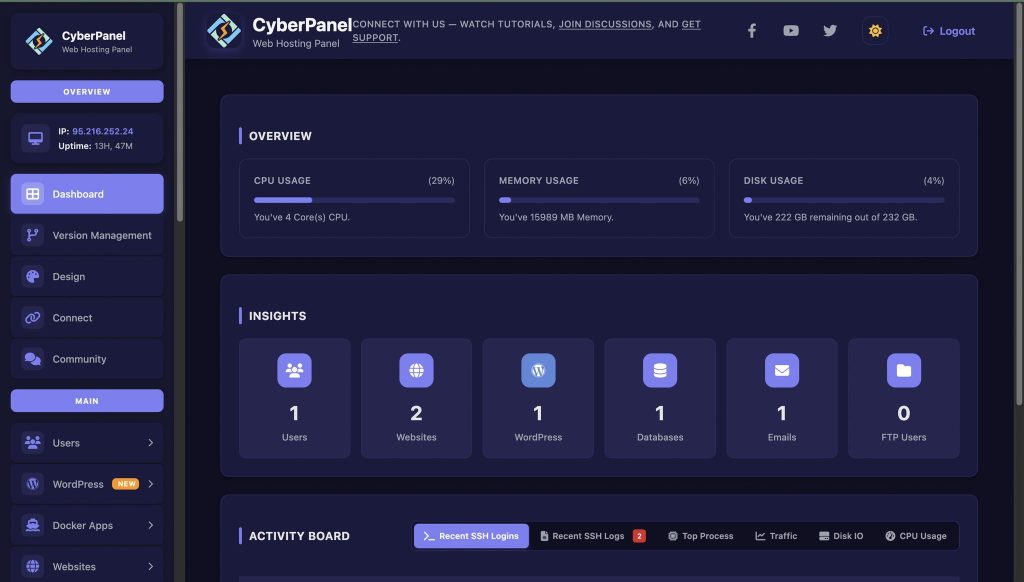
Speed, security, and automation are essential factors that greatly influence the success of managing modern websites and applications. CyberPanel, a next-gen web hosting control panel, offers a simple but effective OpenLiteSpeed-based control panel that allows the client businesses and the developers to simplify the server management process. Instead of completing these tasks through the command line, users can execute website deployment, SSL integration, DNS configuration, and email management via a user-friendly interface.
Furthermore, CyberPanel delivers the facility of one-click installations, staging environments, and scheduled backups, thereby being a suitable tool for both beginners and experts. The security and performance parts of the website included in the package ensure that the websites will load faster and remain safe. By lowering the amount of technical work, CyberPanel gives teams the opportunity to concentrate more on their development rather than on server problems.

People Also Ask
How to set global proxy settings in Ubuntu?
You can set global proxy by editing /etc/environment and add proxy variables for http, https, and ftp.
How can I disable proxy in Ubuntu?
Go to Settings → Network → Network Proxy, select “None,” or remove proxy lines from /etc/environment.
Why is apt not using my Ubuntu proxy settings?
Because APT requires a separate configuration in /etc/apt/apt.conf. It does not follow system proxy automatically.
Conclusion: Take Control of Your Ubuntu Proxy Settings
The process of setting up a proxy in Ubuntu does not really have to be a challenge. You have gotten the knowledge of how to implement proxy settings in Ubuntu via GUI, terminal, and for APT. No matter the reason being security, speed, or workplace restrictions, the right setting will give you the flow of surfing the net without any problems, and it will be safe as well.
Call to Action
Do you want to get the best out of your Ubuntu system? Then, start by setting up your proxy and enjoy the benefits of a quick, safe, as well as a controlled browsing session. In case you are managing servers, make a proper proxy setting in Ubuntu so as to let your apps, CyberPanel included, have a smooth run without any downtime.


