What are Quotas in Linux?
In Linux, a quota system is implemented in which the administrator can specifically allot a certain amount of disk space to a particular user or group account. It protects the entire storage from being consumed by users as this may lead to the resources being possessed all over by one particular account. Quotas can be configured based on:
Block Quotas: It puts limits on the total amount of disk space in blocks being used by a user or group.
Inode Quotas: It prevents a total number of files (inodes) created by a user or group.
Both quota types enforce soft limits and hard limits.
- Soft limit: It is possible to exceed it for a grace period.
- Hard limits: It cannot be exceeded at any time.
Quotas give administrators fine-grained control over the management of disk space, thus eliminating intentional and unintentional problems in the use of disks.
Why Allow Quotas in a Hosted Environment?
Therefore, when managing a server, ensure no one user consumes all their assigned quotas in Linux for storage because it will impact everyone else’s performance or their service. You enable Quota to prevent the following:
Get exclusive access to all things tech-savvy, and be the first to receive
the latest updates directly in your inbox.
- Use of disk space by a specific user in excess
- Accidental filling up of disk space that causes system crashes
- Resource Mismanagement in Shared Hosting Environments
How to Enable Quotas in Linux
To enable quotas in Linux after you have installed the necessary packages, follow these steps to configure your filesystem: move to the Activate the Quota System section. Here’s how to do it:
Step 1: Install the Quota Package
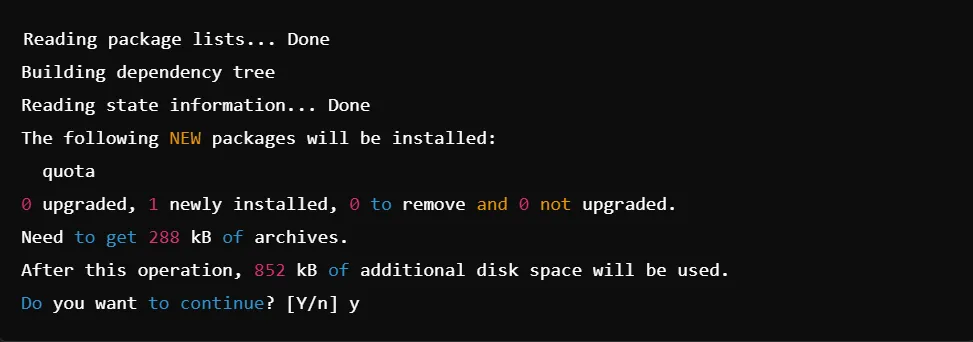
The quota package is not installed as part of many Linux distributions. First, you need to install it.
For Ubuntu/Debian :


For RHEL/CentOS:


Step 2: Editing /etc/fstab
Add quota options to the partition in the /etc/fstab file. You don’t get any output here, but that is what the file looks like:

Step 3: Remount the Filesystem
Now you have to remount the filesystem:

Step 4: Create Quota Files
Now you have to create and initialize quota files:


Activate Quotas:


Step 5: Verify Quota is Enabled
Check if quotas are enabled:


User Quota in Linux: Step-by-Step Guide
Enabling quotas automatically and with that, a step-by-step guide on establishing and configuring quotas on users as follows;


Step 1: Set Quotas for Users
To assign a quota to a user, you use the ‘edquota’ command. For example, setting the quota for user John:


Step 2: Setting Grace Periods
To set grace periods, use the following command:


Step 3: Enable Quotas for New Users
Now you have to enable quotas for new users using the edquota command as shown above. Use it for new users as needed.
Step 4: Verifying User Quota
Now check the quota assigned to a specific user:


Ubuntu Quota Setup (Ubuntu 20.04)
To set up Ubuntu quota 20.04, follow these steps:
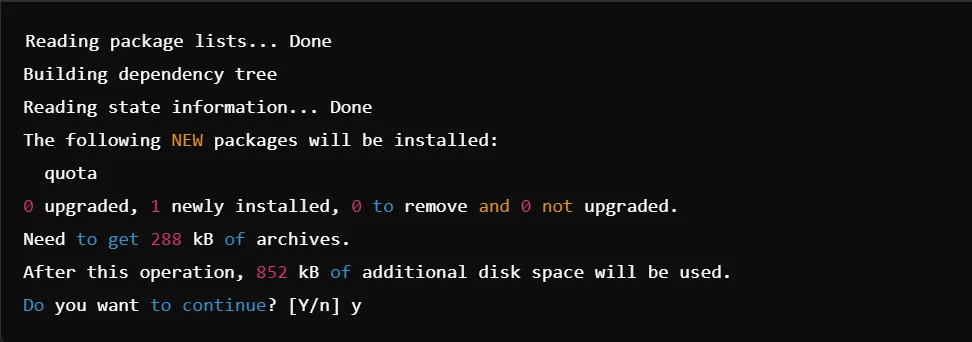
Step 1: Install Quota Package
First, install the quota package:


Step 2: Modify /etc/fstab
Add usrquota and grpquota to the partition in /etc/fstab:

Step 3: Remount the Filesystem
Now you have to remount the filesystem to apply changes:

Step 4: Initialize Quota Files
Run the following commands:


Step 5: Assign Quotas to Users
Assign quotas to specific users using:

You can modify the user quota as needed.
Check User Quota in Linux
Here are some commands on how to check user quota usage on your Linux system.
Check Quota for a Specific User
You can use the ‘quota’ command to check a user’s quota.


This shows disk usage and limits for the user John.
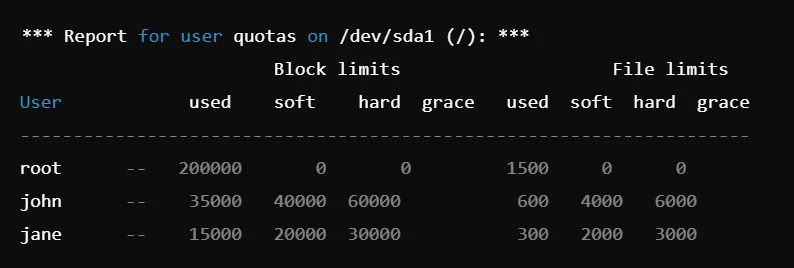
Check Quota for All Users
To view quotas for all users, use:


Best Practices of Using Quotas in Linux
Some best practices for using quotas in Linux effectively are as follows:
Regular Monitoring: Check periodically through the repquota command how user and group usage is proceeding.
Realistic Setup: Ensure that quota limits are appropriate for the user’s needs since restrictive limits could be counterproductive to efficiency.
Notify Users: Inform them when their quotas are nearing or have exceeded their limits.
Plan Grace Periods Wisely: Grace periods provide an allowance for exceeding the soft limits for some time. It’s a prudent policy to be lenient yet not too lenient while enforcing the policy rigorously.
Automation of Monitoring: Use cron jobs or scripts to automate quota monitoring, thus notifying the users of violations.
You can let it to the best web hosting control panel, CyberPanel. It will make your process easier than ever.
Lastly!
System administration on multi-user systems is an important task in disk space management. Quotas in Linux offer the facility of limiting users and groups from excessive consumption of disk space, which can further lead to system performance degradation. According to this tutorial, you will be able to create and configure user as well as group quotas with tracking utilization and action required at times of limits being reached or exceeded.
Whether you use Ubuntu or some other Linux distribution, quotas are an essential part of keeping your system organized and efficient. With these tools at your disposal, you can optimize resource allocation, preclude resource misuse, and optimize your Linux servers in the long run.


