Whether you are getting your feet wet in Java development or just need to run a Java-based application, the first, and obviously important, step is to install Java on Linux Ubuntu. Java is the driving force behind everything from Android apps and big data technologies to banking systems and enterprise software. Many applications won’t run without Java.
As one of the most popular and stable Linux distributions, Ubuntu is popularly used by developers. But installing Java on Ubuntu can be a bit daunting for beginners, especially since there are multiple Java versions, plus you have to deal with JDK and JRE, etc. You might also ask, “How to install Java Ubuntu? or “What is the difference between JRE and JDK?
Well, this guide goes ahead and breaks it down into simple steps and explains how you can not only install Java on Linux Ubuntu but also verify, configure, and then finally run your first Java program. This tutorial is perfectly suitable for Ubuntu 20.04, 22.04, or anything beyond that, along with real-life command line solutions with actual output for readers.
How to Install Java on Ubuntu
You might be thinking, “How do I install Java on Ubuntu?”. Here is how to install Java on Linux Ubuntu
Step 1: Update Your System Packages
Before you install anything, ensure your system packages are current:
sudo apt update && sudo apt upgrade -yOutput:
Get exclusive access to all things tech-savvy, and be the first to receive
the latest updates directly in your inbox.
Reading package lists... Done Building dependency tree... Done Reading state information... DoneStep 2: Determine if You Already Have Java Installed
You can verify if you have Java already installed by using:
java -versionOutput when Java is NOT installed:
Command 'java' not found, but can be installed with: sudo apt install default-jreIf you are getting feedback like this, Java has not yet been installed.
Step 3: Install Java on Linux Ubuntu
Option 1: Install Default JRE (Java Runtime Environment)
To install as a Java application only:
sudo apt install default-jre -yOption 2: Install Default JDK (Java Development Kit)
If you are an aspiring Java programmer:
sudo apt install default-jdk -yOutput:
Setting up default-jdk ... Processing triggers for man-db ...Step 4: Verify Java Installation
To confirm installation:
java -versionOutput:

openjdk version "11.0.22" 2024-04-16 OpenJDK Runtime Environment (build 11.0.22+9-Ubuntu) OpenJDK 64-Bit Server VM (build 11.0.22+9-Ubuntu, mixed mode)Step 5: Java Install Specific Version (Optional)
Want Java 17 or a different version?
sudo apt install openjdk-17-jdk -yTo list the available versions:
apt search openjdkStep 6: Switch Between Multiple Java Versions
Now we have another step to manage where you can switch between multiple versions of Java
If you have more than one version installed, choose the default with:
sudo update-alternatives --config javaFollow the prompts to make a selection.
Step 7: Set JAVA_HOME Environment Variable
To set Java globally:
readlink -f $(which java)It will return:
/usr/lib/jvm/java-11-openjdk-amd64/bin/javaNow add to .bashrc:
echo "export JAVA_HOME=/usr/lib/jvm/java-11-openjdk-amd64" >> ~/.bashrc echo "export PATH=\$JAVA_HOME/bin:\$PATH" >> ~/.bashrc source ~/.bashrcStep 8: Test the Java program
Let’s check Java by compiling and running a basic file.
nano HelloWorld.javaPaste this:
public class HelloWorld { public static void main(String[] args) { System.out.println("Java is working perfectly on Ubuntu!"); } }CTRL+O, Enter to Save, CTRL+X to Exit
Compile & Run:
javac HelloWorld. java java HelloWorldOutput:
Java is working perfectly on Ubuntu!How CyberPanel Works in Hosting Java Apps

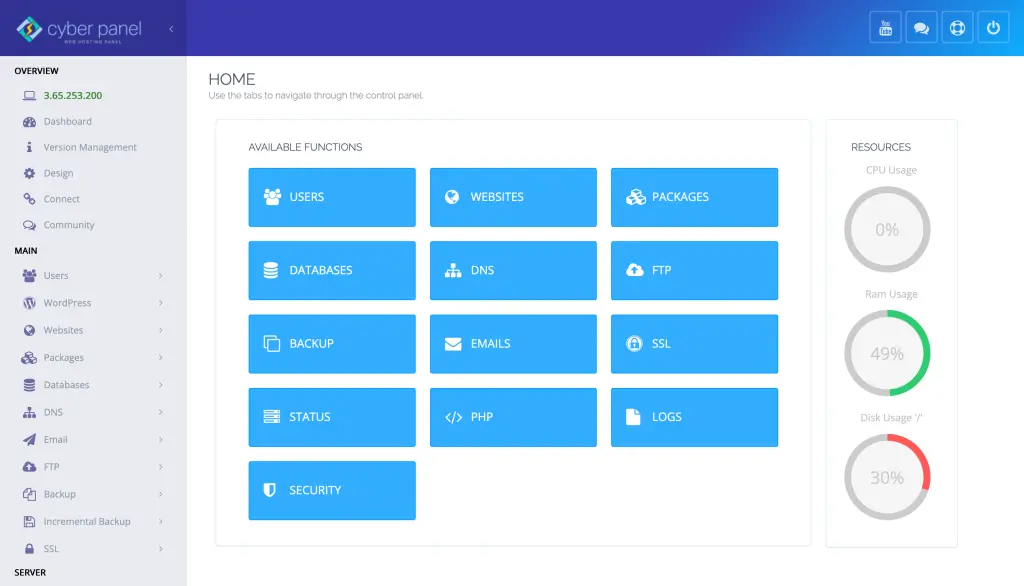
After installing Java, you may want to deploy your Java applications on a web server. CyberPanel i.e. a robust web hosting control panel, is here to help.
How CyberPanel helps with Java projects:
- OpenLiteSpeed: It is here to host Java REST APIs or microservices
- Integrated Terminal Access: Compile and run Java programs on your server.
- JDBC: Use JDBC to connect and execute jobs with MySQL databases.
- Full SSL in One Click: Enable HTTPS for your Java web apps.
- Automated Backup: You can backup your data regularly, install cron jobs for your Java Projects.
- Firewall & Security: Secure your Java services with in-house security tools.
CyberPanel simplifies deployment as you develop a backend or a full-stack Java application.
FAQs to Install Java on Linux Ubuntu
What are the two types of Java installations?
There are two different types of Java installations: the JRE and the JDK.
JRE is the Java Runtime Environment, which enables you to run your Java applications. JDKJBK7 includes JRE or any additional development tools(just like the compiler).
Is it possible to install multiple Java versions on Ubuntu?
Yes, and you can select which one to use via sudo update-alternatives –config java.
How can I find out where Java is installed?
You can run readlink -f $(which java) to get the path of your Java binary.
Culmination!
Finally, we have learned to install Java on Linux Ubuntu. This guide is perfect for anyone — whether you are a developer creating enterprise-grade systems or a student just beginning to learn — who needs everything they need to install and test Java on their Ubuntu system. You cover everything, from picking between JRE and JDK to compiling your first program.
Need a simpler way to host Java applications? CyberPanel is your best partner to launch, manage, and secure Java-based services.


