Without proper planning, large-scale Kubernetes deployments will become more complicated. This is where the use of Namespace in Kubernetes comes in handy. Namespaces provide users with a way to logically partition resources in a cluster, which can help with security, resource allocation, and administration.
Now imagine doing so for several projects, each having its patch of deployments, services, and configurations. Namespaces prevent collisions of resources by allowing for non-unique resource names. Kubernetes namespaces provide an isolated environment within the cluster, allowing for smoother workflows and improved scalability.
It covers how to create, set default and delete Kubernetes namespaces, alongside the namespace controller and conventions. Actual working code pieces that will aid you in implementing these concepts in real-world situations
What is a Namespace in Kubernetes?
Namespaces in Kubernetes are virtual clusters backed by a physical cluster. This allows for logical organization of resources, which can help manage applications with a shared infrastructure.
Namespaces so are especially helpful for:
- Multi-tenant environments
- Separation between teams or application resources
- Managing multi-cluster, large-scale deployments
- Kubernetes has the following namespaces by default:
- default – The resource namespace that is not assigned
- kube-system – Contains system components such as API server and scheduler
- kube-public – A namespace that is visible across all clusters
- kube-node-lease – Deals with node heartbeat data
Now we will discuss creating, setting, and deleting namespaces in Kubernetes with real examples.
Get exclusive access to all things tech-savvy, and be the first to receive
the latest updates directly in your inbox.
How to Create Namespace in Kubernetes
You can easily create a namespace with the kubectl command-line tool or a YAML configuration.
Using Kubectl Command
To create a new namespace, run the following command:
kubectl create namespace dev-environmentUsing YAML Configuration
Or you can create a namespace of being defined from a YAML file:
apiVersion: v1 kind: Namespace metadata: name: dev-environmentRun the configuration using:
kubectl apply -f namespace.yamlYou can check if the namespace was created with:
kubectl get namespacesOutput:
STATUS AGE default Active 10d kube-system Active 10d kube-public Active 10d kube-node-lease Active 10d dev-enviNAMEronment Active 2mSet Default Namespace in Kubernetes
Kubernetes deploys the resources in the default namespace unless a different one is specified. You may want to set a default namespace for your context so that you do not need to provide it every time.
Run the command to change the default namespace:
kubectl config set-context --current --namespace=dev-environmentAt this stage, any command you execute will affect the dev-environment namespace by default unless you define an alternative namespace.
Verify the change using:

kubectl config view --minify | grep namespaceOutput:
namespace: dev-environmentNamespace Controller Kubernetes Explained
Namespaces are managed by the Namespace Controller. It performs tasks like:
- Monitoring the creation and deletion of namespaces
- Deleting orphaned resources
- Ensuring namespace lifecycle management
Namespaces may be automatically deleted when not needed as long as they do not have active workloads.
Delete a Namespace in Kubernetes
If you want to clean it up: If you no longer need a namespace, you can delete it with:
kubectl delete namespace dev-environmentOr remove it with a YAML file:
apiVersion: v1 kind: Namespace metadata: name: dev-environmentRun the command:
kubectl delete -f namespace.yamlOutput:
namespace "dev-environment" deletedList the rest of the namespaces with:
kubectl get namespacesKubernetes Management with CyberPanel

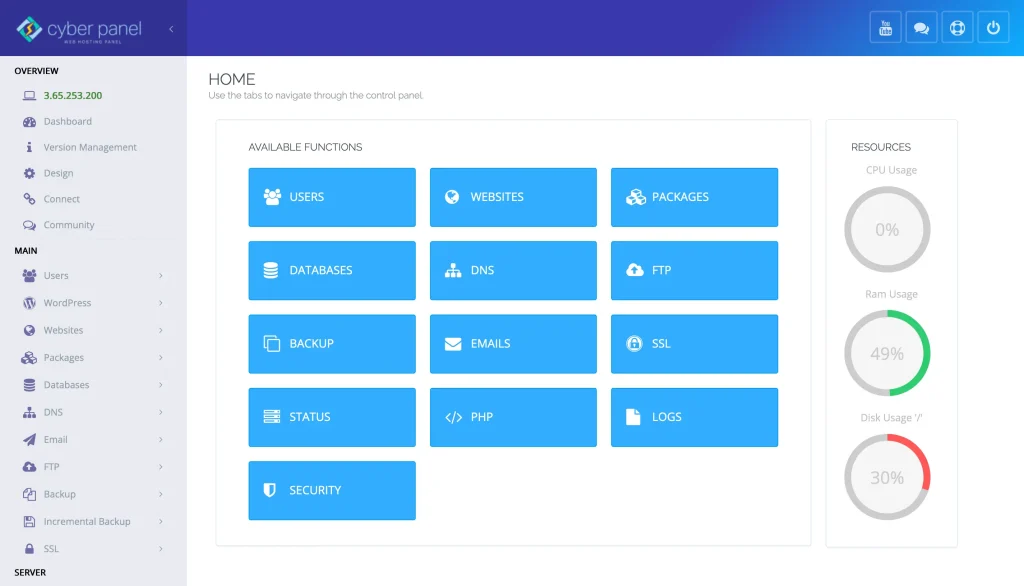
CyberPanel is a robust web hosting control panel when combined with the easily integrated open source technologies, but you can achieve more through Kubernetes-based hosting by adding CyberPanel:
- Deployment of web applications in Kubernetes clusters
- Having a graphical user interface to manage server setup
- Application Kubernetes backup automation
- Strengthening security with firewall and access control features built-in
FAQs: Namespace in Kubernetes
1. Why do I have to use Namespace in Kubernetes?
You have to use Namespaces in Kubernetes as it helps in organizing resources in large clusters, prevents conflicts, and provides better resource isolation for teams, projects, or environments.
2. Can I have the same resource names in different Namespaces?
Yes, you can use the same resource names (deployments, services, etc.) in different namespaces since each namespace provides logical separation.
3. What if I do not specify a namespace for a resource?
If no namespace is specified, the resource goes to the default namespace by default.
Final Thoughts!
Kubernetes requires an efficient way to manage complex workloads and namespacing is key. Namespaces give the structure needed to effectively scale your cluster, whether you are working in a multi-tenant environment or deploying multiple projects.
CyberPanel is an innovative web hosting control panel that allows you to integrate with Kubernetes to further streamline your web applications.
Get started organizing your Kubernetes cluster now!


