
You must be thinking “How to send test email?” Email is an integral part of today’s business communications in the fast-digitalizing world. Whether it is marketing, transactional notifications, or keeping up with clients, emails remain to this date a central part of the communication tool. But ensuring that everything works fine-from content formatting to delivery requires email testing before sending any on a massive scale. Testing an email Sending a test email In all the steps, today we guide you through how to send a test email, available options for testing email servers, and why CyberPanel is the perfect choice for managing your email server. We further the process answer frequent questions and also equip you with practical code examples and real outputs.
Let us dive deeply into the email world!
Why Should You Send a Test Email?
Test emails identify problems in configurations such as format errors, broken links, and even sender details. It allows you to see how the email might be represented in different clients (Gmail, Outlook, etc.) and whether it ended up in the inbox and not the spam folder. Another thing that test emails do is troubleshoot issues with email delivery, domain configurations (SPF, DKIM), and server settings.
When to Send a Test Email
Before you send an email campaign: Just test that the content, formatting, and links are fine before sending out the final email campaign.
- After configuring a mail server: Testing to ensure that this correctly delivers emails.
- When delivery problems arise: Emails do not reach the inbox; the problem can be isolated by sending a test email.
- Post DNS Changes: Then test the email to see if it’s configured correctly or not after having modified the DNS records like SPF or DKIM.
How To Send A Test Email Step By Step Instructions
Step 1: Installing Your Email Server in CyberPanel
CyberPanel is a strong web hosting control panel that makes email services management easier; it supports sending test emails through its built-in mail server. Below, you will find steps to configure your email server on CyberPanel.
To begin with, login into CyberPanel:
Login to CyberPanel using your root or admin credentials.

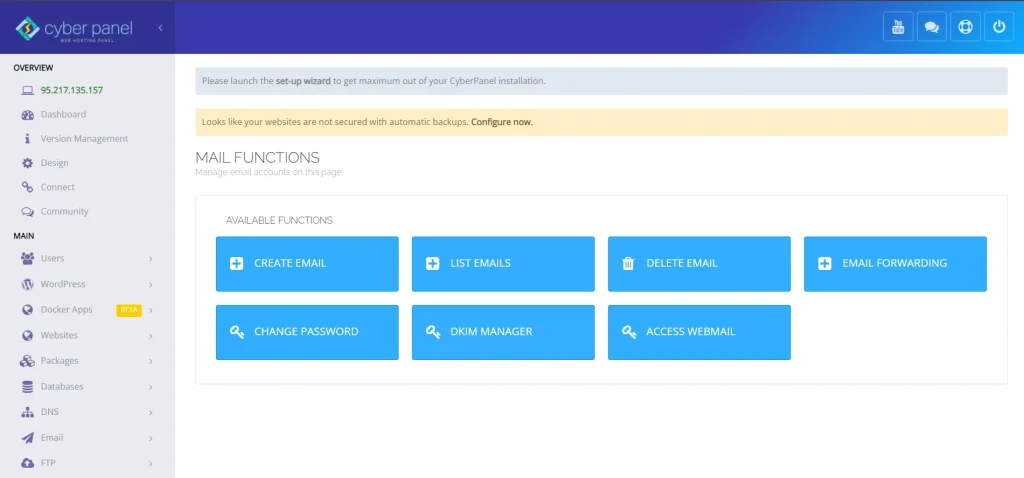
Go to ‘Email’:
From the dashboard of the CyberPanel, click on ‘Email’ and then ‘Create Email’.
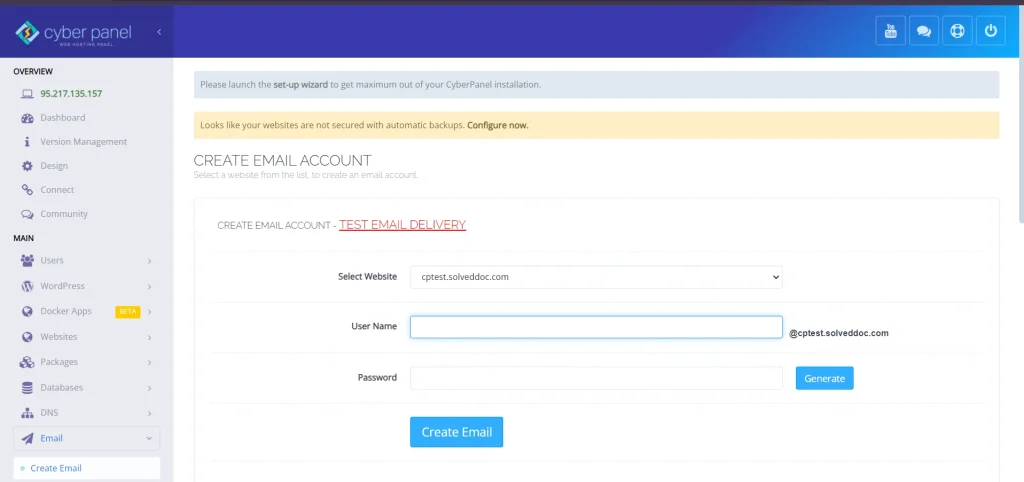
New Email Account:
Choose a domain name for a new email address. Create an email account. Set up a strong password.
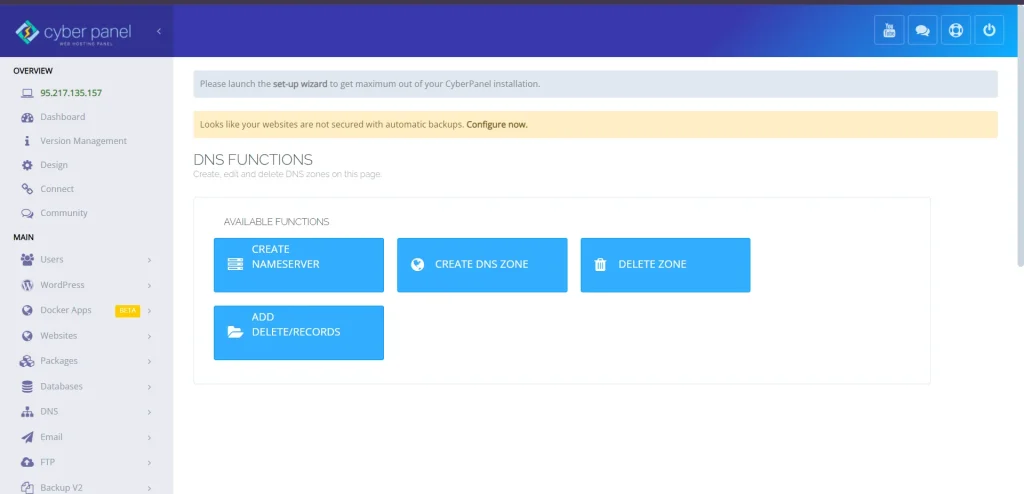
DNS Records:
You must have proper DNS records (SPF, DKIM, DMARC) on your domain. This is significant in delivering emails.
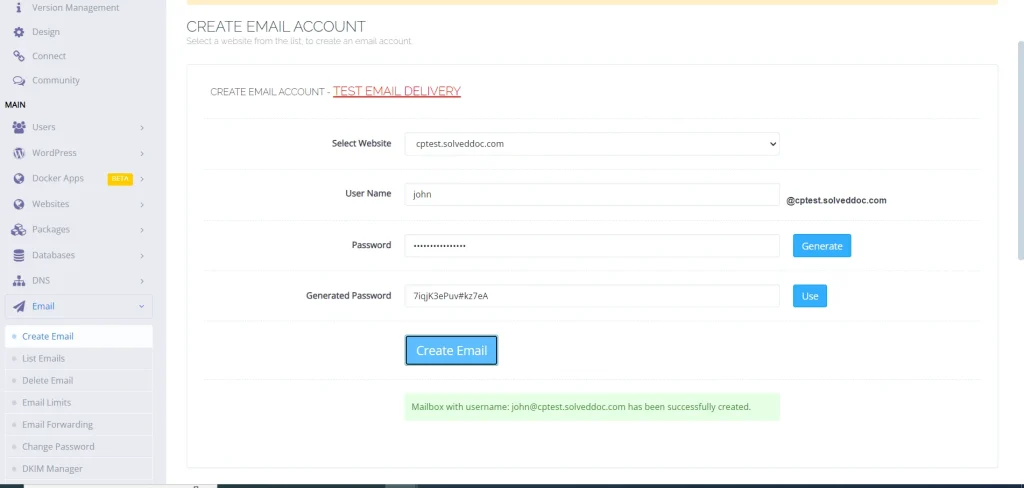
Test email configuration:
With the email account set up, CyberPanel will then let you test the configuration by sending it a test email.
Step 2: Testing via Sending an Email Using CyberPanel
Now, since your email account is set, follow the following steps to send a test email:

Go to ‘Send Test Email’
Open CyberPanel and click on ‘Email’ then ‘Send Test Email.’
Email Details
From Address: The email you would have created within CyberPanel.
To Address: The email where the test email is to be received.
Subject Line: “Test Email.”
Body: You can use any message to check that the formatting or the link is correct and able to send through.
Send Test Email:
Click the ‘Send’ button. You should receive that test email within a few minutes.
Sending a Test Email using Python’s Code Snippet
If you need a programmatic approach to sending a test email, Python simplifies this for you as well. Below is a Python script that uses the ‘smtplib’ library to send a test email.
import smtplib

from email.mime.text import MIMEText

def send_test_email():

    smtp_server = "smtp.yourdomain.com"

    port = 587  # For TLS

    sender_email = "[email protected]"

    receiver_email = "[email protected]"

    password = "yourpassword"

    message = MIMEText("This is a test email.")

    message["Subject"] = "Test Email"

    message["From"] = sender_email

    message["To"] = receiver_email

    try:

        # Connect to the server

        server = smtplib.SMTP(smtp_server, port)

        server.starttls()  # Secure the connection

        server.login(sender_email, password)

        # Send email

        server.sendmail(sender_email, receiver_email, message.as_string())

        print("Test email sent successfully!")

    except Exception as e:

        print(f"Error: {e}")

    finally:

        server.quit()

# Call the function

send_test_email()
Step 3: Confirm the Test Email was sent
Once you have sent your test email, look up the receiver’s inbox address. Here’s what you will find:
- Email Formatting: It will be formatted correctly in the client.
- Sender Information: Verify that the sender name matches with the sender’s email address that you set
- Verify the Email Was Delivered: If not in the inbox, let it sit a few minutes and check if it was placed into spam: First off, confirm your DNS records are correctly set up SPF, DKIM.
- Content Validation: Ensure that all the links, images, and formatting are what they are supposed to be.
How to Send a Test Email from Mailchimp
Step 1: Log into Your Mailchimp Account
There are several popular email marketing options, but Mailchimp tops them all by letting users create, send, and track campaigns. Sending an email as a test in Mailchimp means you can be able to see what your message would look like to recipients and detect any format errors or issues in deliverability during the post. Here is how to send a test email with Mailchimp.
Access your Mailchimp login through your credentials
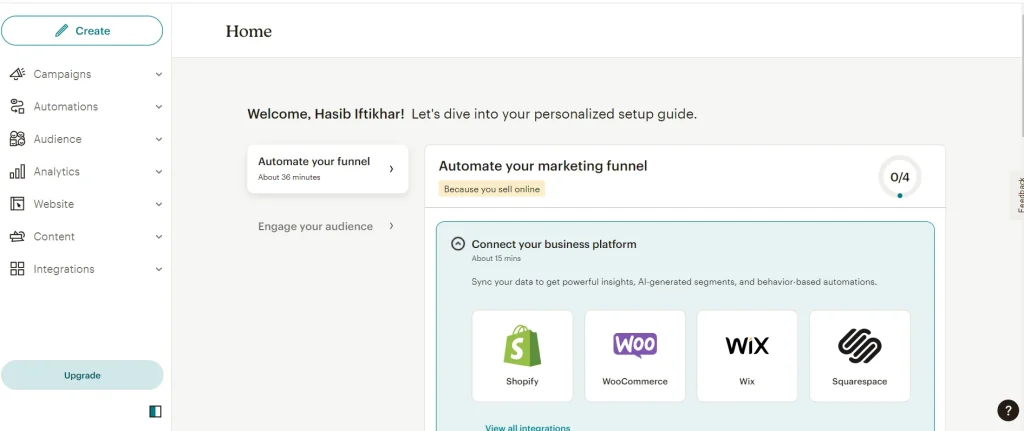
Step 2: Create a Campaign To Send Test Email
Click ‘Create’ on the Mailchimp dashboard
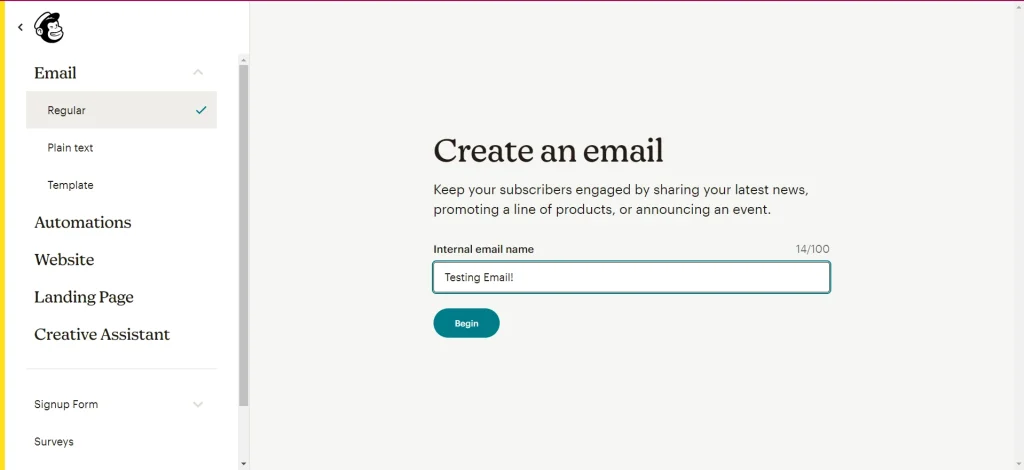
Select ‘Email’ from the campaign types to choose from.
Select the type of email campaign you want to create, for instance, Regular, Plain-text, etc
Input the campaign name and then proceed to design your email
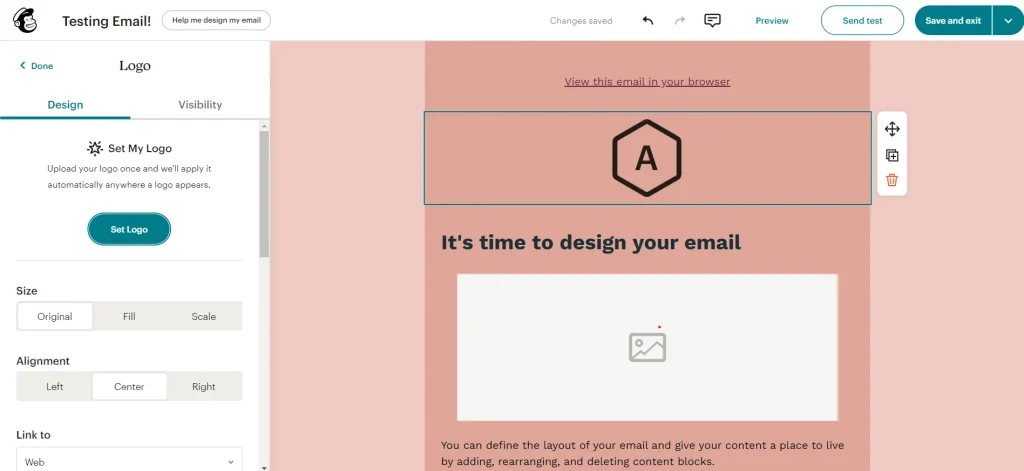
Step 3: Design Your Email: Near To Send Test Email
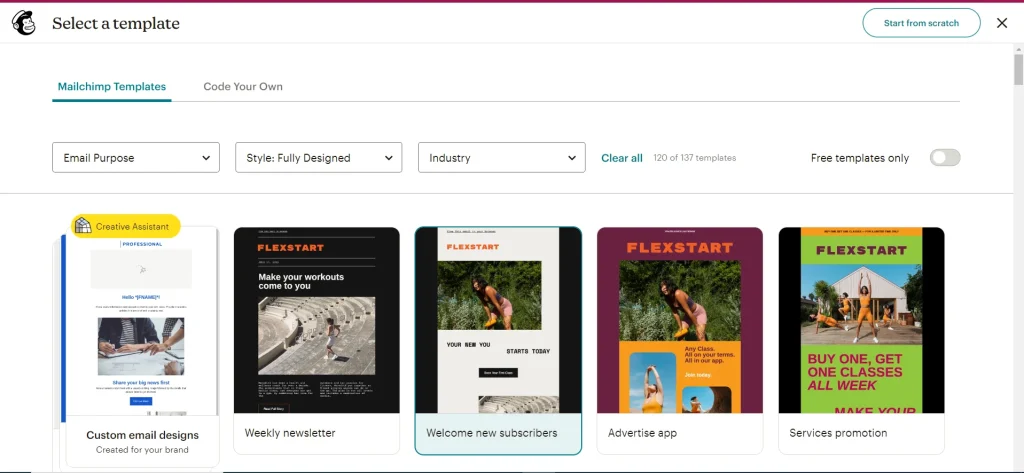
Use Mailchimp Email Builder to create your email using text, images, buttons, and links.
Let all renderable elements, such as links and images-be properly formatted and in working condition.
Step 4: Send Test Email
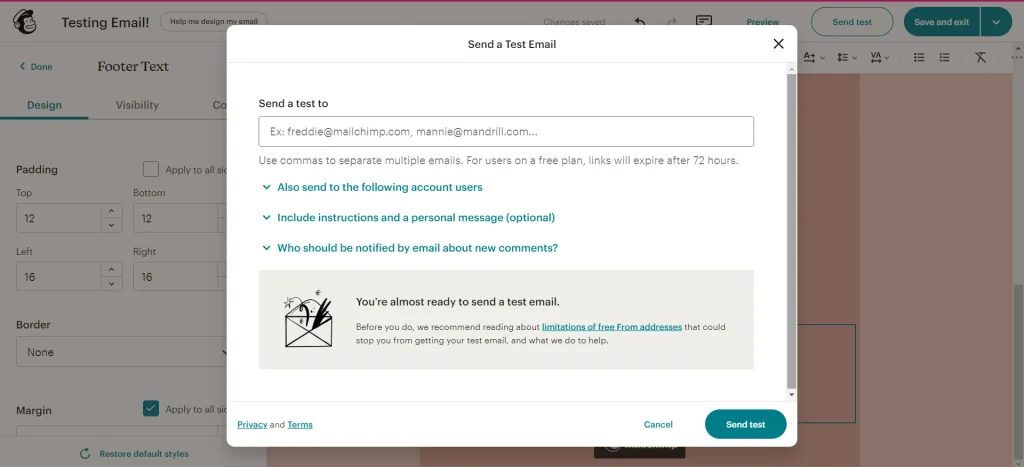
Preview and Test’
At the top-right corner of the email composer page, there is a dropdown that says ‘Preview and Test.’ Click on it and choose ‘Send a Test Email.’
Recipient’s Email Address :
You will receive a pop-up in which you can add the email addresses you want to send your test email to. You can enter several emails in case you are sending it to share it with your team members and get their feedback as well.
Optional: Add Personalization Tags:
If you are using the merge tag for personalization, for instance, writing in the name of the recipient, Mailchimp offers you the view of the same, previewing by inserting sample data for testing.
Send Test Email:
Send Test: Just click it to send a test email to the email that you have specified. So, at that point, you should have received the same in your inbox of the email.
Step 5: Proofread and Deliver
Now, you are about to send test email. Go through the details in your inbox. Check if the formatting, the subject line, and the body content is fine
Check that all the links images and buttons are working.
If the email ends up spam, refer to Mailchimp’s best practices on improving delivery (which includes domain verification and DKIM/SPF setup).
Mailchimp Test Email Limitations:
Number of test emails: In all pricing plans, Mailchimp has a limit of 12 test emails per campaign; therefore, plan your test emails.
Role of CyberPanel: Send Test Email
CyberPanel is a popular web hosting control panel. It streamlines the management of an email server making it a great option for web admins. The integrated features of email make it easy to change and send out test emails. With CyberPanel, you acquire the following features:
Integrated DNS Management

CyberPanel integrates DNS management thus ensuring that the SPF, DKIM, and DMARC records are set correctly to deliver emails.
Easy Setup of Email Server
With CyberPanel, setting up successful email accounts is possible without relying on third-party plugins. Hence, managing emails will become easy for you.
Troubleshooting Efficiently
In this case, too, you can get hold of the root cause of the automatic delivery of emails through its intuitive interface and troubleshoot the problem that will be fixed accordingly through exhaustive logs.
FAQs: Send Test Email
1. How can I send a test email to an address?
You can send test email to any address via your mail client or use some service like CyberPanel. For instance, go to the ‘Send Test Email’ option in CyberPanel write the recipient’s email address, and send the test message.
2. How come my test email is landing in the spam folder?
Spam often marks emails due to bogus DNS records (SPF, DKIM), questionable content, or a bad reputation about your domain. All these relevant records must be held in the DNS; email contents should not include spam triggers either.
3. How would you test my SMTP server?
You could just as easily run a test of your SMTP server from a command-line tool, a programming language like Python, or directly from within your email client. If you’re using CyberPanel, you simply need to log in to the email section; there you’ll find a form in which you can send test email.
4. How do I know my email is being delivered?
Once this test email is sent, check the inbox of the recipient. Or use tracking tools like email trackers. You can also rely on the logs of CyberPanel if the emails were processed properly or not.
5. Is it possible to create an option to automatically send test email?
You can automate the transmission of test emails by using scripts or sending scheduled emails via tools such as cron jobs in Linux. For example, you can create a script using Python, sending an email periodically.
6. Is it possible to create an email account without configuring a domain?
Yes, with Neo you can create an email account instantly using a free custom domain or a free co.site subdomain—no separate domain setup needed.
Final Thoughts To Send Test Email
To sum up, sending a test email is of utmost importance to ensure that your email communication strategy is error-free and effective. Be it checking your marketing campaign debugging your email delivery issues or even verifying the DNS records, sending a test email gives you all those insights you need to optimize your email processes. Configuring and testing your email server can never be easier with the built-in email management tools of CyberPanel, thereby ensuring smooth communication within your business.
With the step-by-step procedures mentioned above, you can easily and conveniently send test email to debug potential issues and ensure that your email setup is working as desired. Whether you want to send test email through a control panel like CyberPanel or with the scripts, frequent testing will help ensure that your email messages arrive properly.
Start testing today and experience reliable email delivery!