Proxying is usually employed to share the workload across multiple servers, effortlessly display content from various websites, or forward requests for handling to application servers using protocols other than HTTP.
In this article, you’ll learn what Docker Nginx Reverse Proxy is and how you can set it up using this guide.
What is a Docker Nginx reverse proxy?
Docker Nginx Reverse Proxy is a simple load-balancer container that operates on port 80, directing localhost traffic to the appropriate application defined in the routing rules.
When NGINX acts as a proxy for a request, it:
- Forwards the request to a designated proxy server.
- Retrieves the response.
- Delivers the response back to the client.
A reverse proxy manages client requests and forwards them to a backend server. You can forward requests to an HTTP server (like another NGINX server or any other server) or a non-HTTP server (which can host an application built with a specific framework, such as PHP or Python) using a defined protocol. The protocols that are supported include FastCGI, uwsgi, SCGI, and memcached.
This backend server processes the requests and sends a response back to Nginx, which then relays the response to the client.
Setting Up Docker Nginx Reverse Proxy (Step-by-Step)
The Docker Official Images are a carefully selected group of Docker repositories that you can easily find on Docker Hub. They have been checked for vulnerabilities and are managed by Docker staff and upstream maintainers, so no worries.
Official Images are an excellent starting point for new Docker users. These images come with clear documentation, encourage best practices, and are tailored for the most common scenarios.
Now, let’s explore the NGINX official image. Open your preferred browser and log into Docker. If you don’t have a Docker account yet, you can sign up for one at no cost.
After logging into Docker, type “NGINX” in the top search bar and hit enter. The official NGINX image should appear first in the search results. You will notice the “OFFICIAL IMAGE” label in the upper right corner of the search entry.
Now click on the NGINX result to see the image details.
On the image details page, you can read the image description and its readme. You can also view all available tags by clicking on the “Tags” tab.
Let’s set up a basic web server using the official NGINX image. Use the following command to start the container.
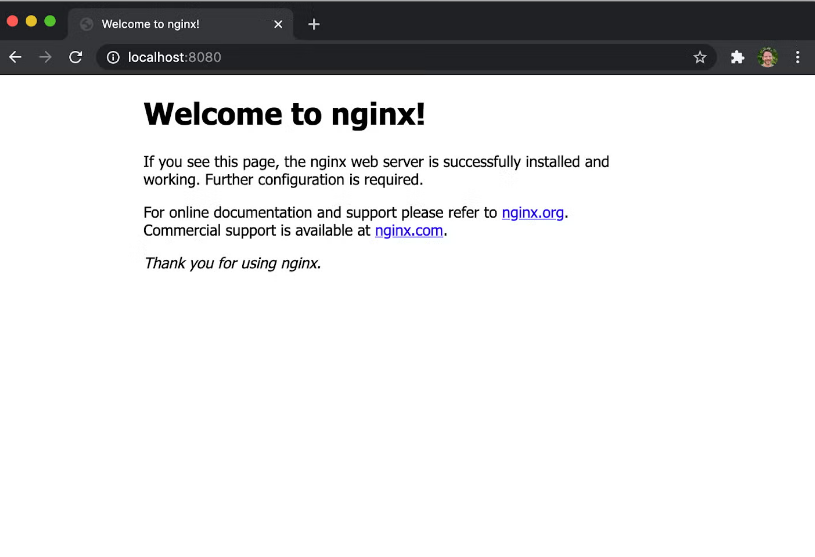
$ docker run -it --rm -d -p 8080:80 --name web nginxWith this command, you have started the container as a daemon (-d) and exposed port 8080 on the host network. You also named the container “web” using the –name option.
Open your preferred browser and go to http://localhost:8080. You should see the NGINX welcome page.
Now you get to set up the Docker Nginx Reverse Proxy, this is the most straighforward way to do it no need to go elsewhere just follow this step by step.

The goal of running a web server is to serve our own custom HTML files, not just the default NGINX welcome page.
Yet, a common situation for developers is to run their REST APIs behind a reverse proxy. There are several reasons for this, but a key reason is to host your API server on a different network or IP address than your front-end application. This allows you to secure that network and permit traffic only from the reverse proxy server.
To keep things simple and concise, I’ve created a basic frontend application using React.js and a straightforward backend API in Node.js. Use the following command to clone the code from GitHub.
$ git clone https://github.com/pmckeetx/docker-nginx.gitAfter cloning the repository, open the project in your preferred IDE. Check out the Dockerfile located in the frontend directory.
FROM node:12.18.2 as buildARG REACT_APP_SERVICES_HOST=/services/mWORKDIR /appCOPY ./package.json /app/package.json<br>COPY ./package-lock.json /app/package-lock.jsonRUN yarn installRUN yarn buildFROM nginx<br>COPY ./nginx/nginx.conf /etc/nginx/conf.d/default.conf<br>COPY --from=build /app/build /usr/share/nginx/htmlThe Dockerfile establishes a multi-stage build. First, we build our React.js application, and then we deploy it to nginx.conf file from our local machine into the image, along with the static HTML and JavaScript files created in the initial phase.
We configure the reverse proxy in the frontend/nginx/nginx.conf file. You can learn more about configuring Nginx in their documentation.
server {
 listen 80;
 server_name frontend;
 location / {
   # This would be the directory where your React app's static files are stored at
   root /usr/share/nginx/html;
   try_files $uri /index.html;
 }

 location /services/m {
   proxy_set_header X-Real-IP $remote_addr;
   proxy_set_header X-Forwarded-For $proxy_add_x_forwarded_for;
   proxy_set_header X-NginX-Proxy true;
   proxy_pass http://backend:8080/services/m;
   proxy_ssl_session_reuse off;
   proxy_set_header Host $http_host;
   proxy_cache_bypass $http_upgrade;
   proxy_redirect off;
 }
}
As you can see in the second location section thatall traffic targeted to /services/m will be proxy_pass to http://backend:8080/services/m
At the root of the project is a Docker Compose file that will start both our frontend and backend services. Let’s start up our application and test if the reverse proxy is working correctly.
$ docker-compose -up
Creating network "docker-nginx_frontend" with the default driver
Creating network "docker-nginx_backend" with the default driver
Creating docker-nginx_frontend_1 ... done
Creating docker-nginx_backend_1  ... done
Attaching to docker-nginx_backend_1, docker-nginx_frontend_1
frontend_1  | /docker-entrypoint.sh: Configuration complete; ready for start up
backend_1   | Listening on port 8080
You can see that our nginx web server has started, and our backend_1 service has started and is listening on port 8080.
Open a browser and go to http://localhost. Then, open the developer tools. Type in an entity name, such as “widgets“, and hit submit. Look at the network request for widgets in the tools window, and confirm that the request was sent to the backend_1 service.
The great thing about this setup is its adaptability! By separating our application and database containers into distinct layers and directing all local traffic through a reverse proxy load-balancer, we have made it easier to scale. For any new application, we just need to launch it in its own Docker container application layer and then route the traffic through our Nginx reverse proxy.
If the application needs a database that isn’t already set up, like MySQL, we need to modify the YAML to add MySQL.
Adding SSL with Let’s Encrypt
To enable SSL encryption on your website, create SSL certificates and keys. Make sure you have all the required files:
1. Use the touch command to create one KEY and one CRT (certificate) file for each service:
touch ssl/[service-name].crt ssl/[service-name].keyThe example below illustrates how to generate files for services example1 and example2:
touch ssl/example1.crt ssl/example1.key ssl/example2.crt ssl/example2.key<br>2. Use the openssl command to generate the contents of the files:
sudo openssl req -x509 -nodes -days 365 -newkey rsa:2048 -keyout ssl/[service-name].key -out ssl/[service-name].crtFor instance, to create the key and certificate for the example1 service, type:
sudo openssl req -x509 -nodes -days 365 -newkey rsa:2048 -keyout ssl/example1.key -out ssl/example1.crtThis process generates an SSL key and certificate for a web service. You can repeat this process for each service you want the proxy to manage.
Conclusion
This Docker Nginx Reverse Proxy guide is everything you need to know to set it up. NGINX is a strong and flexible web server that offers many advanced features. A key function is its role as a reverse proxy server, which takes requests from clients and sends them to one or more backend servers.
A strategic placement enhances the performance of the web server. It allows NGINX to handle incoming traffic, boost website security, and share the workload among several servers.
FAQ’s
1. What is a Docker Nginx reverse proxy?
A Docker Nginx reverse proxy directs traffic from one entry point (Nginx container) to various backend containers, enhancing security and management.
2. Can I use Nginx reverse proxy for multiple domains?
Yes, Nginx allows multiple domains through server blocks, enabling you to host different applications on a single server.
3. How do I secure Nginx reverse proxy with SSL in Docker?
You can utilize Let’s Encrypt or custom SSL certificates. Tools like nginx-proxy with Let’s Encrypt companion manage auto-renewal.
4. What’s the difference between Nginx reverse proxy and load balancer?
A reverse proxy conceals backend servers, whereas a load balancer allocates traffic. Nginx can function as both.
5. Is Traefik better than Nginx for Docker reverse proxy?
Traefik simplifies auto-detection in Docker, while Nginx provides greater manual control and extensive support.